Your Guide to Indoor Composting
Calendula's Garden is reader suported This post may contain affiliate links, more on our Disclaimer page. Thank you!
Thinking about composting, but don’t have a backyard? Good news: you don’t need one. Indoor composting is a simple and effective way to turn your kitchen scraps into nutrient-rich soil, right from your apartment or home. It’s a rewarding project that reduces waste, benefits your houseplants, and brings a little bit of nature indoors.
If you’re new to the world of gardening, the idea of composting might seem a bit daunting. But it’s much easier than you think.
This guide will walk you through everything you need to know, from the essential equipment to troubleshooting common issues. By the end, you’ll be ready to start your own indoor compost bin and take a meaningful step toward more sustainable living.
The Magic of Turning Scraps into “Black Gold”
So, what’s all the fuss about? Indoor composting offers some fantastic benefits, both for you and the environment.
Reduces Landfill Waste
Food scraps make up a significant portion of household trash. Composting them keeps this organic material out of landfills, where it would otherwise produce methane, a potent greenhouse gas.
Creates Nutrient-Rich Soil
The end product of composting is a dark, crumbly material often called “black gold.” This stuff is packed with nutrients and is an amazing natural fertilizer for your houseplants, container garden, or even your lawn.
Saves You Money
Why buy bags of fertilizer or potting soil when you can make your own for free? Your plants will thank you for it.
Educational and Fun
Composting is a fascinating process. It’s a great way to connect with the natural cycle of decomposition and see firsthand how nature recycles organic matter.
What You’ll Need to Get Started
Setting up your indoor compost system doesn’t require a lot of fancy equipment. Here’s a basic checklist of what you’ll need.
1. A Compost Bin
You have a few options here, depending on your space and preferences.
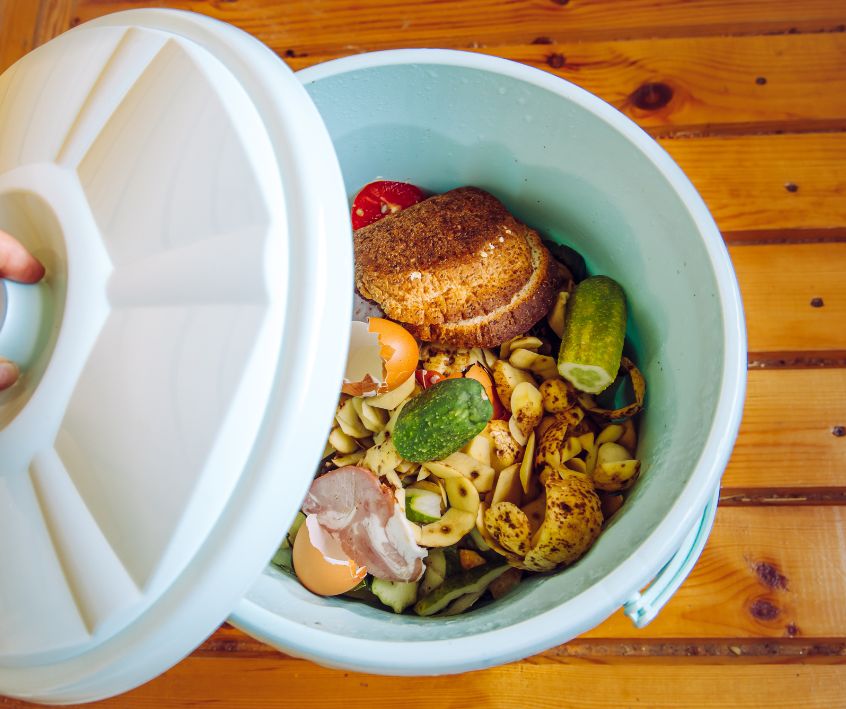
- DIY Bin: You can easily make your own bin from a plastic storage container with a tight-fitting lid. Just drill some small holes in the lid and sides for aeration. A 5-10 gallon container is a good starting size for a small household.
- Store-Bought Bin: Many companies sell specially designed indoor compost bins. These often come with features like spigots for draining compost tea or carbon filters to control odors.
- Worm Bin (Vermicomposting): This is one of the most popular methods for indoor composting. It uses red wiggler worms to break down food scraps. You can buy a ready-made worm bin or build your own. It’s highly efficient and produces some of the best compost around.
2. Bedding Material
The bedding or the brown layer provides a carbon-rich environment for the microorganisms (and worms, if you’re using them) to thrive. It also helps absorb moisture and prevent odors. Good options include:
- Shredded newspaper or cardboard
- Dried leaves
- Coconut coir
- Peat moss
3. Kitchen Scraps
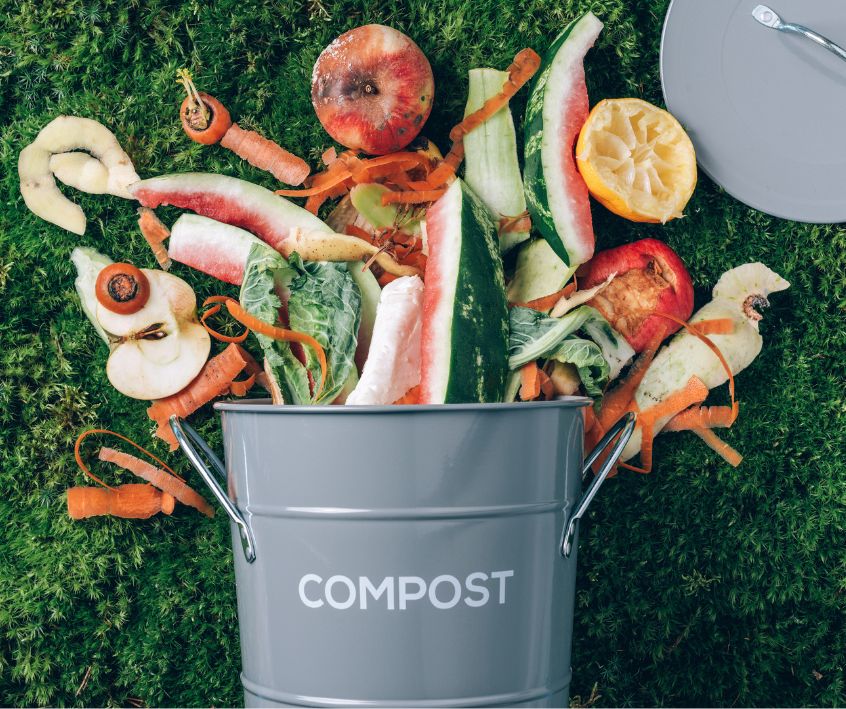
This is the “green” material for your compost. You can add most fruit and vegetable scraps, such as:
- Apple cores and banana peels
- Vegetable peelings and ends
- Coffee grounds and paper filters
- Tea bags (staples removed)
- Crushed eggshells
What to Avoid: To keep your indoor compost healthy and odor-free, steer clear of meat, dairy, oily foods, and pet waste. These items can attract pests and create unpleasant smells.
Setting Up Your Indoor Compost Bin: A Step-by-Step Guide
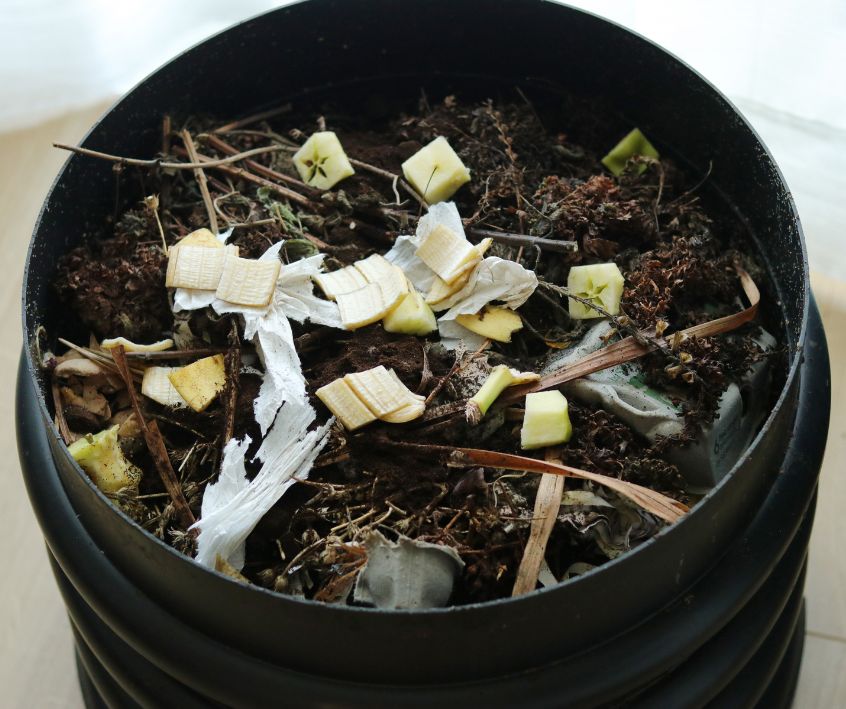
Ready to get your hands a little dirty? Here’s how to set up your bin.
- Prepare the Bedding: Moisten your chosen bedding material. It should feel like a damp sponge. Not dripping wet. Fill your compost bin about three-quarters full with this damp bedding.
- Add Your Scraps: Dig a small hole in the bedding and bury your kitchen scraps. Covering the food scraps with bedding is the key to preventing odors and fruit flies.
- Find the Right Spot: Place your bin in a convenient, out-of-the-way spot. Under the kitchen sink, in a pantry, or on a balcony are all great options. Avoid placing it in direct sunlight, as it can get too hot.
- Introduce Worms (for Vermicomposting): If you’re starting a worm bin, now is the time to add your red wigglers. Gently place them on top of the bedding, and they will quickly burrow down. Let them acclimate for a day or two before you start adding food.
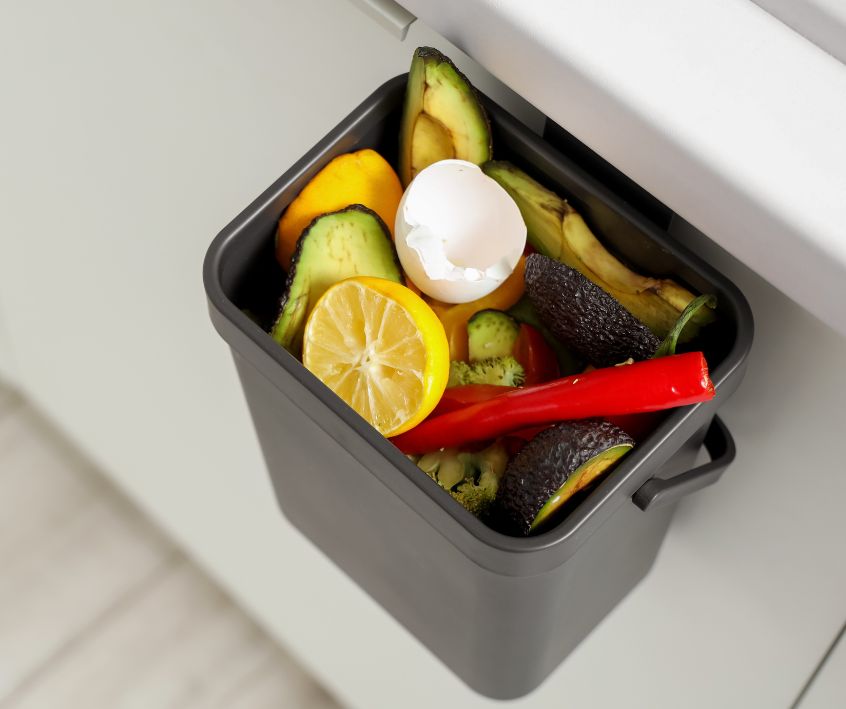
Tight on space? Try the EKO Stainless Steel Kitchen Compost Bin that can be hung over cabinet doors or mounted on walls.
Keeping Your Compost Happy and Healthy
Maintaining your indoor compost bin is easy once you get into a routine. Here are a few best practices.
Balance Your Greens and Browns
Aim for a good mix of nitrogen-rich “greens” (kitchen scraps) and carbon-rich “browns” (bedding). A common guideline is to add about two to three parts brown for every one part green.
Keep it Moist, Not Wet
Your compost should stay consistently damp. If it seems dry, spritz it with a little water. If it’s too wet and starts to smell, add more dry bedding to absorb the excess moisture.
Aerate Regularly
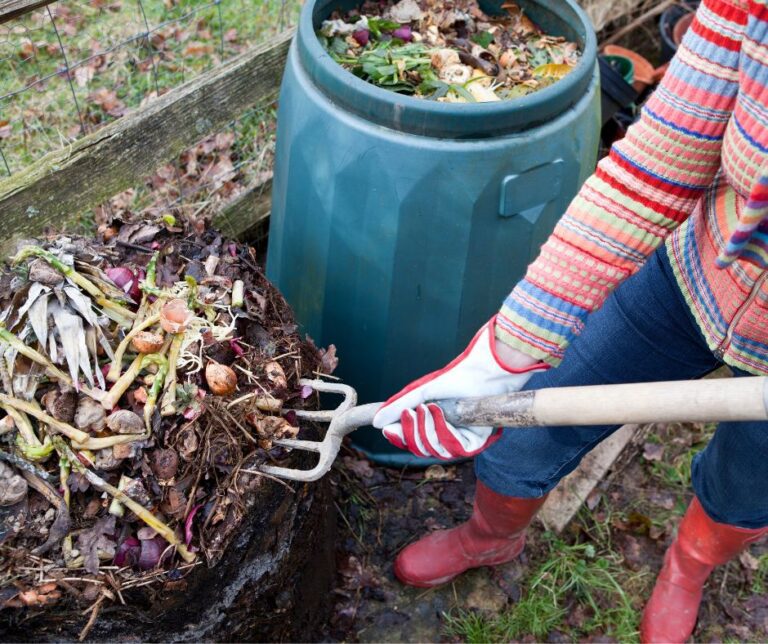
Gently turn or fluff your compost with a small garden fork or trowel every week or so. This introduces oxygen, which is essential for the decomposition process and helps prevent bad odors.
Feed in Moderation
Don’t overload your bin with too many scraps at once. Add new scraps every few days, burying them in different spots within the bedding.
If you are short on time to mind your compost bin, the Airthereal Revive R500 Electric Kitchen Composter can turn your kitchen scraps into compost quickly.
Troubleshooting Common Issues
Even with the best care, you might run into a few hiccups. Don’t worry—most composting problems are easy to fix.
It Smells Bad
A foul odor, often like ammonia or rotten eggs, usually means your compost is too wet and lacks oxygen. The fix: Add more dry bedding (browns) and give it a good stir to aerate it.
There are Fruit Flies
These little pests are attracted to exposed food. The fix: Always bury your food scraps completely under a layer of bedding. A tight-fitting lid also helps.
It’s Not Breaking Down
If decomposition seems slow, your compost might be too dry or not have enough nitrogen (greens). The fix: Add a little water to moisten the pile and mix in more kitchen scraps.
Creative Ways to Use Your Compost
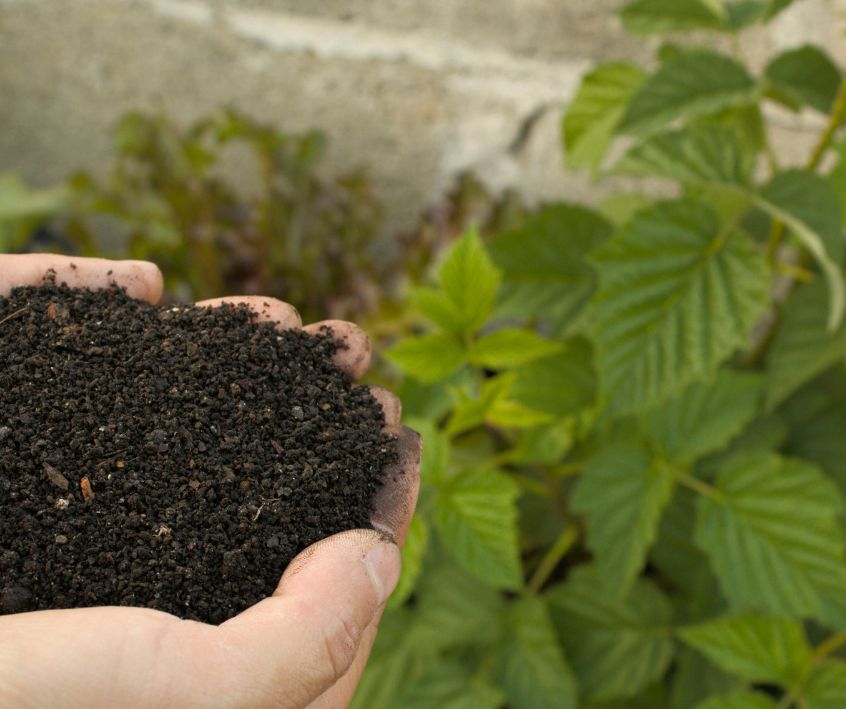
After a few months, you’ll be rewarded with rich, dark compost. So, what do you do with it?
Boost Your Houseplants: Mix a handful of compost into the soil when repotting your plants, or simply sprinkle a thin layer on top of the soil of existing plants.
Enrich Your Container Garden: If you grow herbs, vegetables, or flowers in pots, blending compost into your potting mix will give them a powerful nutrient boost.
Make “Compost Tea”: Steep a scoop of finished compost in a bucket of water for a day or two. Use this nutrient-rich liquid to water your plants.
Share with Friends: Have more compost than you can use? Share the love with fellow plant-loving friends or contribute it to a community garden.
Your Journey to Sustainable Living
Starting an indoor compost bin is a simple yet powerful way to live more sustainably. It connects you to the food you eat and the soil that nourishes it, all from the comfort of your home.
You’ll reduce your waste, create a valuable resource for your plants, and learn a lot along the way. So go ahead, gather your materials, and start your composting adventure. Your plants, and the planet, will be glad you did.
Visit the Garden Resources page for supplies and inspiration. Don’t forget to subscribe to the Calendula’s Garden Newsletter for more gardening tips.
Calendula’s Garden is reader supported. When you buy through links on our site, we may earn an affiliate commission. As an Amazon Associate, I earn from qualifying purchases. For more information, view our Disclaimer page. Thank you!