Transforming Blooms into Timeless Art with a DIY Flower Press
Calendula's Garden is reader suported This post may contain affiliate links, more on our Disclaimer page. Thank you!
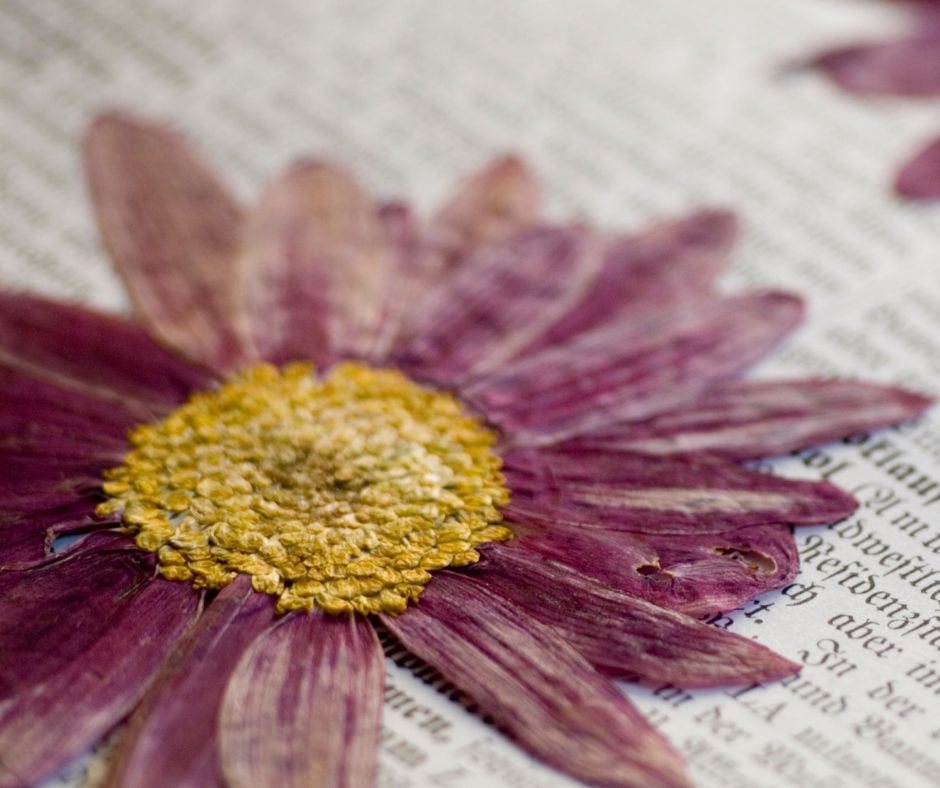
Have you ever found yourself marveling at nature’s beauty and wished you could preserve it? Flower pressing is an age-old art form that allows you to capture the vivid colors and delicate structures of blooms from your garden, creating beautiful keepsakes.
Whether you’re a DIY enthusiast, a nature lover, or a crafter, making your own flower press offers a rewarding experience and countless creative opportunities.
In this guide, you’ll learn how to craft your own flower press, perfect your pressing technique, and preserve your floral treasures.
Introduction to Flower Pressing
Flower pressing dates back to ancient civilizations where pressed flowers were used for herbal compendiums and artistic expression.
This delicate art has endured the test of time and is cherished for its ability to preserve the ephemeral beauty of nature.
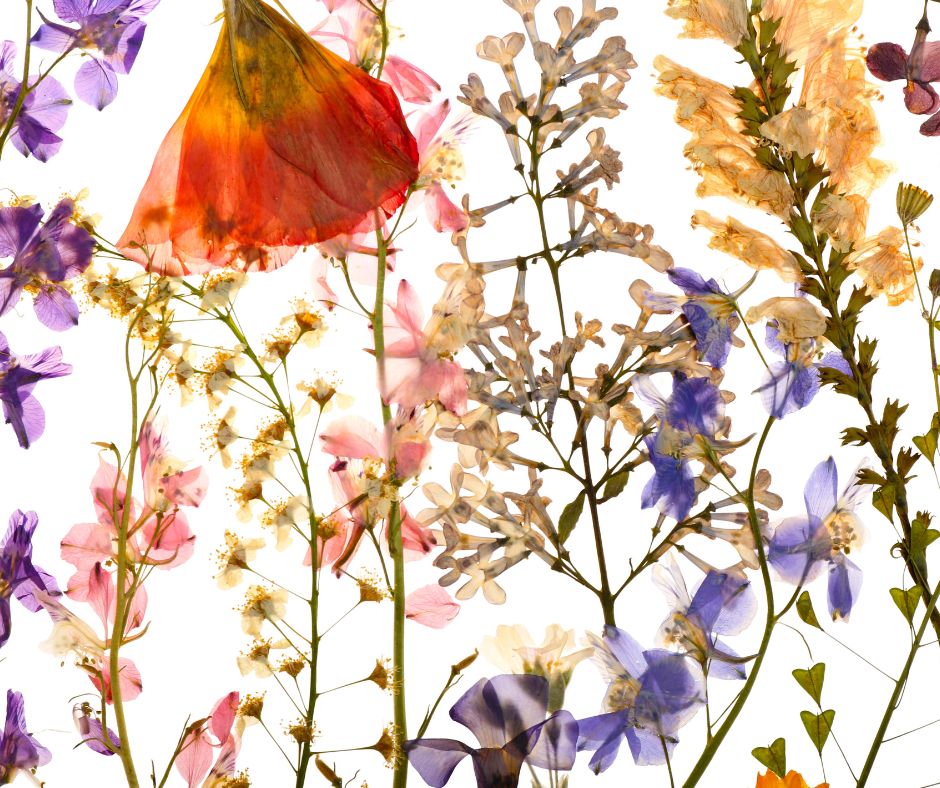
Today, pressed flowers adorn everything from greeting cards to framed artwork, serving as timeless reminders of nature’s elegance.
Making your own flower press gives you the freedom to make your press as large as you want. A large press can also be used to preserve other parts of plants, like leaves and stems, for identification, a record of what grows in your region each season, or as keepsakes.
Materials Needed
To begin your flower pressing adventure, you’ll need a few essential items:
–Two wooden boards (approximately 10×10 inches): These form the base and top of your flower press.
–Blotting paper or cardboard: These materials absorb moisture from the flowers and prevent mold.
-Corrugated cardboard: Acts as a spacer between layers. I use old boxes.
–Clamps or straps: To apply pressure and hold the boards together.
–Screws and wingnuts (optional): For a more permanent and adjustable press.
–Sandpaper (optional): To smooth rough edges of the wood.
Each of these materials plays a crucial role in the pressing process, ensuring your flowers are preserved effectively.
Step-by-Step Instructions
Gathering and Preparing Flowers
Start by selecting fresh flowers that are free from blemishes. Opt for flat blooms like pansies, daisies, or violets, as they press more easily.
Morning is an ideal time to collect flowers once the dew has dried and they are at their freshest.
Gently pat the flowers dry with a paper towel to remove any residual moisture. Trim the stems and leaves as needed, leaving only the parts you wish to press.
Assembling the Press
Place one of your wooden boards on a flat surface. Layer blotting paper, followed by corrugated cardboard.
Repeat this sequence, ensuring you have enough layers for the number of flowers you wish to press. Top off the stack with the second wooden board.
Secure the setup using clamps or straps. If you prefer a more permanent solution, drill holes in the corners of the boards and fasten them with screws and wingnuts for easy tightening.
Pressing the Flowers
Carefully arrange your flowers between the layers of blotting paper. Spread them out to avoid overlapping, as this can cause uneven pressing.
Apply even pressure by tightening the clamps or screws.
For optimal results, leave the flowers in the press for at least two to four weeks. Check periodically to ensure moisture is being absorbed and adjust the pressure if necessary.
Removing the Flowers
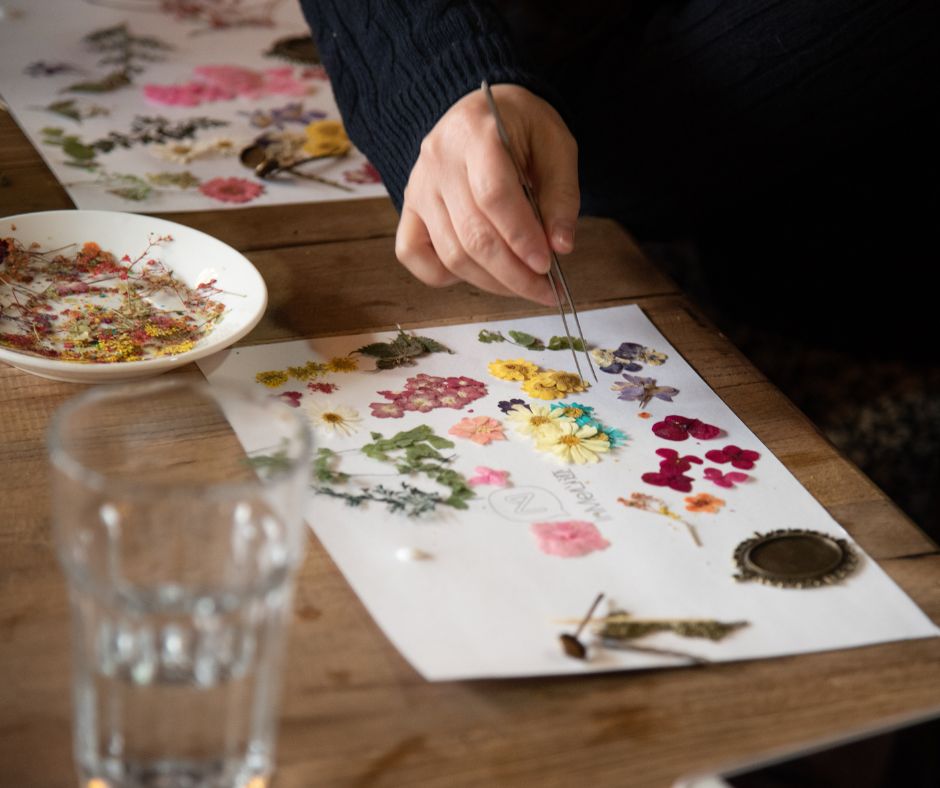
Once the flowers are fully pressed and dried, carefully open the press. Use tweezers to gently lift each bloom, taking care not to tear the delicate petals.
The Havenstock Solid Maple Wood Flower Pressing Kit makes a thoughtful gift for adults and kids. It could also serve as a backup to your handmade flower press.
Optional Steps and Advanced Techniques
Elevate your flower pressing skills with these advanced techniques:
–Adding Weights: Increase pressure by placing additional weights on top of the press.
–Using Absorbent Paper: Enhance moisture absorption by adding an extra layer of absorbent paper between the cardboard sheets.
–Incorporating a Microwave Press: Speed up the drying process by using a microwave flower press, which typically requires only minutes.
A microwave press is great for large flowers but can damage small, delicate petals.
Final Thoughts
Pressed flowers offer endless creative possibilities. Consider incorporating your pressed blooms into art projects, such as bookmarks, greeting cards, or framed displays.
To preserve their vibrant colors, store them in a cool, dark place, away from direct sunlight.
Flower pressing is a beautiful way to preserve memories and enjoy the tranquility of nature.
Learn more about observing nature and participate in citizen science projects.
By following these steps, you’ll create a flower press that captures the essence of your favorite blooms. We encourage you to share your creations with fellow crafters and explore new ways to use your pressed flowers.
Visit the Garden Resources page for supplies and inspiration. Don’t forget to subscribe to the Calendula’s Garden Newsletter for more gardening tips.
Calendula’s Garden is reader supported. When you buy through links on our site, we may earn an affiliate commission. As an Amazon Associate, I earn from qualifying purchases. For more information, view our Disclaimer page. Thank you!