Step-by-Step Guide to Indoor Vermicomposting
Calendula's Garden is reader suported This post may contain affiliate links, more on our Disclaimer page. Thank you!
Have you ever looked at your kitchen scraps, the carrot tops, the apple cores, the coffee grounds, and felt a little twinge of guilt tossing them into the trash? You aren’t alone.
Many of us want to be more sustainable but don’t have the luxury of a sprawling backyard for a massive compost pile.
This is where vermicomposting comes in. It might sound like a complicated scientific term, but it’s actually quite simple. It’s the practice of using worms to break down organic waste into nutrient-rich soil.
And the best part? You can do it right inside your apartment or house, under the sink or in a closet, with zero smell (if done right!).
Indoor vermicomposting is a fantastic way to reduce your household waste and create “black gold” for your houseplants or balcony garden.
It connects you to the cycle of nature, even if you’re living in the middle of a concrete jungle. Let’s dig into how you can set up your own worm farm.
Why Choose Indoor Vermicomposting?
Traditional composting relies on heat and microbes to break down matter, which often requires a large volume of material and outdoor space.
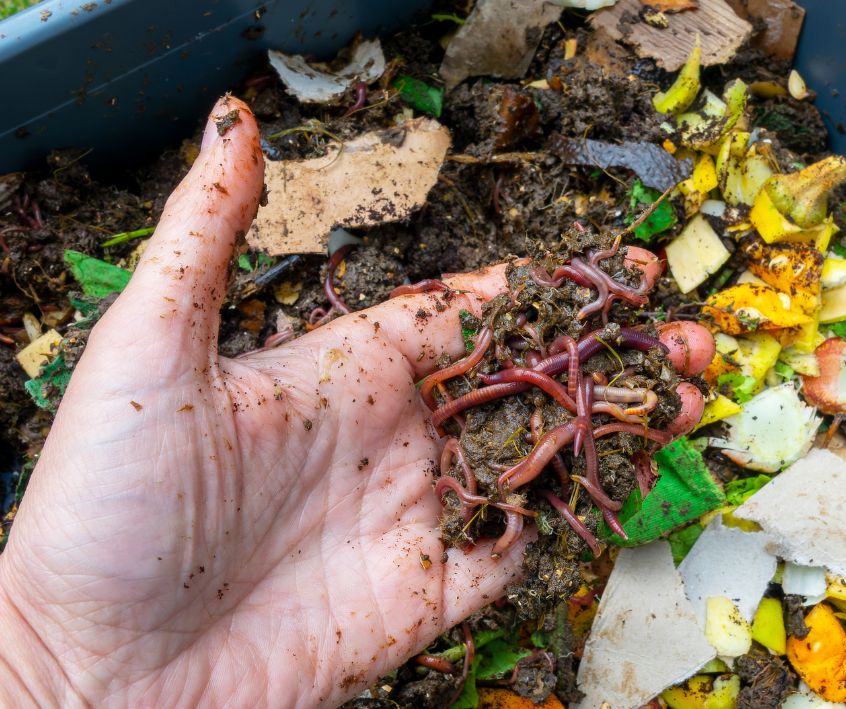
Vermicomposting relies on worms. These little workers are incredibly efficient at turning kitchen waste into worm castings (a polite term for worm poop), which is one of the best natural fertilizers available.
There are several reasons why this method is perfect for beginners:
- Space-Efficient: You only need a small bin.
- Year-Round: Since it’s indoors, the process doesn’t slow down in winter.
- Fast Results: Worms work quickly, often producing usable compost faster than traditional methods.
- Odorless: A healthy worm bin smells like fresh earth, not rotting garbage.
Gathering Your Materials
Before you bring your new pets home, you need to get their habitat ready. You don’t need expensive equipment; a simple setup works wonders.
1. The Worm Bin
You can buy specialized tiered worm towers online, but a simple opaque plastic storage tote (about 10 to 14 gallons) works perfectly fine.
The Original Vermihut ® Plus 5 – Tray Worm Composter
If you go the DIY route, you will need to drill holes for ventilation (near the top) and drainage (at the bottom). The bin needs to be opaque because worms are sensitive to light and prefer the dark.
2. Bedding Materials
Bedding provides a place for the worms to live and bury food, and it helps retain moisture. It also serves as a carbon source (or “browns”) to balance out the nitrogen (“greens”) in your food scraps.
Excellent bedding options include:
- Shredded Newspaper or Cardboard: Avoid glossy pages or colored inks.
- Coconut Coir: This is a sustainable fiber extracted from the husk of coconuts. It holds moisture beautifully. Pack of 10 Organic Coco Coir Bricks
- Peat Moss: Effective, though less sustainable than coir.
- Dried Leaves: If you have access to a yard.
3. The Right Worms
This is crucial: Do not use earthworms from your garden. They are burrowers that need deep soil to survive. For composting, you need surface dwellers.
Uncle Jim’s Worm Farm 500 Count Red Wiggler Composting Worms
The gold standard for vermicomposting is the Red Wiggler (Eisenia fetida). They are voracious eaters, tolerate a wide range of temperatures, and thrive in the confinement of a bin. You can purchase them from online breeders or sometimes find them at local garden centers.
4. Food Scraps
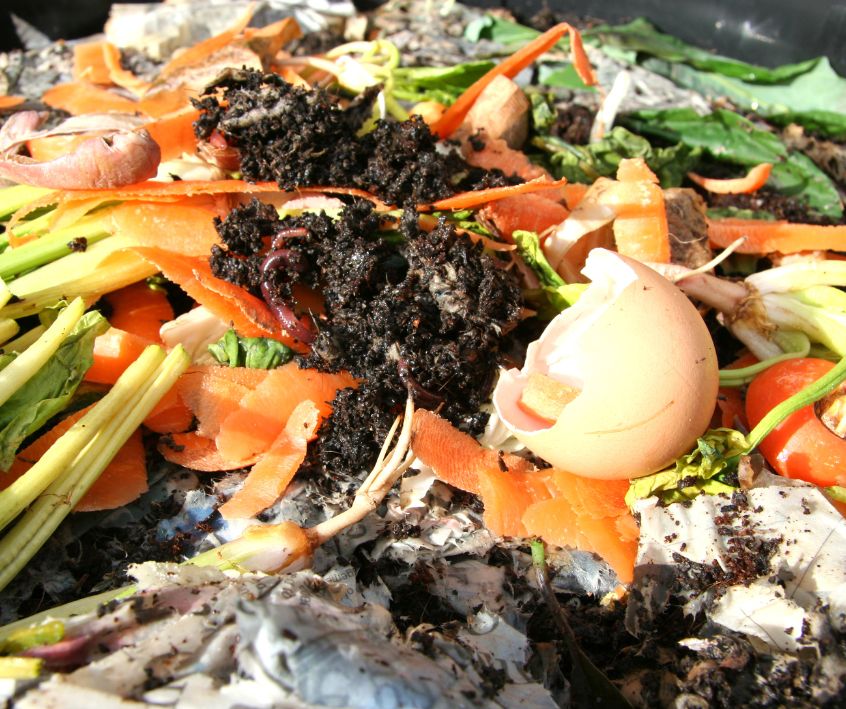
Worms aren’t picky, but they do have preferences.
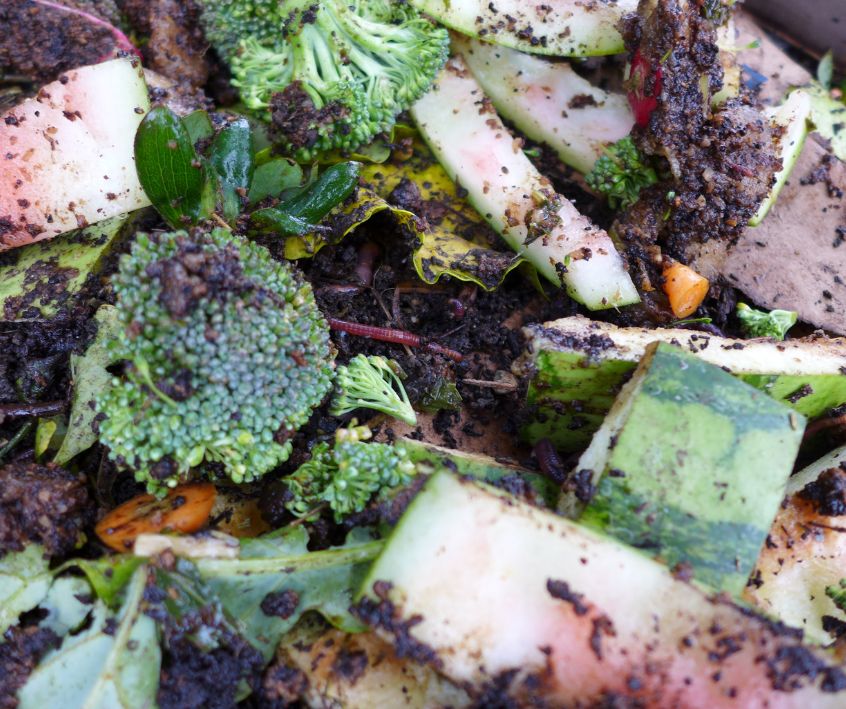
- Do Feed: Fruit and vegetable peels, coffee grounds and filters, tea bags (staples removed), crushed eggshells, and plain grains.
- Avoid: Meat, dairy, oily foods, salty foods, citrus (in large quantities), and onions/garlic (they can irritate the worms).
Step-by-Step Setup
Ready to build your worm hotel? Here is how to get started.
Step 1: Prepare the Bin
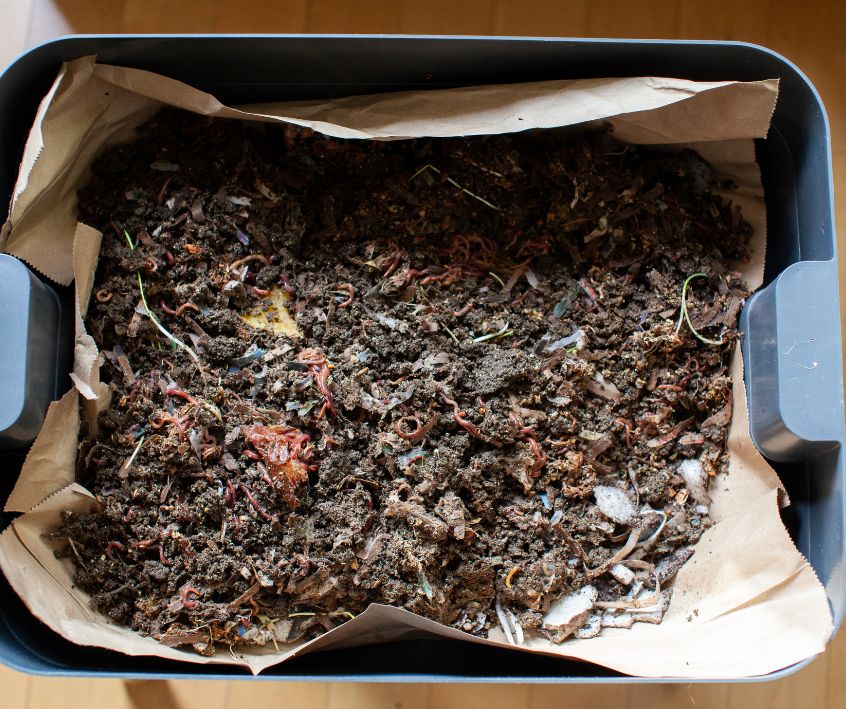
If you are using a plastic tote, drill 1/8-inch holes around the top sides for air. Drill similar holes in the bottom for drainage. Place the bin on a tray or lid to catch any liquid (leachate) that drips out.
Step 2: Add the Bedding
Soak your chosen bedding (shredded paper or coconut coir) in water, then squeeze it out until it feels like a damp sponge. It should be moist but not dripping wet. Fluff it up and fill your bin about halfway. This ensures the worms have plenty of air and room to move.
Step 3: Introduce the Worms
Gently place your Red Wigglers on top of the bedding. They will naturally want to move away from the light, so they will burrow down into the bedding quickly.
Step 4: The First Feeding
Bury a small amount of food scraps (about a cup) into the bedding in one corner. Don’t cover the whole surface. Covering the food with bedding helps prevent odors and fruit flies. Now, put the lid on and let them settle in.
Pro Tip: Leave them alone for a few days to a week after setup. They need time to acclimate before they start eating heavily.
Maintenance Tips for Happy Worms
Keeping your worms alive is actually easier than keeping most houseplants alive. They are resilient creatures.
Monitor Moisture
Your bin should always remain as damp as a wrung-out sponge. If it feels dry, spritz it with water. If it’s too wet, add more dry paper bedding to absorb the excess moisture.
Don’t Overfeed
This is the most common mistake beginners make. Worms can eat roughly half their body weight in scraps per day. If you see uneaten food rotting in the bin, stop feeding them for a few days. Rotting food creates acidic conditions and foul odors.
Harvesting Worm Castings
After 3 to 6 months, you will notice the bedding has turned into dark, crumbly soil. This is the finished compost!
To harvest, move all the finished compost to one side of the bin and add fresh bedding and food to the other side. The worms will migrate to the new food over a couple of weeks, leaving the finished compost behind for you to scoop out.
Troubleshooting Common Issues
Even the best gardeners run into snags. Here is how to fix them.
“My bin smells bad.”
A healthy bin should smell like soil. A bad smell usually means it has gone anaerobic (lack of oxygen).
- The Fix: The bin is likely too wet or overfed. Stop feeding, add plenty of dry paper bedding, and gently stir the contents to add oxygen.
“There are fruit flies everywhere.”
Flies are annoying but harmless to the worms.
- The Fix: Ensure you are burying food scraps deep under the bedding. You can also cover the surface of the bedding with a sheet of damp newspaper or a piece of cardboard to create a barrier.
Start Your Journey Today
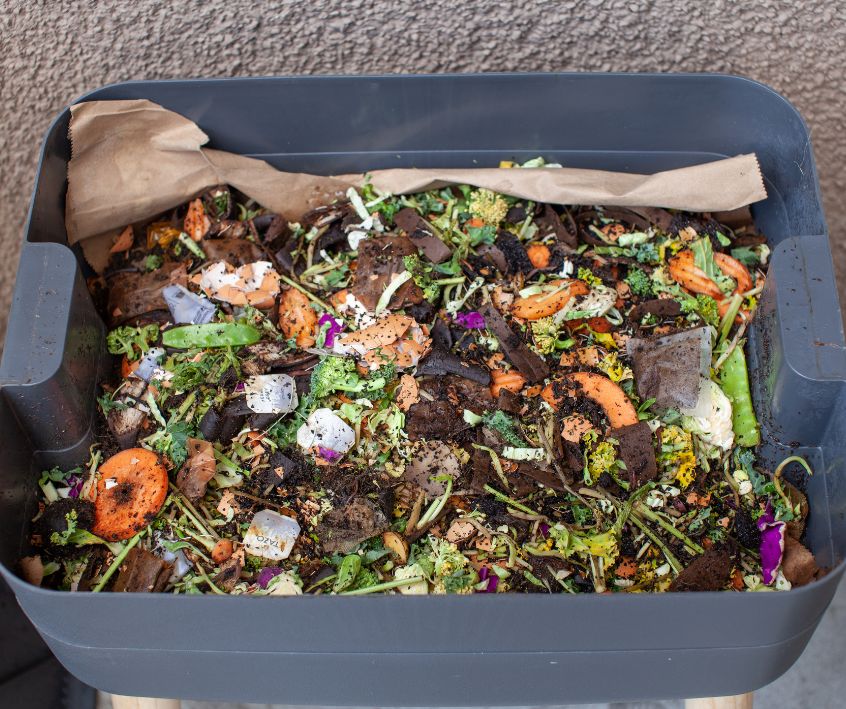
Vermicomposting is a rewarding, low-effort way to make a positive impact on the environment. By diverting waste from landfills and creating nutrient-dense food for your plants, you are closing the loop right in your own kitchen.
It might feel strange at first to keep a box of worms in your house, but you will likely find yourself becoming quite attached to your silent, hardworking pets. Why not give it a try? Your plants (and the planet) will thank you.
Visit the Garden Resources page for supplies and inspiration. Don’t forget to subscribe to the Calendula’s Garden Newsletter for more gardening tips.
Calendula’s Garden is reader supported. When you buy through links on our site, we may earn an affiliate commission. As an Amazon Associate, I earn from qualifying purchases. For more information, view our Disclaimer page. Thank you!