Simple Tips for Thriving Fenugreek Microgreens
Calendula's Garden is reader suported This post may contain affiliate links, more on our Disclaimer page. Thank you!
If you have ever wanted to dip your toes into indoor gardening, microgreens are the perfect place to start. They require minimal space, barely any equipment, and grow incredibly fast.
Among the many varieties you can cultivate, fenugreek microgreens stand out as a uniquely aromatic and flavorful choice.
Fenugreek is a staple in many global cuisines, famous for its distinct, slightly sweet aroma. While you might be familiar with the dried seeds used in curries and spice blends, the fresh microgreens offer a completely different experience.
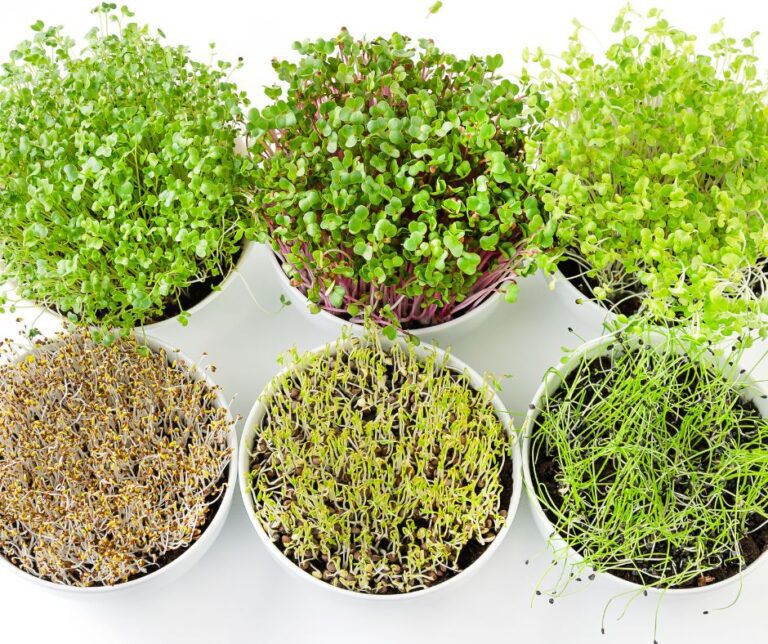
They bring a vibrant pop of green to your windowsill and a crisp, herbaceous bite to your plate.
In this guide, we will explore the fascinating history of this plant, uncover its impressive health benefits, and walk through a simple, step-by-step process for growing your own batch.
We will even prepare a couple of delicious small plates to celebrate your harvest.
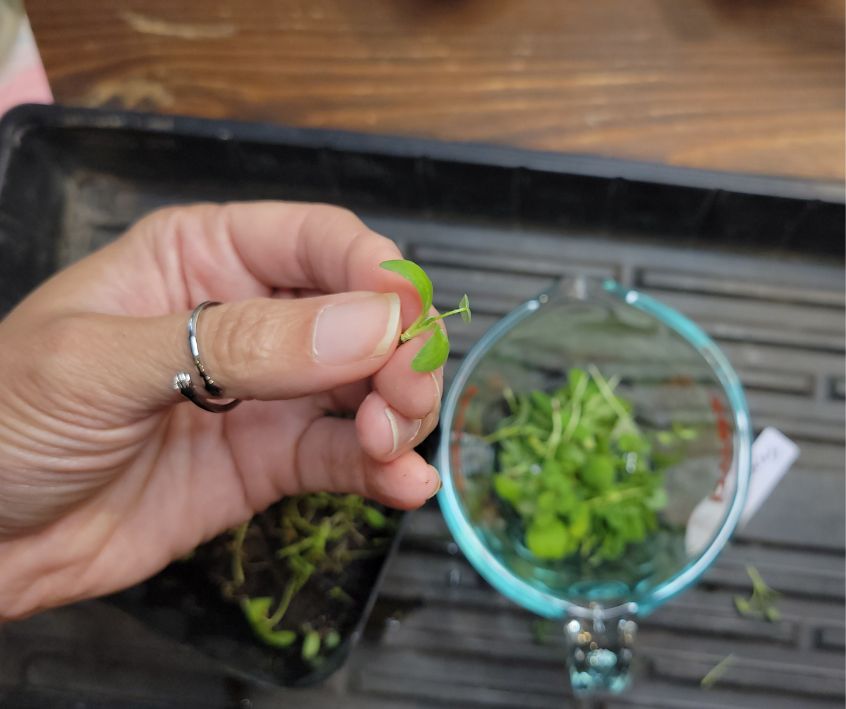
From Ancient Spice to Modern Superfood
Fenugreek, known scientifically as Trigonella foenum-graecum, boasts a rich natural history that spans thousands of years.
Originating in the Mediterranean region, southern Europe, and western Asia, this hardy annual plant has been utilized by various ancient civilizations.
Historically, the ancient Egyptians used fenugreek seeds in their embalming processes and as an incense. In traditional Ayurvedic practices in India, it has long been revered for its medicinal properties, often prescribed to aid digestion and improve overall vitality.
Romans cultivated it as fodder for their livestock. The Latin name foenum-graecum translates to “Greek hay.”
Over the centuries, fenugreek transitioned from a medicinal herb and agricultural staple into a highly sought after culinary spice.
Today, it has found a new identity as a modern superfood, especially when grown as microgreens. In their early seedling stage, these plants are packed with concentrated nutrients, offering a fresh, accessible way to enjoy an ancient botanical.
Nutritional Density and Medicinal Properties
When you eat microgreens, you are consuming the plant during its most concentrated phase of growth. Fenugreek microgreens are incredibly nutrient dense.
They are an excellent source of essential vitamins, including vitamin C, vitamin A, and several B vitamins, which help support a healthy immune system and promote cellular energy.
Additionally, fenugreek greens are packed with vital minerals like iron, potassium, and calcium. Iron is crucial for transporting oxygen throughout the body, while potassium helps regulate fluid balance and nerve signals.
Beyond their basic nutritional profile, fenugreek has well-documented medicinal properties. Studies have shown that fenugreek can help regulate blood sugar levels, making it a valuable dietary addition for those managing diabetes or insulin resistance.
The plant also contains compounds known to support digestion and reduce inflammation. Growing these tiny greens at home means you have a constant, fresh supply of these health-boosting benefits right at your fingertips.
Step-by-Step Growth Guide
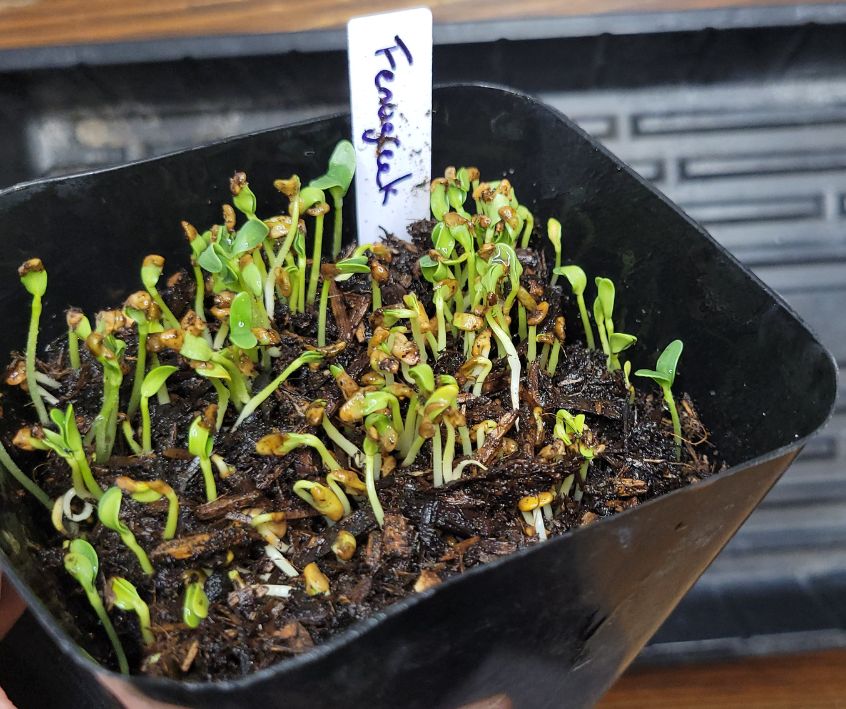
Growing fenugreek microgreens is incredibly straightforward. You do not need a green thumb to see success. Follow these simple steps, and you will be harvesting your own crop in about a week to ten days.
Step 1: Gather Your Supplies
Shallow Growing Trays with Drainage Holes
Growing Trays Without Drain Holes
Spray Bottle filled with water
Step 2: Prepare the Seeds
Fenugreek seeds have a tough outer coating. To speed up germination, soak the seeds in a bowl of cool water for 8 to 12 hours. Drain and rinse them thoroughly before planting.
Step 3: Prepare the Soil
Fill your growing tray with about an inch of potting soil. Gently pat the soil down so it is even and flat, but do not compress it too tightly. Lightly mist the soil with your spray bottle until it is moist but not waterlogged.
Step 4: Sow the Seeds
Sprinkle your soaked fenugreek seeds evenly across the surface of the soil. You want them to be close together, but try to avoid piling them on top of one another. Press them gently into the soil.
Step 5: The Blackout Period
Cover the tray with an empty tray or a piece of cardboard to block out the light. This mimics the environment of being buried underground and encourages the stems to stretch upward. Keep them covered for 3 to 4 days, misting them lightly once a day to maintain moisture.
Step 6: Provide Light and Water
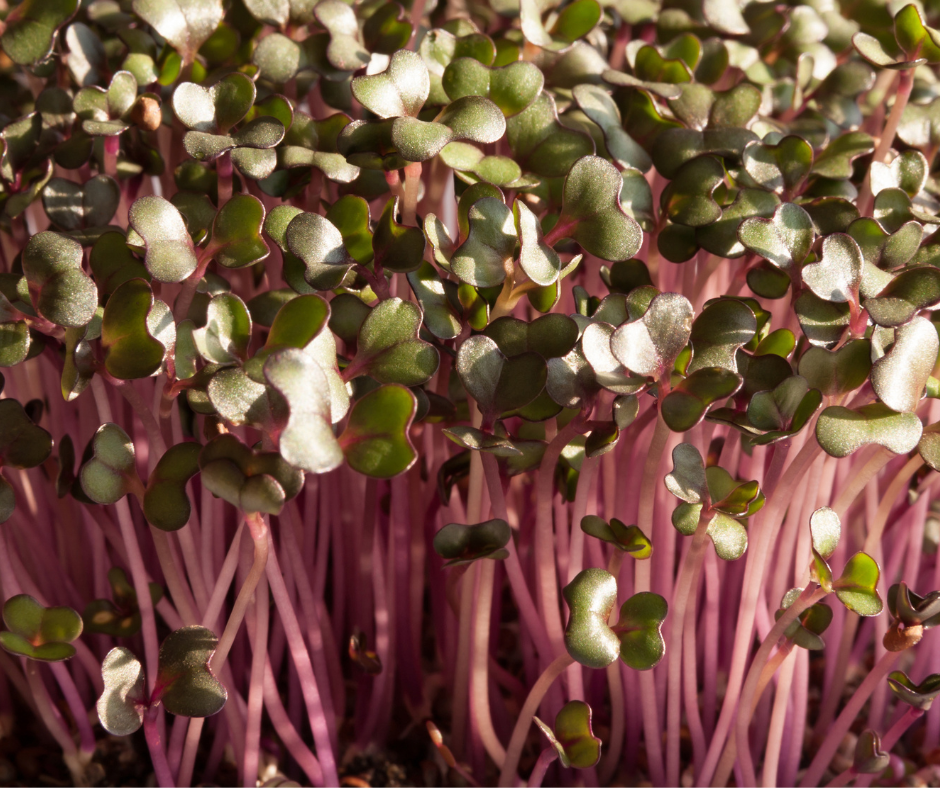
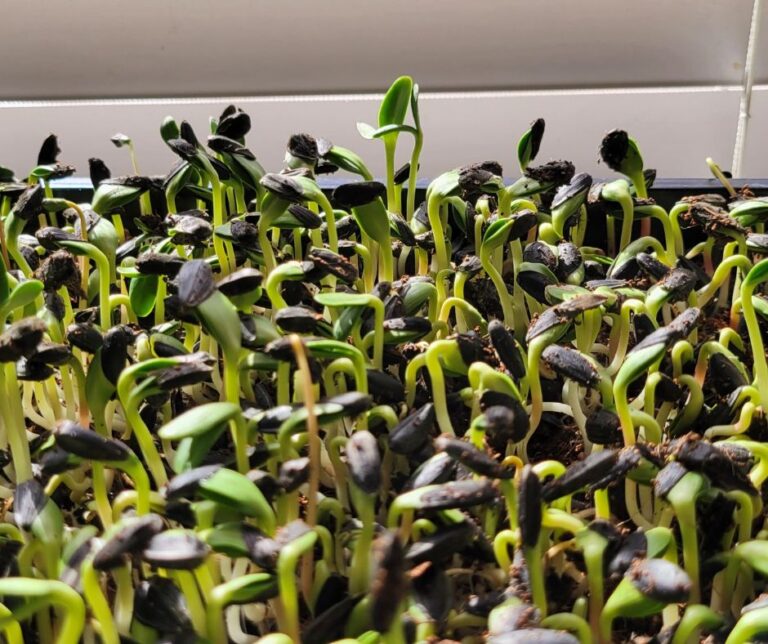
Once the seedlings are an inch or two tall and have shed their seed hulls, remove the cover. Place the tray in a sunny windowsill or under a grow light. The pale leaves will quickly turn a vibrant green. Continue to water the soil directly (try to avoid getting the leaves too wet) for another 4 to 6 days.
Step 7: Harvest
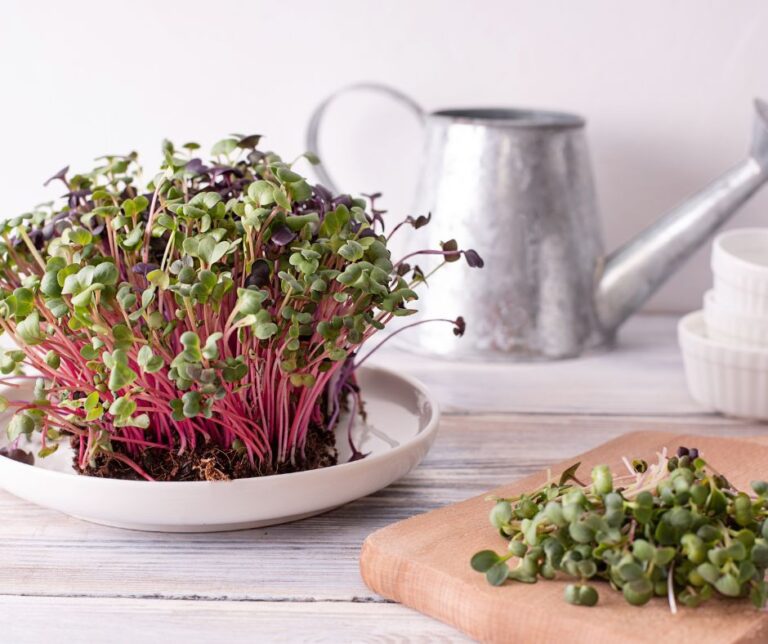
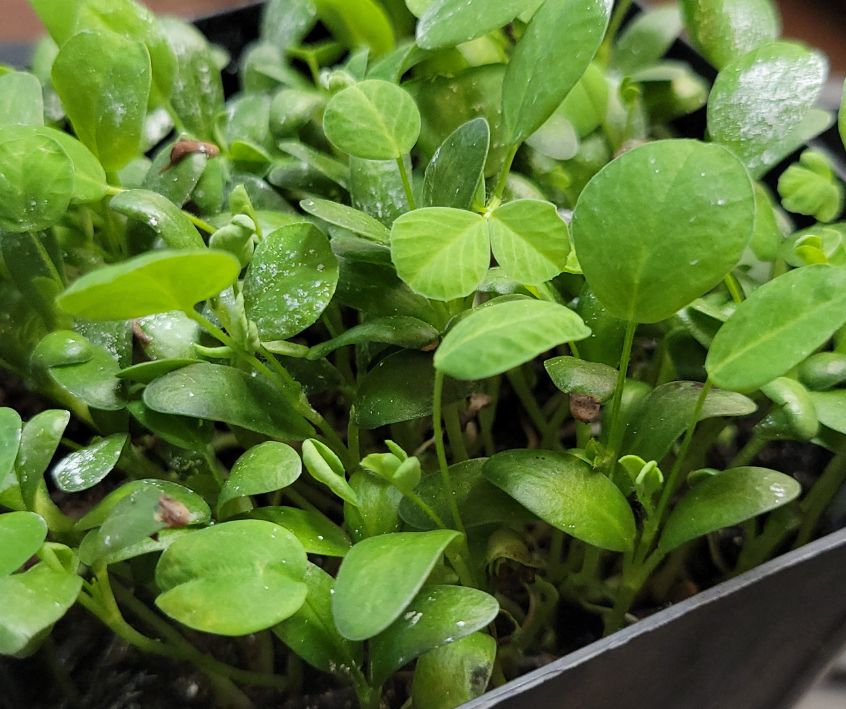
When the microgreens are about 3 to 4 inches tall and have developed their first set of true leaves, they are ready. Use a clean pair of scissors to snip the greens just above the soil line. Wash them gently and pat them dry.
The Unique Flavor Profile of Fenugreek
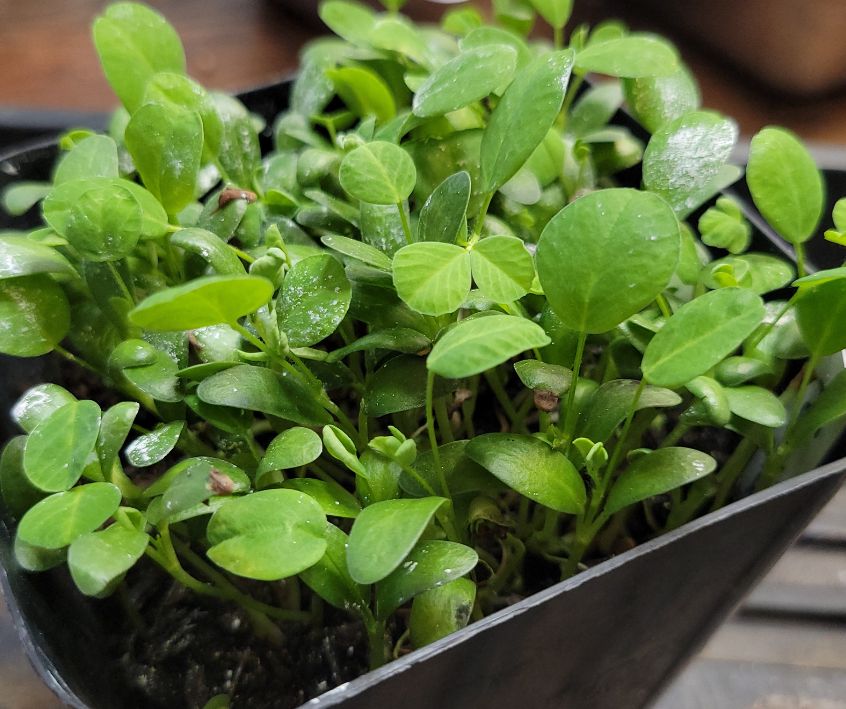
If you have never tasted fresh fenugreek greens, you are in for a treat. They possess a fascinating flavor profile that balances bitter and nutty notes.
While the dried seeds often smell strongly of herby maple syrup, the fresh microgreens offer a more subtle, earthy aroma.
The initial taste is crisp and slightly bitter, similar to celery leaves or mild mustard greens, which quickly gives way to a warm, nutty finish.
This complex flavor makes them incredibly versatile in the kitchen. They pair beautifully with rich, creamy ingredients that soften their bitterness, as well as bright, acidic flavors that highlight their herbaceous qualities.
Small Plate Ideas
Ready to put your harvest to use? Here are two simple, elegant ways to feature your homegrown fenugreek microgreens.
Fenugreek and Avocado Toast with Chili Flakes
This quick dish perfectly balances the creamy richness of avocado with the crisp, slightly bitter bite of the microgreens.
Ingredients:
- 2 slices of thick, crusty sourdough bread
- 1 ripe avocado
- 1/2 lemon
- A generous handful of fresh fenugreek microgreens
- 1/2 teaspoon of red chili flakes
- Sea salt and freshly cracked black pepper
- A drizzle of high-quality extra virgin olive oil
Instructions:
- Toast the sourdough slices until they are golden and crispy.
- Cut the avocado in half, remove the pit, and scoop the flesh into a small bowl.
- Squeeze the lemon juice over the avocado and mash gently with a fork. You want it to remain slightly chunky.
- Spread the mashed avocado evenly over the toasted sourdough.
- Top each slice with a generous mound of fenugreek microgreens.
- Sprinkle with red chili flakes, sea salt, and black pepper.
- Finish with a light drizzle of extra virgin olive oil and serve immediately.
Seared Scallops with Fenugreek Garnish and Lemon Zest
The nutty undertones of fenugreek beautifully complement the sweet, delicate flavor of pan-seared scallops.
Ingredients:
- 6 large sea scallops, patted completely dry
- 1 tablespoon of unsalted butter
- 1 tablespoon of olive oil
- A small handful of fenugreek microgreens
- Zest of 1 lemon
- Sea salt and freshly cracked black pepper
Instructions:
- Season the scallops generously on both sides with sea salt and black pepper.
- Heat the olive oil and butter in a skillet over medium-high heat. Wait until the butter stops foaming and the pan is very hot.
- Carefully place the scallops in the pan, ensuring they do not touch. Sear for exactly 2 minutes without moving them.
- Flip the scallops and sear for another 1 to 2 minutes on the other side until they feature a golden-brown crust and are opaque throughout.
- Remove the scallops from the pan and arrange them on a serving plate.
- Top each scallop with a small pinch of fresh fenugreek microgreens and a sprinkle of fresh lemon zest. Serve warm.
Start Your Indoor Garden Journey
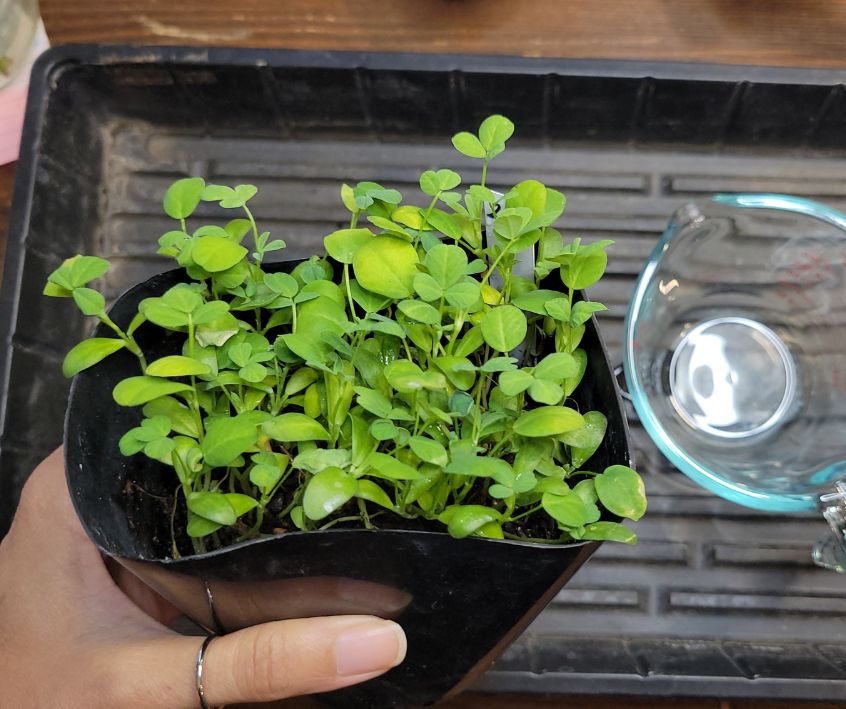
Growing fenugreek microgreens is a wonderful, low-stakes way to connect with the food you eat. It brings a touch of nature right into your home and rewards you with fresh, nutrient-packed greens in just a matter of days.
Grab a tray, soak some seeds, and watch as your kitchen transforms into a vibrant, living garden. You will love the flavors, the health benefits, and the simple joy of growing something yourself.
Visit the Garden Resources page for supplies and inspiration. Don’t forget to subscribe to the Calendula’s Garden Newsletter for more gardening tips.
Calendula’s Garden is reader supported. When you buy through links on our site, we may earn an affiliate commission. As an Amazon Associate, I earn from qualifying purchases. For more information, view our Disclaimer page. Thank you!