Microgreens for Beginners: Common Mistakes to Avoid
Calendula's Garden is reader suported This post may contain affiliate links, more on our Disclaimer page. Thank you!
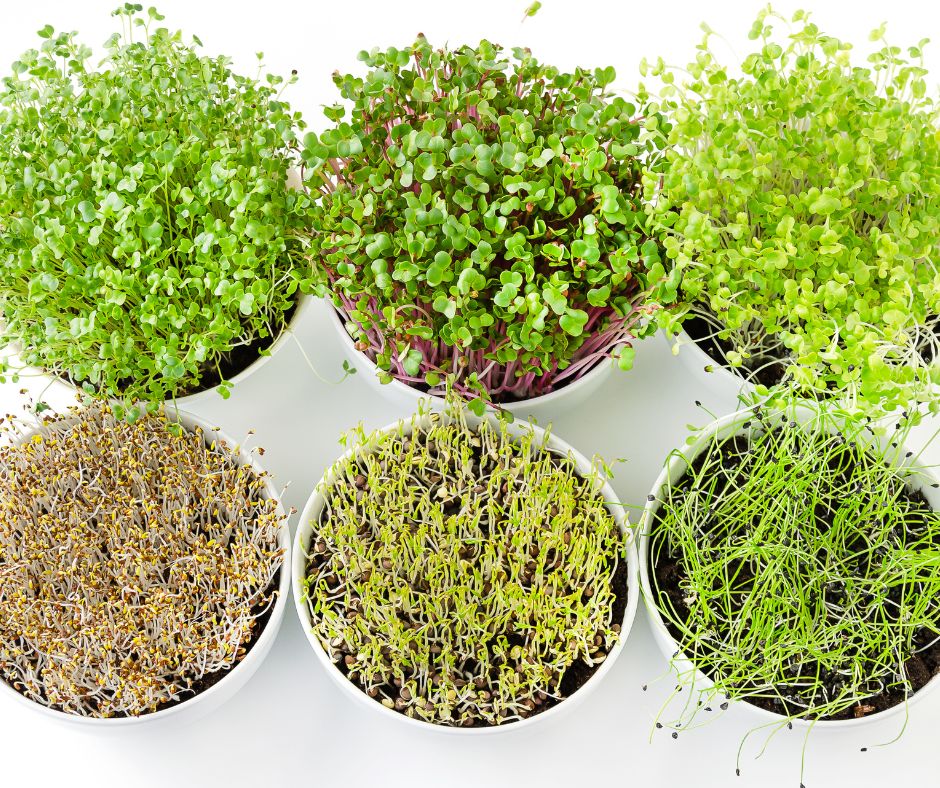
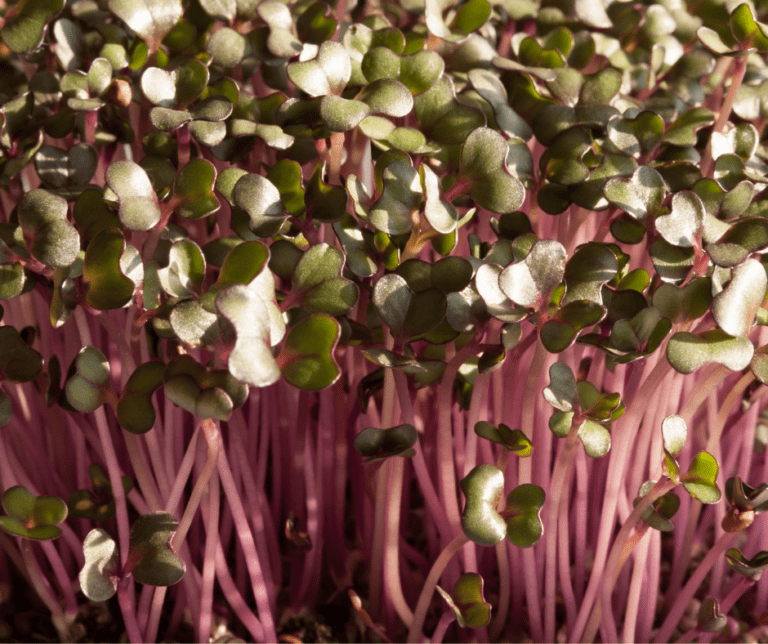
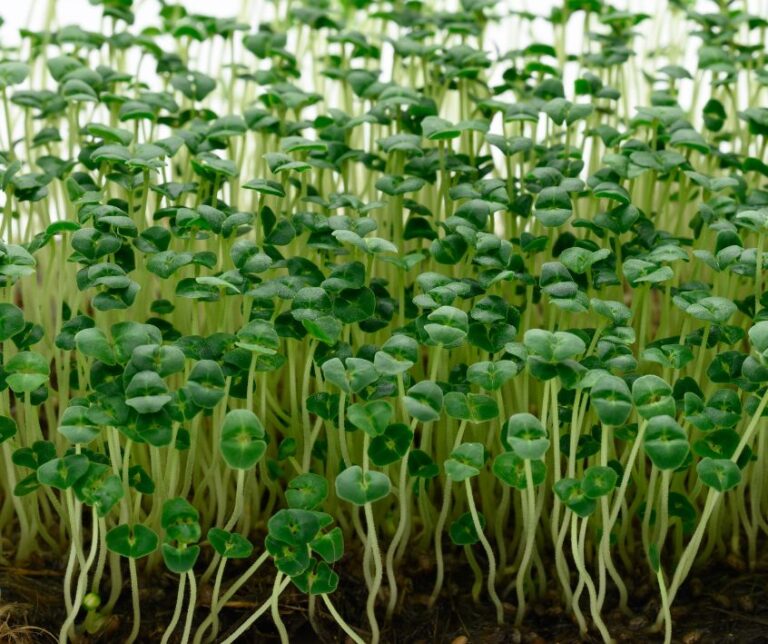
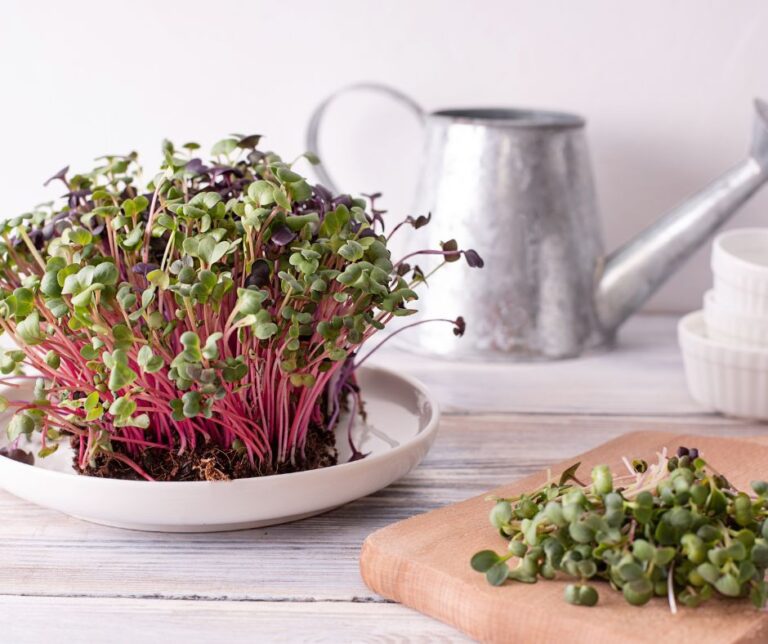
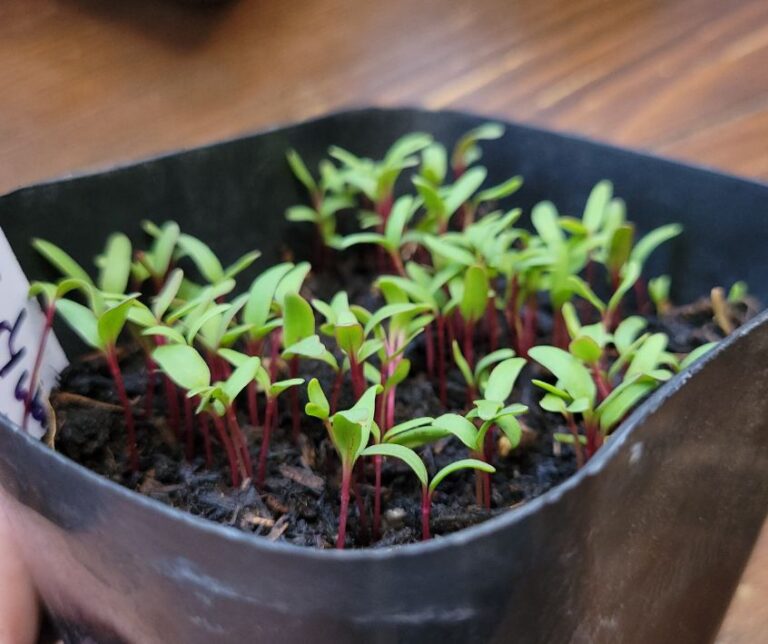
Microgreens are tiny, nutrient packed greens harvested just after the first leaves develop. Popular among home gardeners and health enthusiasts alike, these miniature plants are known for their intense flavors and high nutritional value.
If want to enhance your salads, sandwiches, or smoothies, microgreens are an excellent addition to your diet. Let’s explore the fundamentals of growing these vibrant greens and ensure you avoid common beginner mistakes.
Selecting the Right Seeds
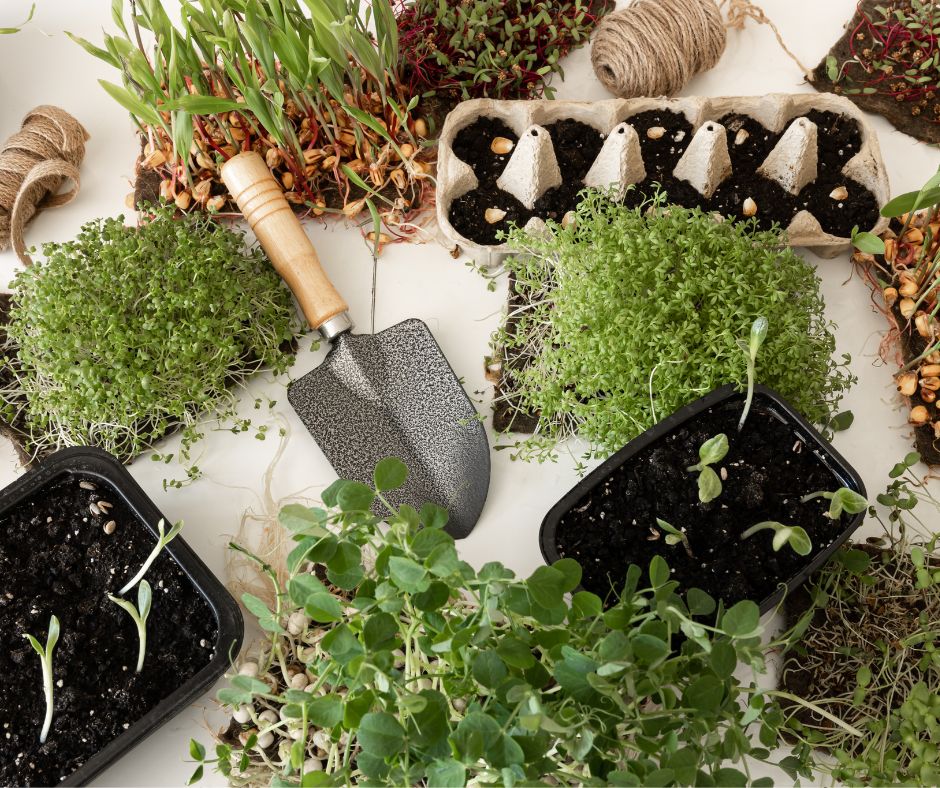
Choosing the right seeds is the first step to a successful microgreen harvest. Here are some popular varieties for beginners:
- Radish: Grows quickly and adds a spicy kick.
- Broccoli: Packed with vitamins and minerals.
- Pea Shoots: Sweet and crunchy, perfect for salads.
- Sunflower: Nutty flavor and rich in protein.
Always opt for high-quality, organic seeds to ensure the best growth and flavor. Check the seed packets for details on germination rates and any special requirements.
Supplies
Heavy Duty Steel Wire Rack Storage Shelving
VIVOSUN AeroWave E6 Grow Tent Fan
Consequences of Not Selecting the Right Seeds

Choosing the wrong seeds can have significant consequences for your microgreen garden. Here are some potential issues to consider:
Poor Germination Rates
Incorrect seed selection may lead to low germination rates, resulting in sparse or uneven growth, which can be discouraging for beginners eager to see results.
Slow Growth
Some seed varieties are not suited for microgreen cultivation and can take longer to mature, delaying your harvest and diminishing the excitement of growing your own greens.
Undesirable Flavors
Certain plants might develop flavors that are not desirable in culinary applications, detracting from the overall experience of incorporating microgreens into your dishes.
Increased Pest and Disease Susceptibility
Selecting varieties that are prone to pests or diseases can complicate the cultivation process and require more care than a novice gardener might be ready for.
Nutritional Deficiencies
The wrong seeds can inhibit your ability to enjoy the full nutritional benefits that microgreens offer, ultimately reducing the impact of your efforts in growing these vibrant plants.
Preparing the Growing Medium
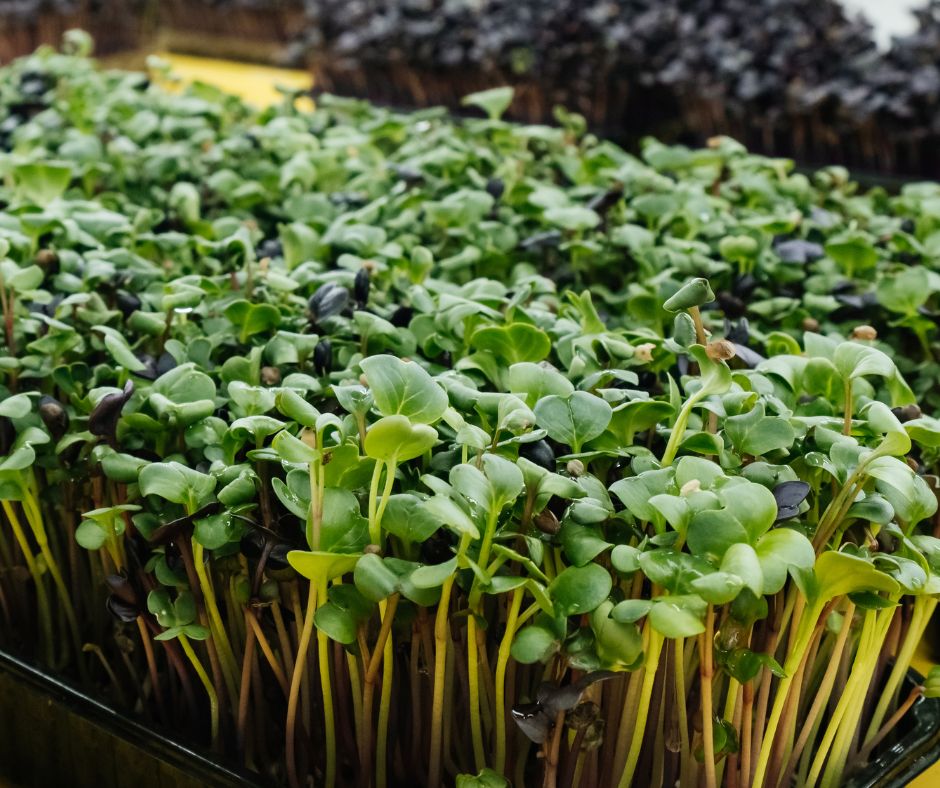
The growing medium you choose can significantly impact the success of your microgreens. Here’s how to prepare it:
Soil-Based Medium
- Select a Tray: Choose a shallow tray with drainage holes.
- Fill with Soil: Add a few inches of organic potting soil or a seed-starting mix.
- Level the Surface: Gently press down to create an even surface.
Hydroponic Medium
- Select a Tray: Use a shallow tray without drainage holes.
- Add Growing Mat: Place a hydroponic mat or coco coir inside the tray.
- Moisten the Mat: Lightly mist the mat until it’s damp but not soaking.
Consequences of Selecting the Wrong Growing Medium
The choice of growing medium is crucial for the success of your microgreens. Incorrect selection or poor preparation can lead to several issues:
Poor Drainage
Using a medium that retains too much moisture can result in waterlogged conditions, promoting root rot and fostering environments where beneficial microorganisms cannot thrive.
Inadequate Nutrient Supply
Not all mediums provide the essential nutrients that microgreens need for optimal growth. A lack of nutrients can hinder development and result in weak, undernourished plants.
Uncontrolled pH Levels
An unsuitable growing medium may have pH levels that are not conducive to healthy plant growth. This imbalance can lead to nutrient deficiencies or toxicities, affecting the flavor and nutritional profile of the greens.
Pest and Disease Development
A poorly prepared medium can become a breeding ground for pests and diseases. If not addressed, these issues can spread quickly, damaging or destroying young plants.
Inconsistent Growth Rates
When the growing medium is not properly prepared, such as not being evenly leveled or packed, it can lead to uneven moisture distribution. This inconsistency results in patchy growth, which is undesirable for a uniform harvest.
Sowing and Watering Microgreens
Proper sowing and watering techniques are crucial for healthy microgreens.
- Sow Seeds Evenly: Scatter seeds evenly across the soil or mat surface.
- Cover Lightly: Lightly cover the seeds with a thin layer of soil (if using soil-based medium) or press them gently into the mat.
- Mist Generously: Use a spray bottle to mist the seeds thoroughly.
- Maintain Moisture: Keep the medium consistently moist but not waterlogged. Mist daily or use a gentle watering can if needed.
Growing Microgreens Indoors or Outdoors: Which is Better?
Consequences of Incorrect Seed Sowing and Watering
Improper seed sowing and watering can lead to a range of complications that hinder the growth of your microgreens. Here are some issues to watch out for:
Uneven Growth
If seeds are not evenly sown, some may receive more moisture and light than others, leading to uneven growth patterns. This can result in a patchy appearance and inconsistent harvesting quality.
Seed Rot
Overwatering or failing to provide adequate drainage can cause seeds to sit in water, leading to rot before they even have a chance to germinate. This not only wastes seeds but can also introduce fungal diseases to the growing medium.
Damping Off
This common problem arises when seeds are sown too densely or kept too moist. It leads to fungal infections that cause seedlings to wilt and die, resulting in significant losses for the grower.
Delayed Germination
Insufficient moisture can lead to seed dormancy, causing delayed or failed germination. This can significantly extend the time it takes to see any growth from your efforts.
Nutrient Leaching
Overwatering can wash away essential nutrients from the growing medium, depriving seedlings of vital resources needed for healthy development. This can result in nutrient-deficient plants that do not reach their full potential.
Light and Temperature
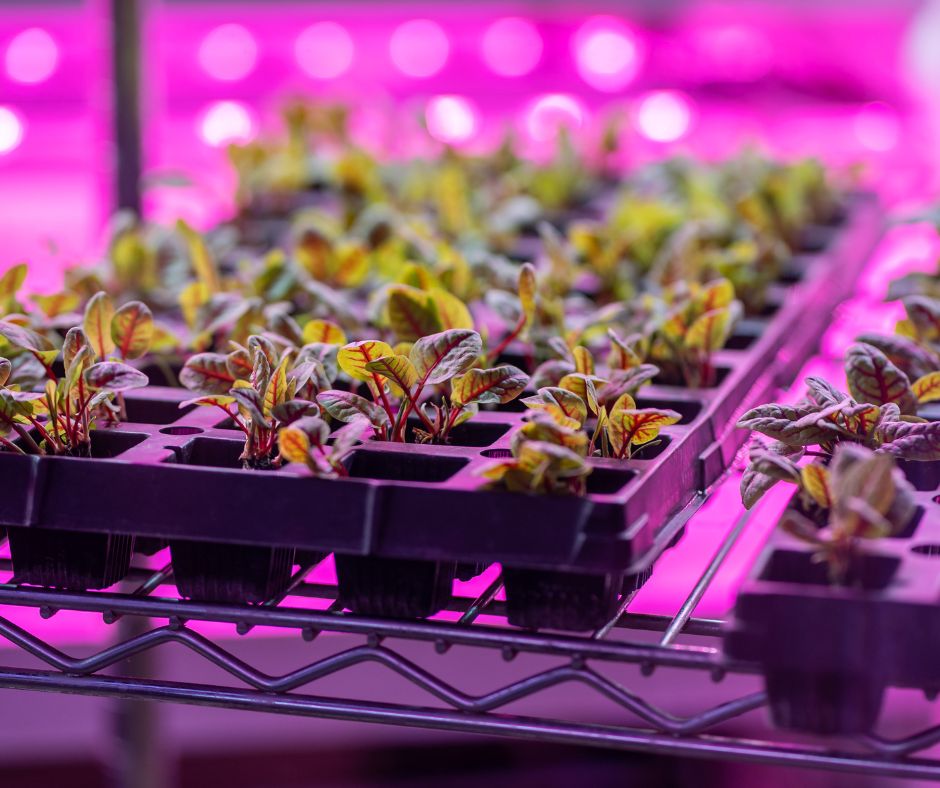
Microgreens thrive in specific light and temperature conditions.
Light
Place your trays in a sunny spot with indirect light or under grow lights. Aim for 12-16 hours of light per day.
Temperature
Maintain a temperature between 60-75°F (15-24°C). Ensure good air circulation to prevent mold growth.
Consequences of Incorrect Light and Temperature Conditions
Failing to provide the optimal light and temperature conditions for your microgreens can lead to several adverse effects:
Leggy Growth
Insufficient light can cause microgreens to stretch towards the light source, resulting in tall, spindly plants that are weak and less robust. This leggy growth compromises their structural integrity and may lead to reduced yields.
Poor Flavor Development
Microgreens grown in inadequate light often fail to develop their full flavor profiles, resulting in bland or insipid greens that do not enhance your culinary creations.
Slow Growth Rates
Unfavorable temperature conditions, whether too cold or too hot, can significantly hinder the germination and overall growth of microgreens, delaying your harvest and undermining your gardening efforts.
Increased Disease Risk
Warm, humid environments combined with too little air circulation can lead to the proliferation of mold and other fungal diseases, risking your microgreens’ health and potentially ruining your crop.
Nutritional Deficiencies
Microgreens failing to thrive due to improper light and temperature may not be able to produce essential nutrients effectively, reducing the health benefits you seek from these superfoods.
By ensuring that you maintain the ideal lighting and temperature for your microgreens, you’ll optimize their growth, flavor, and nutritional value.
Common Mistakes to Avoid
Here are a few more pitfalls to watch out for:
- Overwatering: Leads to mold and root rot. Keep the medium moist, not wet.
- Using the Wrong Containers: Ensure trays have adequate drainage.
- Overcrowding: Spread seeds evenly to avoid competition for light and nutrients.
Troubleshooting
Here’s how to address common issues:
- Mold: Increase air circulation and reduce humidity. Consider using a fan.
- Yellowing: Ensure sufficient light and check for nutrient deficiencies.
- Slow Growth: Maintain optimal temperature and light conditions. Check if the growing medium needs refreshing.
Harvesting and Storage
Knowing when and how to harvest ensures the best flavor and nutrition.
- Timing: Harvest when the first true leaves appear, usually 7-21 days after sowing.
- Method: Use sharp scissors to cut the microgreens just above the soil line.
- Storage: Store harvested microgreens in a sealed container in the refrigerator. They typically last up to a week.
Next Steps
Congratulations on taking the first step toward growing your own microgreens! With the knowledge gained from this guide, you’re well on your way to mastering the art of microgreen cultivation. Don’t be afraid to experiment with different seeds and growing conditions to find what works best for you. Happy gardening!
Visit the Garden Resources page for supplies and inspiration. Don’t forget to subscribe to the Calendula’s Garden Newsletter for more gardening tips.
Calendula’s Garden is reader supported. When you buy through links on our site, we may earn an affiliate commission. As an Amazon Associate, I earn from qualifying purchases. For more information, view our Disclaimer page. Thank you!