How to Use Privacy Screens to Create Dreamy Outdoor Rooms
Calendula's Garden is reader suported This post may contain affiliate links, more on our Disclaimer page. Thank you!
We’ve all been there. You settle into your favorite lounge chair with a good book and a cold drink, ready to soak up the afternoon sun. Just as you start to relax, you lock eyes with your neighbor who is taking out the trash, or a car drives by a little too loudly. The moment is broken.
Our backyards and patios should be our sanctuaries. Places where we can disconnect from the noise of daily life and reconnect with nature. But it is hard to feel truly relaxed when you feel like you are on display.
This is where the concept of the “outdoor room” comes into play. By treating your outdoor space like an extension of your home’s interior, you can create functional, cozy, and private areas that invite you to spend more time outside.
One of the most effective tools for achieving this transformation is the privacy screen. Far from just being a barrier, a well-chosen screen can define space, add artistic flair, and create the microclimate your garden needs to thrive. Whether you are working with a sprawling lawn or a compact balcony, learning how to utilize privacy screens can completely change how you experience your home.
Why You Need a Privacy Screen in Your Garden
Before we jump into materials and installation, let’s look at why these structures are such a game-changer for beginner gardeners and homeowners alike. It goes beyond just hiding from prying eyes.
Enhanced Privacy
The most obvious benefit is, of course, seclusion. If you live in a dense neighborhood or near a busy street, a privacy screen acts as a visual buffer. It stops the “fishbowl effect,” allowing you to dine, exercise, or garden without feeling self-conscious. It creates a boundary that says, “This is my personal space.”
Aesthetic Appeal
Think of a privacy screen as an accent wall for your garden. It introduces vertical interest in a space that might otherwise be very flat. With materials ranging from warm timber to intricate laser-cut metal, screens can serve as a backdrop for your favorite plants or stand alone as a piece of sculpture.
Protection From the Elements
For gardeners, this is a crucial benefit. A solid or semi-solid screen can act as a windbreak, protecting delicate plants from harsh gusts that might snap stems or dry out soil. It can also provide shade for shade-loving plants (like hostas or ferns) and offer you a cool spot to retreat to during the hottest part of the day.
Increased Property Value
Well-designed landscaping has a high return on investment. By defining “rooms” in your backyard, you effectively increase the usable square footage of your living space. Potential buyers often view a private, well-structured garden as a major asset.
Exploring Types of Privacy Screens
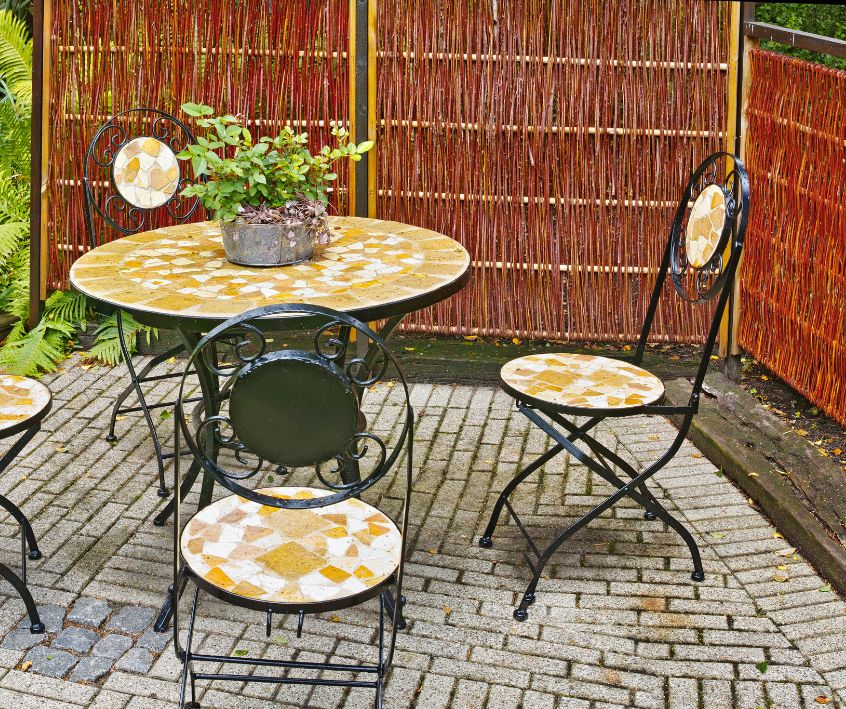
There is no one-size-fits-all solution. The right screen for you depends on your style, your budget, and how much maintenance you are willing to do. Here is a breakdown of the most popular options.
Wooden Screens
Wood is the traditional choice for a reason. It is warm, natural, and blends seamlessly with the garden environment.
- Pros: Highly customizable (paint, stain, cut to size), provides excellent sound dampening, natural aesthetic.
- Cons: Requires regular maintenance (staining/sealing) to prevent rot and insect damage; can be heavy to install.
- Design Idea: Try a horizontal slat fence with spacing between the boards. This “Venetian blind” look allows air and light to filter through while still obscuring the view, keeping the space from feeling claustrophobic.
Metal Screens
For a modern, industrial, or chic look, metal screens are gaining massive popularity.
- Pros: Extremely durable, low maintenance, pest-resistant. Corten steel (which develops a protective rust patina) is particularly trendy.
- Cons: Can absorb heat (be careful placing heat-sensitive plants right next to them), can be expensive, may reflect glare.
- Design Idea: Use laser-cut aluminum panels with botanical patterns. Backlight them with LED strips for a stunning dramatic effect at night.
Fabric Screens and Curtains
If you want something soft and romantic, or perhaps a temporary solution, fabric is the way to go.
- Pros: Inexpensive, easy to install, adds movement and softness, easy to change out seasonally.
- Cons: Can tear in high winds, may fade in the sun, requires cleaning to prevent mildew.
- Design Idea: Install outdoor curtains on a pergola or heavy-duty wire. You can tie them back when you want openness and draw them closed for an intimate dinner party.
Living Screens (Plants)
For the green thumbs among us, this is the ultimate choice. A living wall changes with the seasons and contributes to the local ecosystem.
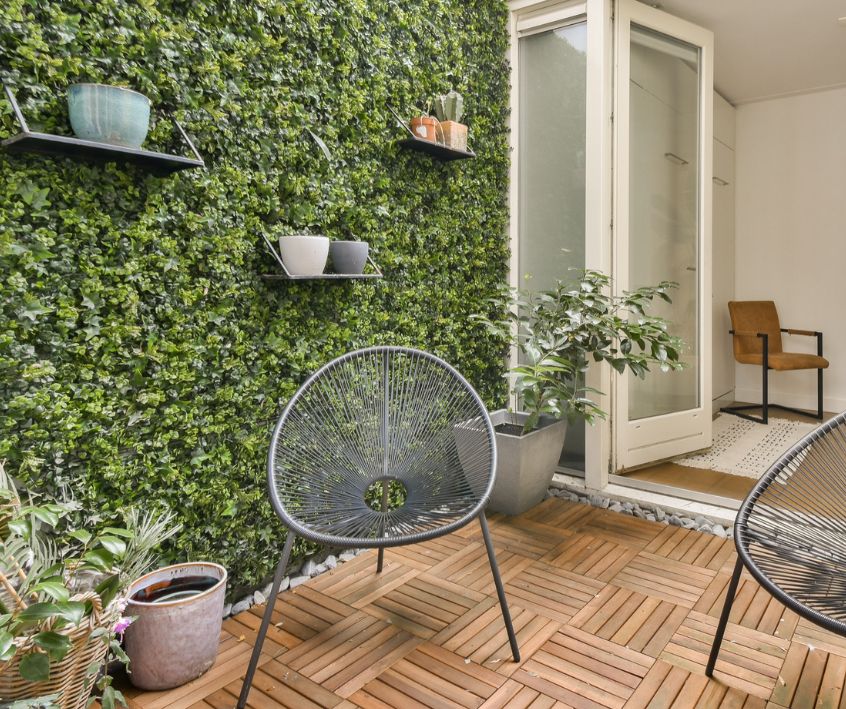
- Pros: Eco-friendly, improves air quality, cools the surrounding air, and encourages biodiversity (birds and pollinators).
- Cons: Takes time to grow to maturity, requires watering, pruning, and feeding.
- Design Idea: If you need height quickly, bamboo is a champion—but be sure to choose “clumping” bamboo, not “running” bamboo, or it will take over your entire yard. Alternatively, grow Star Jasmine on a trellis for a screen that smells divine when in bloom.
Combination Screens
Why choose one? Mixing materials creates texture and depth.
- Pros: Unique aesthetic, balances the hardness of structures with the softness of nature.
- Cons: Requires knowledge of maintaining multiple material types.
- Design Idea: Build a wooden frame with metal inserts, or install a basic wooden fence and plant climbing hydrangeas in front of it to soften the hard lines.
DIY vs. Professional Installation
Once you have picked your material, the next question is: who builds it?
When to Choose DIY
If you are handy with a drill and level, installing a privacy screen can be a rewarding weekend project. Freestanding screens, fabric curtains, and planter box trellises are excellent entry-level projects.
- Budget-Friendly: You save significantly on labor costs.
- Satisfaction: There is a unique pride in sitting behind a wall you built yourself.
A Simple DIY Guide for Beginners
- Check Regulations: Before you buy a single nail, check with your local HOA or city zoning office. There are often height restrictions for garden structures.
- Choose a Location: Mark out exactly where the screen will go. Use a string line to ensure it is straight.
- Anchor It: If you are building a permanent wooden screen, you will need to dig post holes and set posts in concrete. For lighter, freestanding screens on a patio, ensure they are weighted down or bolted to the floor to prevent tipping in the wind.
- Assemble: Attach your panels or slats to the posts. Use a level constantly—nothing ruins a look faster than a crooked fence.
- Finish: Sand, paint, or seal your material immediately to protect it from the weather.
When to Hire a Pro
If your project involves extensive excavation, pouring large amounts of concrete, or working with heavy steel beams, it is best to call in the experts. Also, if you are looking for a complex, integrated design that involves lighting and electrical work, a landscape contractor will ensure it is done safely and up to code.
Designing Your Outdoor Rooms
Now for the fun part. How do you actually arrange these screens to create distinct “rooms”? Here are a few layouts to inspire you.
The Cozy Seating Nook
Create a “living room” vibe by placing two screens in an L-shape around a corner of your patio. Place an outdoor sofa or a couple of Adirondack chairs in the corner. The screens create a sense of enclosure, making the vast outdoors feel intimate and safe. Add an outdoor rug to further define the floor space.
The Al Fresco Dining Area
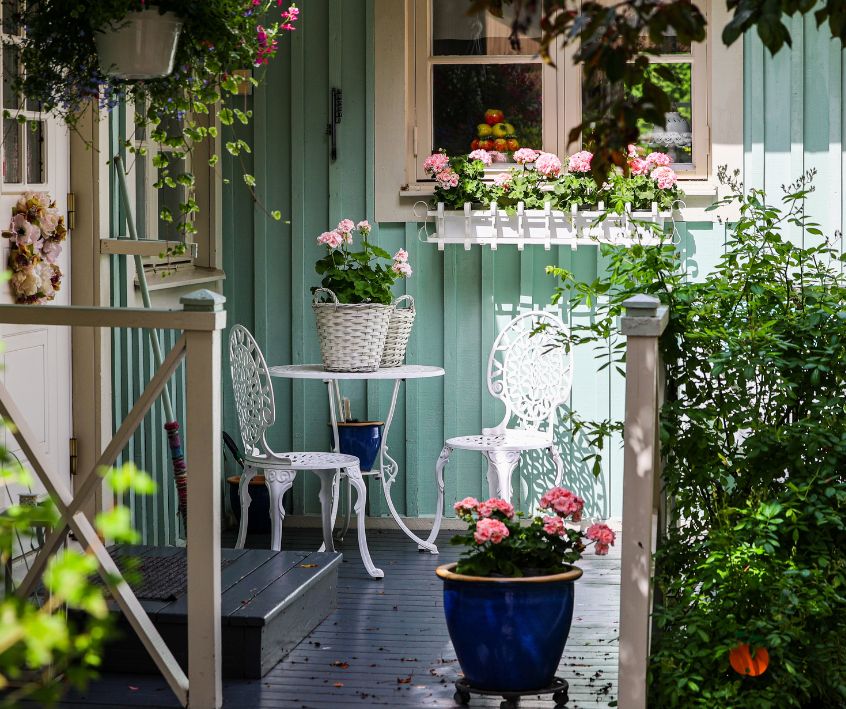
Nobody likes to feel watched while they eat. Position a privacy screen on the side of your dining table that faces the neighbor’s house or the street. If you use a trellis with climbing roses or grapevines, you create a lush, restaurant-style atmosphere right in your backyard.
The Outdoor Office
Working from home? Take it outside. To do this successfully, you need to reduce visual distractions. A tall, opaque screen (like wood or fabric) behind your monitor can block glare and hide the view of the kids’ trampoline or the garden shed, helping you focus.
The BBQ Zone / Outdoor Kitchen
Wind can be a nuisance when grilling. A strategically placed screen can block gusts, making it easier to control your cooking temperature. Use non-flammable materials like metal or stone veneer here for safety.
The Balcony Retreat
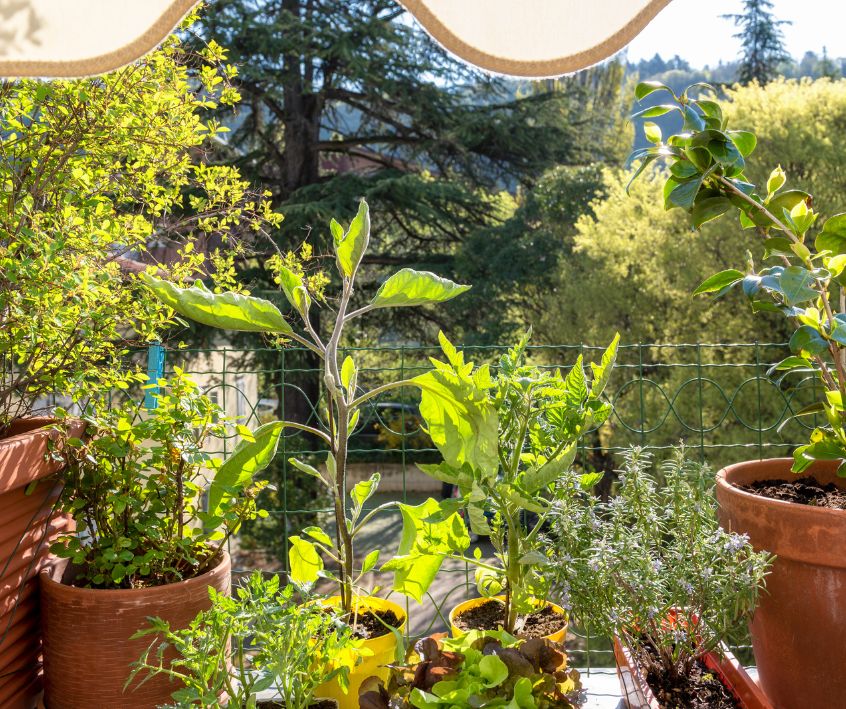
Apartment dwellers can play too. On a balcony, you often can’t drill into walls. Look for screens that come with their own weighted planter boxes. Plant tall grasses or bamboo in the base; the plants provide extra screening, and the heavy soil keeps the screen from blowing over.
Maintenance: Keeping Your Screens Looking Fresh
Your garden is a living, breathing entity, and the structures within it are exposed to the elements 24/7. A little care goes a long way.
For Wood:
Inspect your screens annually for signs of rot or termite damage. Every 2-3 years, give the wood a fresh coat of sealant or stain. This keeps the color rich and stops moisture from penetrating the grain.
For Metal:
Even treated metal can scratch. If you see a scratch on a painted metal screen, touch it up with rust-inhibiting paint immediately. For Corten steel, simply brush off debris—the rust is the protection.
For Fabric:
Take fabric screens down during winter or heavy storms. Wash them with mild soap and water once a season to prevent mold buildup.
For Plants:
Prune your living screens regularly to keep them dense. If a hedge gets too leggy (sparse at the bottom), it won’t provide privacy. Ensure they are getting enough water, especially if they are competing with large trees nearby.
Start Building Your Sanctuary
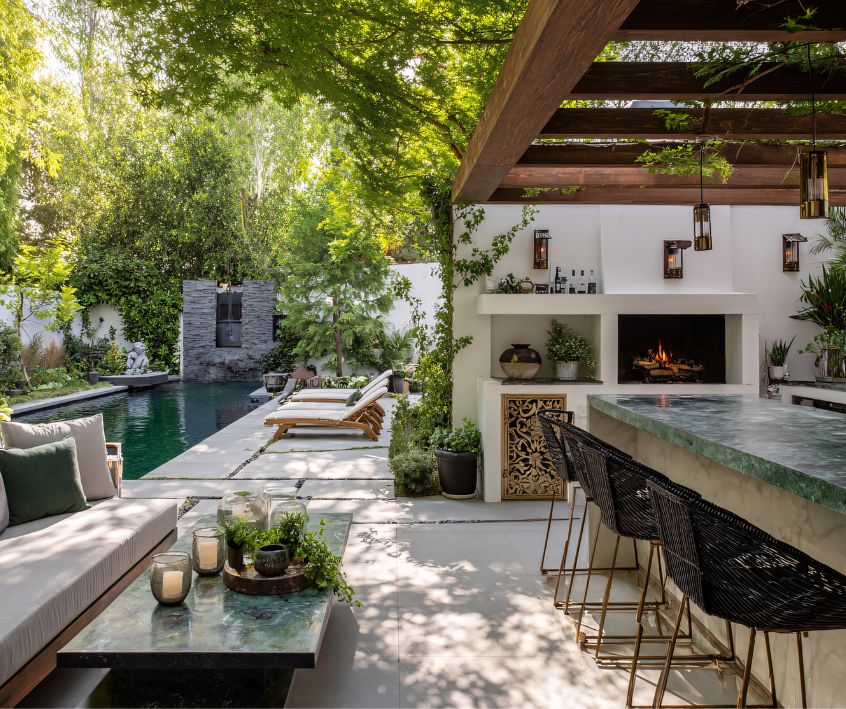
Creating an outdoor room isn’t about expensive renovations or professional landscaping crews. It is about carving out a little slice of peace for yourself. By using privacy screens, you can turn an exposed patch of grass into a secret garden, a dining destination, or a restful retreat.
Start small. Maybe it’s just one trellis with a jasmine plant to block the view of the driveway. Or maybe it’s a set of curtains for your porch. Whatever you choose, the goal is to make your outdoor space feel as comfortable and welcoming as your indoor space. So, grab your sketchbook, head outside, and start dreaming up your new favorite room.
Visit the Garden Resources page for supplies and inspiration. Don’t forget to subscribe to the Calendula’s Garden Newsletter for more gardening tips.
Calendula’s Garden is reader supported. When you buy through links on our site, we may earn an affiliate commission. As an Amazon Associate, I earn from qualifying purchases. For more information, view our Disclaimer page. Thank you!