How to Preserve and Store Your Homegrown Harvest for Year-Round Enjoyment
Calendula's Garden is reader suported This post may contain affiliate links, more on our Disclaimer page. Thank you!
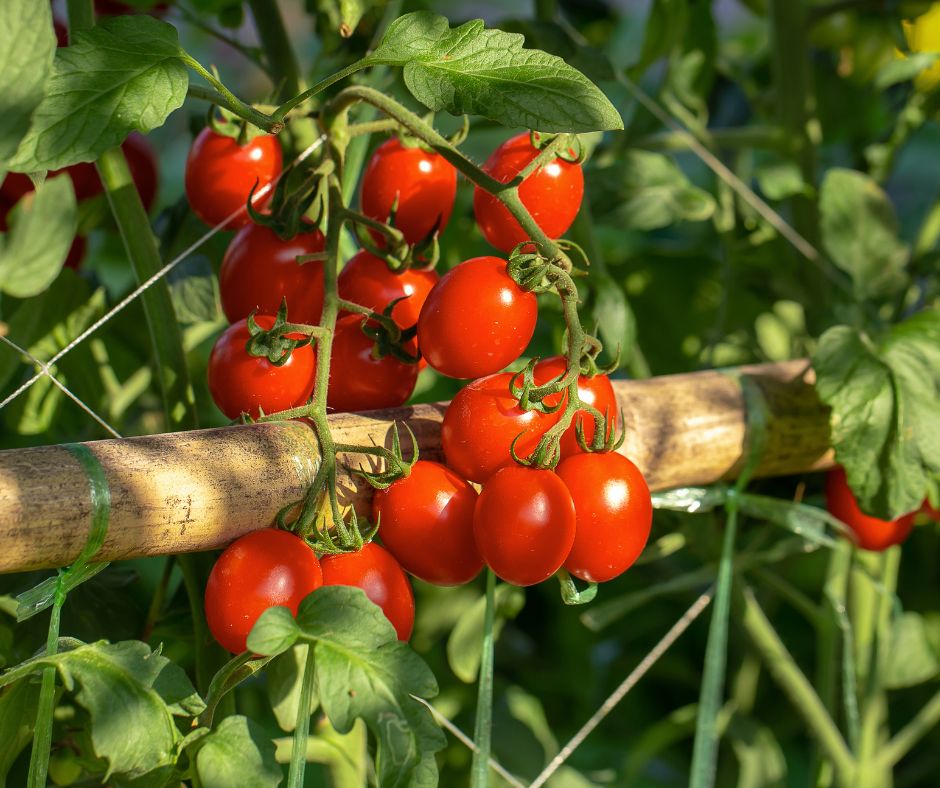
After months of nurturing your garden, there’s nothing more satisfying than reaping a bountiful harvest. Tomatoes ripen on the vine, herbs release their fragrant aroma, and the fruits of your labor are ready to enjoy.
But what happens when your harvest yields more than you can consume in a week? Learning how to preserve and store your homegrown produce ensures you can savor your garden’s flavors long after the growing season ends.
This guide will walk you through our tried-and-true methods for preserving your harvest, from canning and freezing to drying and proper storage. By the end, you’ll be equipped to create a sustainable system that reduces waste and keeps you stocked with nutritious, home-grown ingredients all year round.
Harvesting at Peak Freshness: Tips for Picking Your Produce
The first step in preserving your homegrown produce is harvesting it at just the right time. Produce that is picked at its peak freshness is more flavorful and nutrient-rich, providing the best results when preserved.
Know your plants
Most fruits and vegetables have visual and tactile cues to indicate ripeness. For example, tomatoes should feel firm yet slightly soft and have a deep, even color, while zucchini is best picked when it’s about 6–8 inches long.
Harvest early in the day
Mornings are ideal for picking because the cooler temperatures help keep your fruits and vegetables crisp.
Handle with care
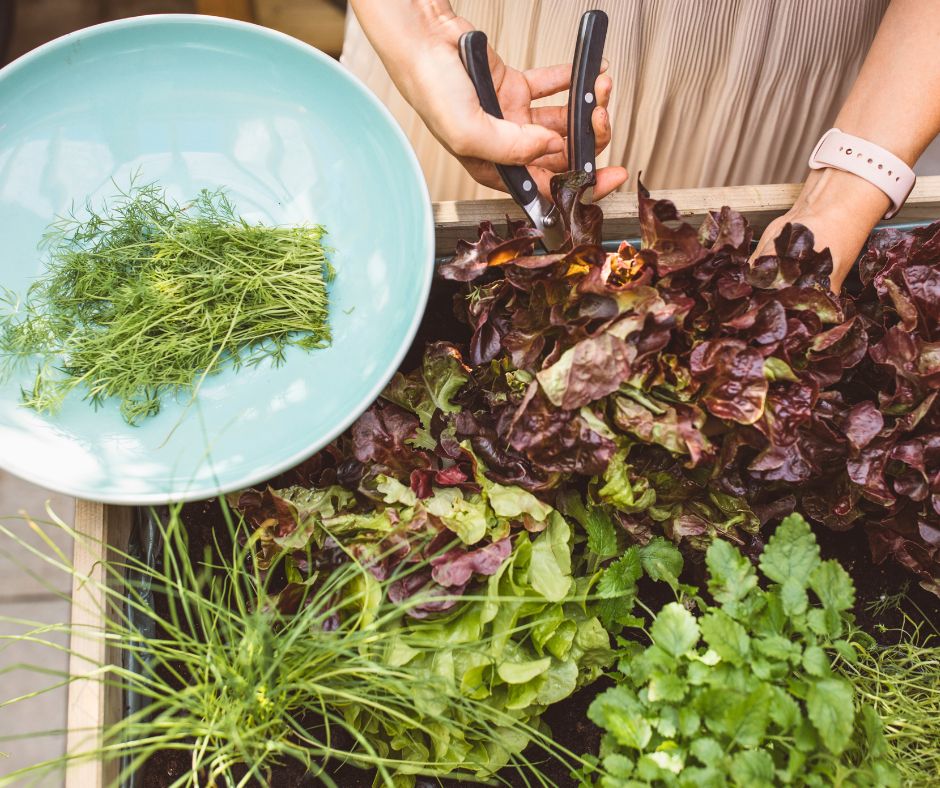
Use scissors or pruners to harvest delicate plants like herbs or lettuce, and avoid bruising fruits like berries to maintain their integrity for preservation.
Detailed Guide to Common Preservation Methods
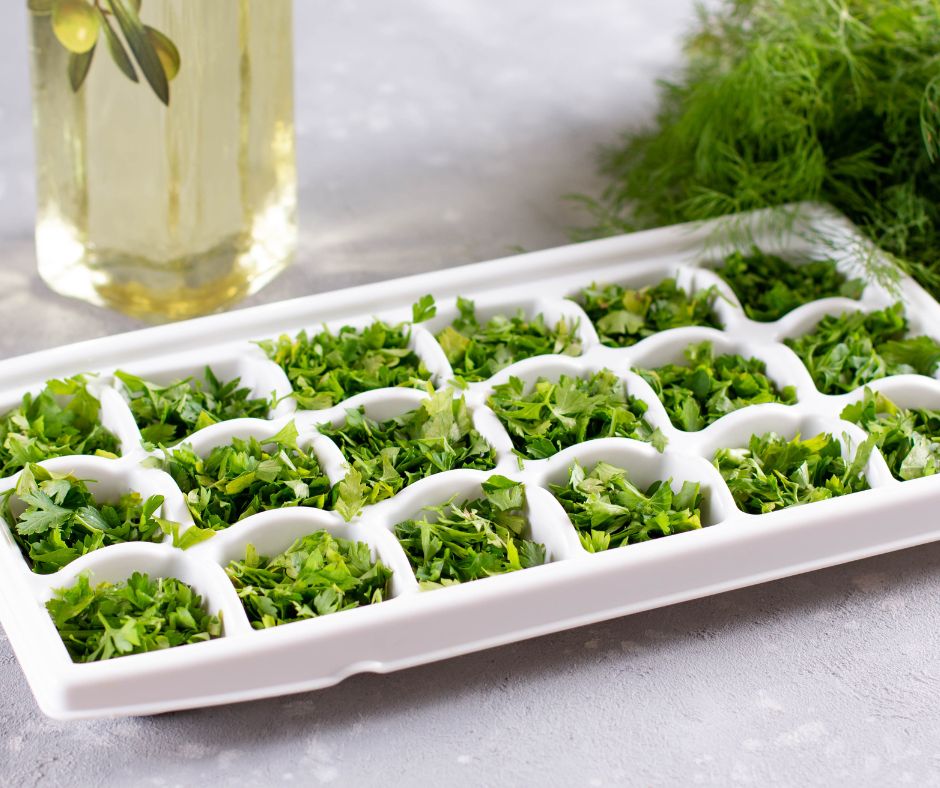
There are numerous ways to preserve your harvest, each suited to different types of produce. Below are three of the most popular and effective methods.
Helpful Food Preservation Equipment
Water Bath Canning Pot with Rack and Lid – Starter Kit
Ball Complete Book of Home Preserving
DOQAUS Ice Cube Trays with Lids and Bin
NESCO Gardenmaster Pro Food Dehydrator
1. Canning
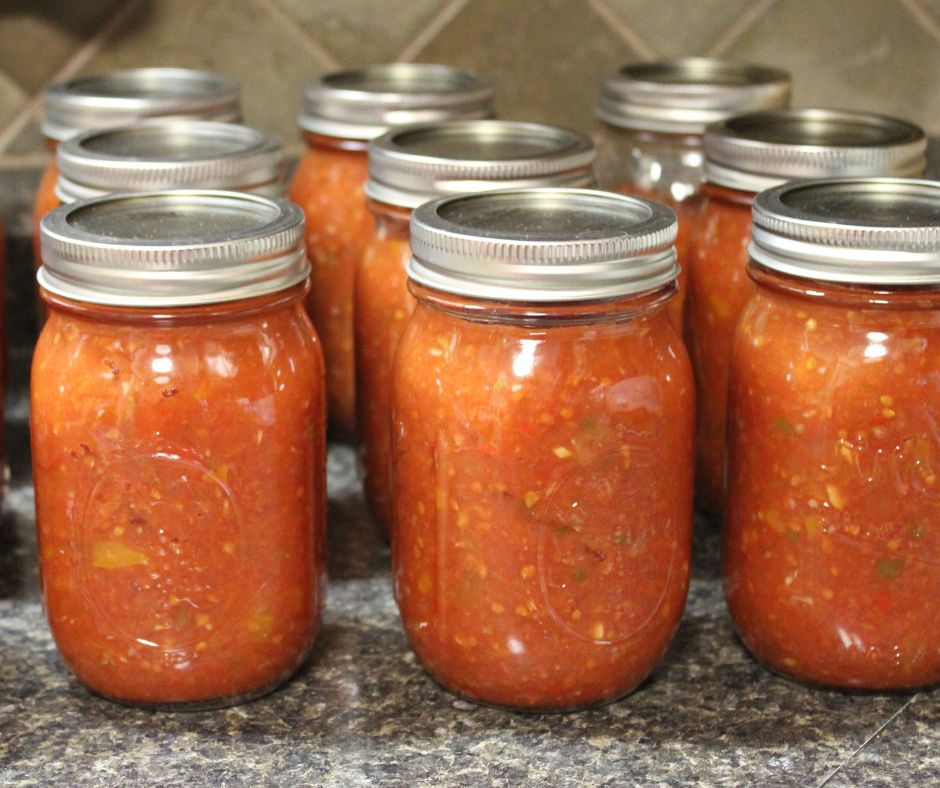
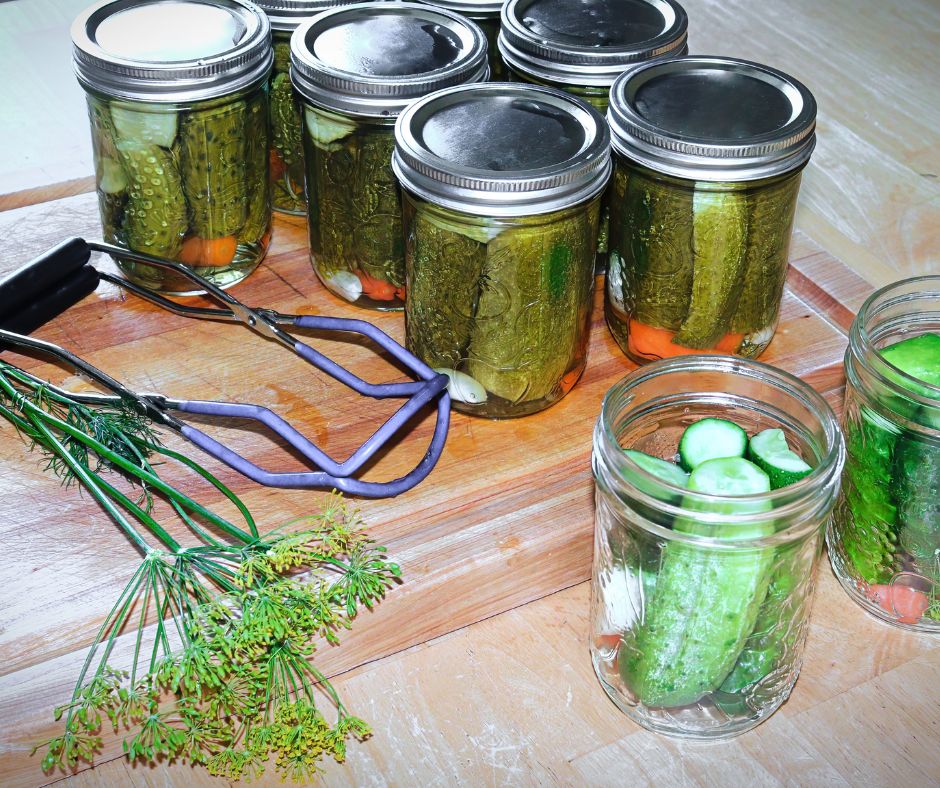
Canning is a time-honored technique that allows you to seal your produce in airtight jars, making it shelf-stable for months—or even years. It’s particularly effective for high-acidity items like tomatoes, pickles, and jams.
Steps for Canning:
- Sterilize your jars by boiling them in water for at least 10 minutes.
- Prepare your fruits or vegetables by washing them thoroughly and following a trusted canning recipe.
- Pack the jars, leaving a bit of headspace at the top to allow for expansion.
- Use a water bath or pressure canner to seal the jars, depending on whether your food is high- or low-acid.
Tip: Always use recipes specifically designed for canning. The right acidity balance is critical to preventing bacteria growth and keeping your preserved goods safe.
I recommend the Ball Complete Book of Home Preserving, I have used the recipes in this book for years and every one comes out great and stores well.
Simple Canned Tomato Recipe
Preserving tomatoes at their peak ripeness is a great way to enjoy their flavor year-round. Follow this simple recipe for delicious canned tomatoes:
Ingredients:
- 10 pounds of ripe tomatoes
- 4 tablespoons of bottled lemon juice (or 1/4 teaspoon of citric acid per jar)
- Non-iodized salt (optional, 1/2 teaspoon per pint jar, 1 teaspoon per quart jar)
Instructions:
- Prepare the tomatoes: Wash the tomatoes thoroughly. To remove the skins, blanch them by placing them in boiling water for 30–60 seconds, then transfer to an ice bath. Once cooled, peel off the skins and core the tomatoes.
- Sterilize your jars: Boil the jars and lids in water for at least 10 minutes to ensure they are clean and safe.
- Fill the jars: Add 1 tablespoon of bottled lemon juice (or 1/4 teaspoon of citric acid) to each pint jar (2 tablespoons for quart jars). Pack the peeled tomatoes into the jars, pressing gently to remove air bubbles. Add salt if desired, and leave 1/2 inch of headspace at the top.
- Seal and process: Wipe the rims of the jars clean, place the lids on, and screw the bands on until fingertip tight. Process the jars in a boiling water bath for 40 minutes for pints or 45 minutes for quarts (adjust for altitude if necessary).
- Cool and store: Once processed, remove the jars from the water and set them on a towel to cool. Check that each lid has sealed properly by pressing the center—it should not pop back. Store in a cool, dark place for up to 12 months.
With this recipe, you can enjoy the vibrant taste of your summer tomatoes in soups, sauces, or stews even during the colder months!
2. Freezing
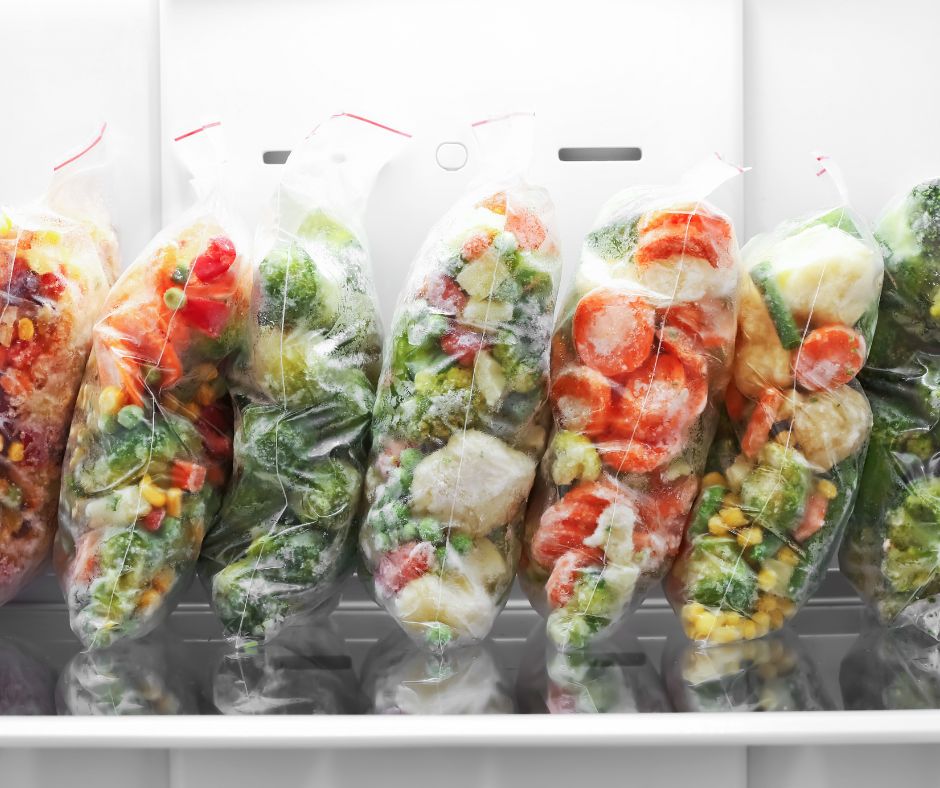
Freezing retains the flavor, texture, and nutritional value of many fruits, vegetables, and even herbs. It’s quick and works well for items like berries, green beans, and pesto.
Steps for Freezing:
- Blanch vegetables like corn or broccoli in boiling water for 1–3 minutes to help preserve color and texture.
- Lay the produce flat on a baking sheet and freeze individually before storing in airtight containers or freezer bags. This prevents clumping.
- For herbs, chop and freeze them in an ice cube tray with water or olive oil for convenient portions.
Tip: Label and date your freezer bags or containers to ensure you use the oldest items first.
I switched to DOQAUS Ice Cube Trays with Lids and Bin with silicone bottoms and it has saved me so much stuggle and time.
3. Drying
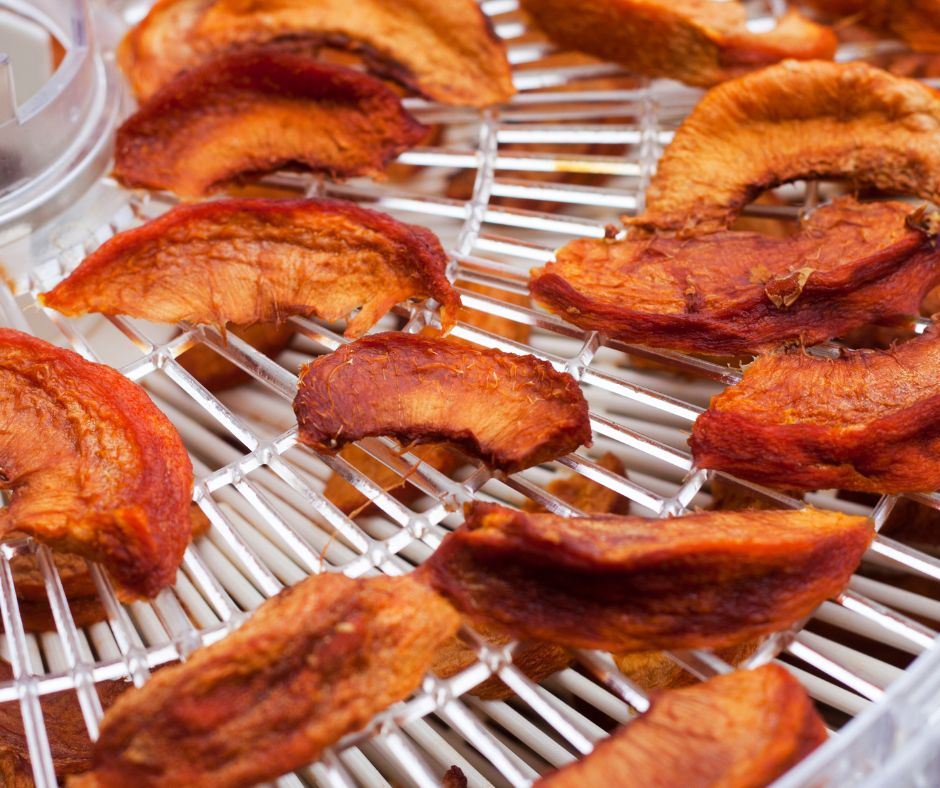
Drying food, whether through air drying, using a food dehydrator, or oven-drying, is a fantastic way to preserve items like herbs, fruits, and even meat for homemade snacks like fruit leather or jerky.
Steps for Drying:
- Wash and slice your produce into even pieces to ensure they dry at the same rate.
- Use a food dehydrator for best results, setting it to the appropriate temperature for your food type.
- Once dried, store the goods in airtight containers to maintain freshness.
Tip: Dried produce makes for excellent additions to trail mix, soups, or baked goods.
I have had great deydrator results with the COSORI Food Dehydrator and the NESCO Gardenmaster Pro Food Dehydrator
Drying Garden Bell Peppers
Bell peppers are an excellent candidate for drying, as they retain their vibrant color and versatile flavor. Follow these steps to dry bell peppers easily and effectively:
1. Prepare the peppers
Wash the bell peppers thoroughly and remove the stems, seeds, and membranes. Slice them into uniform strips or small pieces to ensure even drying.
2. Blanching (optional)
If you prefer to preserve the color and texture further, blanch the slices in boiling water for 1–2 minutes and immediately transfer them to an ice bath to cool. Pat dry with a towel.
3. Arrange for drying:
Using a dehydrator: Spread the bell pepper slices in a single layer on the dehydrator trays, ensuring none overlap. Set the dehydrator to 125–135°F (50–57°C) and dry for 8–12 hours, checking periodically for crispness.
Oven method: Preheat your oven to the lowest setting (around 140–150°F or 60–65°C). Place the slices on a baking sheet lined with parchment paper and leave the oven door slightly ajar to allow moisture to escape. Dry for 6–8 hours, flipping occasionally.
Air drying (for dry climates): Thread the slices onto a string or lay them on a screen in a warm, dry, and well-ventilated spot. This method can take several days, depending on humidity.
4. Check for doneness
The peppers should feel crisp and brittle once fully dried. If they remain pliable, continue drying until the ideal texture is achieved.
5. Store properly
Once dried, allow the bell peppers to cool completely. Store them in airtight containers, such as mason jars or vacuum-sealed bags, in a cool, dark place. Properly stored dried bell peppers can last up to a year.
Tip: Dried bell peppers can be rehydrated by soaking in warm water for 15–20 minutes or added directly to soups, stews, or casseroles for a burst of flavor.
Best Practices for Storing Your Preserved Goods
Proper storage is key to maintaining the quality and safety of your preserved produce. Follow these guidelines to ensure your hard work doesn’t go to waste:
- Avoid direct sunlight: Store canned goods and dried produce in a dark, cool place, such as a pantry or basement.
- Control temperature: Freezers should be kept at or below 0°F, while pantries should remain under 75°F.
- Use airtight containers for dried goods to protect them from humidity and pests.
Keeping Track of Your Stock and Incorporating Preserved Items in Your Cooking
One of the joys of preserving your harvest is having a ready supply of ingredients for your favorite recipes. Stay organized with these tips:
- Label and organize your jars, bags, or containers with the product name and preservation date.
- Create a use-by list to ensure you consume the earlier preserves before opening newer ones.
- Plan meals around your stock, such as making a tomato-based soup from canned tomatoes or mixing dried herbs into homemade marinades.
If you’re unsure how to use certain preserved items, experiment! For example, rehydrate dried fruit to add to baked goods, or blend frozen vegetables into soups and stews.
Sustainable Living Tips: Reducing Food Waste Through Preservation
By dedicating time to preserving your homegrown produce, you’re not only stocking your pantry but also supporting sustainable living practices. Here are a few additional ways to make an even greater impact:
- Compost scraps from cleaning and preparing produce and creating nutrient-rich soil for next year’s garden.
- Preserve “ugly” produce that might not be visually perfect but still tastes amazing. Transform blemished tomatoes into a flavorful sauce or soft apples into applesauce.
- Share your bounty with neighbors and friends. Any extra jars of jam or dried herbs make thoughtful, homemade gifts.
Share the Fruits of Your Labor
Preserving and storing your homegrown harvest is as much about sustainability and resourcefulness as it is about savoring the flavors of the season year-round.
By harnessing techniques like canning, freezing, and drying, you’re not only reducing food waste but also enjoying the satisfaction of self-sufficiency.
Whether you’re just getting started or are a seasoned gardener, your harvest preservation journey is uniquely yours to share.
Take a moment to snap a photo of your beautifully labeled jars or your freshly dried herbs and tag us—your community of gardeners and home cooks is eager to connect and swap tips.
Visit the Garden Resources page for supplies and inspiration. Don’t forget to subscribe to the Calendula’s Garden Newsletter for more gardening tips.
Calendula’s Garden is reader supported. When you buy through links on our site, we may earn an affiliate commission. As an Amazon Associate, I earn from qualifying purchases. For more information, view our Disclaimer page. Thank you!