How to Make Spring Potpourri Recipes with Garden Fresh Ingredients
Calendula's Garden is reader suported This post may contain affiliate links, more on our Disclaimer page. Thank you!
The early days of spring have an enchanting quality that feels full of renewal and fresh possibilities. The air changes, the soil warms up, and suddenly, your garden bursts into life with vibrant colors and intoxicating scents.
If you are like many of our community members, you probably wish you could bottle that fresh, energetic feeling and bring it inside.
Well, the good news is that you can. Making your own potpourri is a wonderful, sustainable way to extend the life of your garden blooms.
Unlike those dusty bags of synthetic fragrance you find at the grocery store, homemade potpourri is all-natural, chemical-free, and uniquely yours.
It creates a healthier home environment for your family and ensures that nothing in your garden goes to waste.
For beginner gardeners, this project is the perfect way to celebrate your first harvest. Whether you are growing a few pots of herbs on a balcony or managing a raised bed full of flowers, you have everything you need to get started.
Let’s look at how you can turn your hard work in the soil into a beautiful, aromatic display for your home.
Gathering Your Garden Bounty
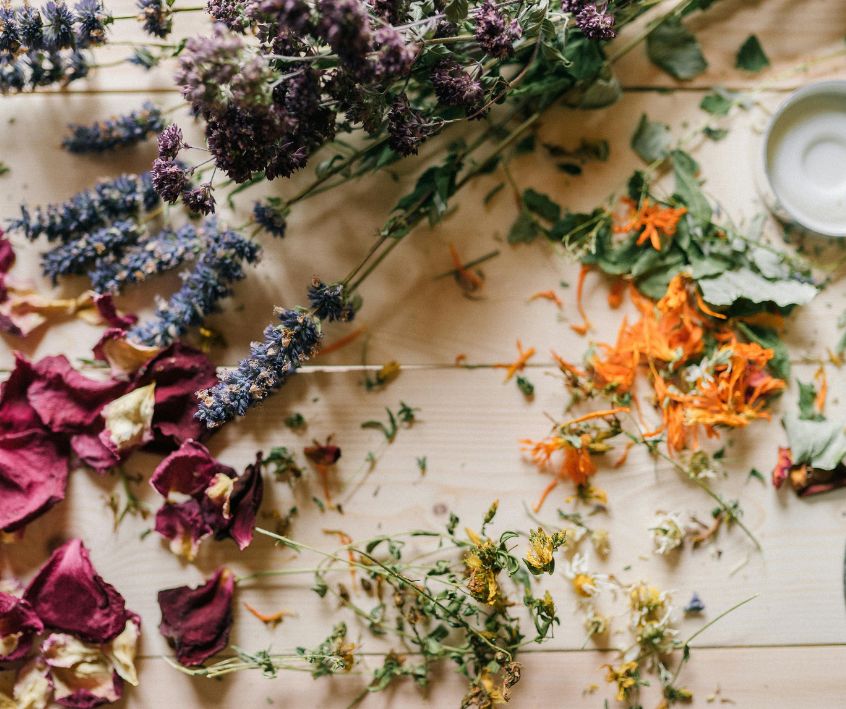
Before we start mixing, we need to gather our materials. The beauty of making your own potpourri is that it relies on what is seasonally available. You don’t need to buy expensive imported flowers; simply look at what is thriving in your backyard.
Essential Ingredients
- Flowers: Look for sturdy blooms that hold their shape and scent well when dried. Roses, lavender, marigolds, scented geraniums, and peonies are fantastic choices.
- Herbs: Aromatic herbs are the backbone of a good spring blend. Rosemary, thyme, sage, mint, and lemon balm add fresh, green notes that balance out sweet florals.
- Fixative: This is the secret ingredient for long-lasting scent. A fixative absorbs essential oils and releases them slowly over time. Orris root (powdered iris root) is the traditional choice, but you can also use cellulose fiber or even dried citrus peel in a pinch.
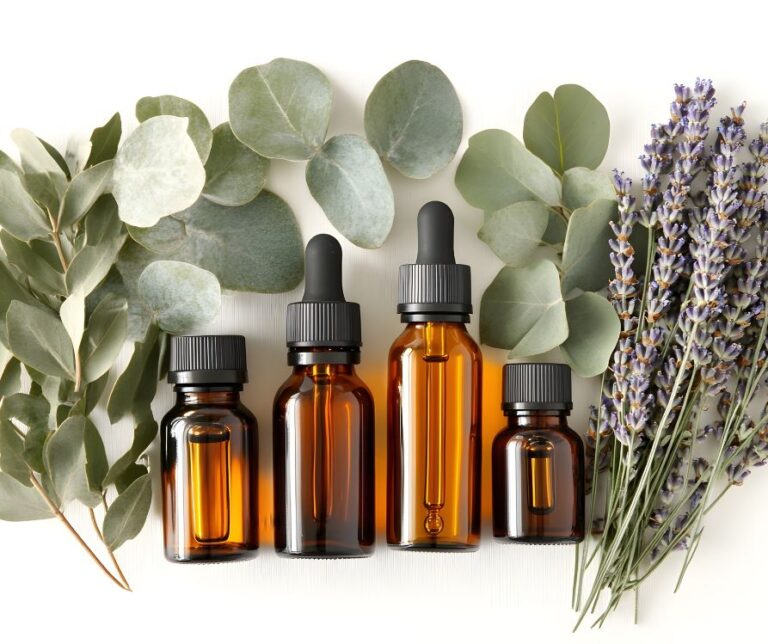
- Essential Oils: While your dried plants will have a subtle scent, adding a few drops of high-quality, organic essential oil will give your potpourri the strength to fragrance a room.
- Fillers: These add visual interest. Think pinecones, dried citrus slices, or interesting seed pods you find while weeding.
Tools You Will Need
- Garden shears or scissors
- A shallow tray, baking sheet, or mesh screen for drying
- A large mixing bowl
- A wooden spoon
- Airtight glass jars for curing (mason jars work perfectly)
Step-by-Step: From Soil to Scent
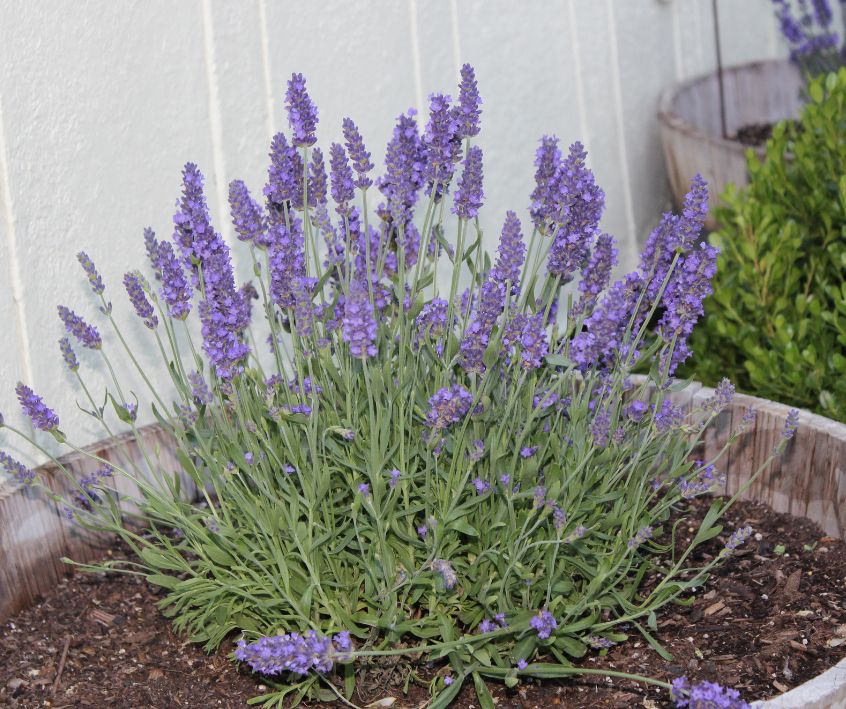
Creating potpourri is a lesson in patience. It isn’t difficult, but it does require waiting for nature to do its work. The most critical step is ensuring your ingredients are completely dry. If you leave moisture in your petals, your beautiful jar of flowers can turn moldy.
1. Harvesting
Head out to the garden in the mid-morning, just after the dew has evaporated but before the sun is at its peak. This is when the concentration of essential oils in the plant is highest. Select flowers that are just beginning to open; if they are fully blown or wilting, they won’t retain their scent as well.
2. Drying Your Ingredients
You have a few options here. If you have a food dehydrator, you can dry your flowers and herbs on a low setting (around 95°F or 35°C) for 12 to 24 hours.
If you don’t have a dehydrator, don’t worry! You can use your oven. Set it to the lowest possible temperature, spread your petals and leaves in a single layer on a baking sheet, and leave the door cracked open slightly to let moisture escape.
Check them every 30 minutes. You want them to feel like paper, crisp and brittle to the touch.
For the most eco-friendly method, simply air dry them. Spread your harvest on a mesh screen or paper towel in a warm, dark, and well-ventilated room. This takes about a week, but it preserves the color beautifully.
3. Mixing and Scenting
Once everything is bone-dry, place your flowers, herbs, and fillers into your large bowl.
In a separate small dish, mix your fixative (about one tablespoon per four cups of dried material) with your chosen essential oils (about 15-20 drops).
Stir this paste until the oil is absorbed, then toss it into the big bowl with your botanicals. Gently mix everything with your hands or a wooden spoon, being careful not to crush the fragile petals.
4. Curing
This is the step most people skip, but it makes all the difference. Transfer your mixture into an airtight glass jar and seal it shut. Place the jar in a dark, cool cupboard for four to six weeks.
Why wait so long? This “curing” period allows the essential oils to permeate the dry material. Shake the jar gently every few days to redistribute the scent. When you finally open it, the fragrance will be rich and complex.
Garden-Fresh Recipe Variations
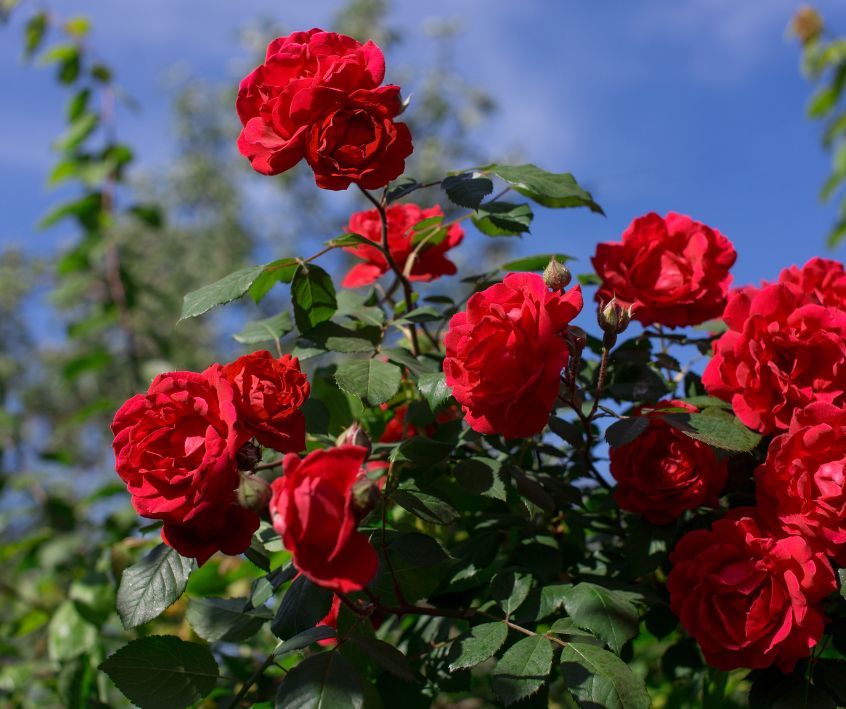
Not sure which scents go together? Here are three reliable recipes to help you get started. Feel free to substitute ingredients based on what you have growing in your garden.
The “Pollinator’s Paradise” Blend
This blend celebrates the flowers that bees and butterflies love. It smells sweet, floral, and deeply relaxing—perfect for a bedroom or bathroom.
- Dry Ingredients: 2 cups Rose petals, 1 cup Lavender buds, 1/2 cup Chamomile flowers.
- Essential Oils: Rose Geranium and Lavender.
- Vibe: Calming, classic, and soft.
The “Zesty Morning” Blend
If you need a pick-me-up in the kitchen, this citrus-forward blend is ideal. It uses vigorous herbs that are easy for beginners to grow.
- Dry Ingredients: 1 cup dried Lemon Balm leaves, 1 cup Mint leaves, 1/2 cup dried Lemon or Orange slices (dehydrated until crisp).
- Essential Oils: Lemon, Bergamot, and Peppermint.
- Vibe: Clean, energetic, and bright.
The “Herb Garden” Blend
This is an earthy, grounding mix that smells like a walk through the garden after the rain. It’s excellent for living areas and neutralizes cooking odors well.
- Dry Ingredients: 1 cup Rosemary sprigs, 1 cup Sage leaves, 1/2 cup Thyme, dried Eucalyptus leaves (if available).
- Essential Oils: Rosemary, Cedarwood, and Eucalyptus.
- Vibe: Fresh, woody, and green.
Tips for Success
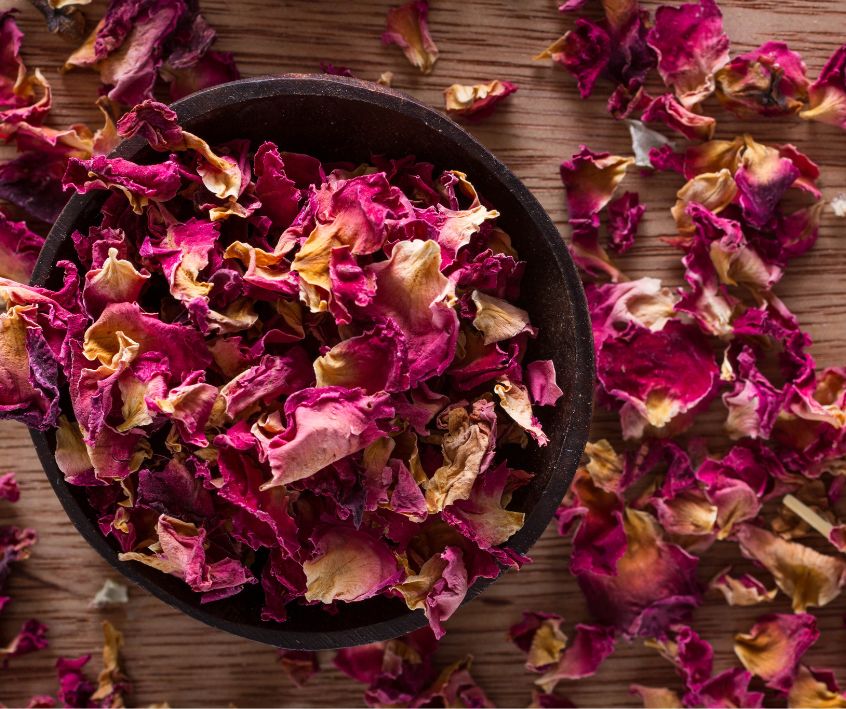
Making potpourri is more art than science, so don’t be afraid to experiment. However, there are a few tricks to keep your creation looking and smelling its best.
Refresh the Scent
Natural potpourri doesn’t last forever. After a month or two on display, you might notice the scent fading. You don’t need to throw it out! Simply add a few more drops of essential oil, stir it up, and if possible, put it back in a sealed jar for a few days to “recharge.”
Keep it Out of Direct Sun
While a bowl of potpourri looks lovely on a sunny windowsill, direct sunlight will bleach the colors of your dried flowers and evaporate the essential oils much faster. A coffee table or a shelf away from the window is a better spot.
Focus on Texture
While scent is the main goal, potpourri is also a visual decor. Try to balance your textures. If you have a lot of soft, flat rose petals, add something spiky like dried thistle or round like globe amaranth to create visual contrast.
Bring the Outdoors In
Creating your own spring potpourri is a rewarding way to close the loop in your garden. It reminds us that our plants provide us with so much more than just food or visual beauty. They can transform the atmosphere of our homes and support our well-being.
Plus, a jar of homemade potpourri makes a thoughtful, sustainable gift for friends and neighbors. It shows that you took the time to grow, harvest, and create something special by hand.
We would love to see what you create from your garden! Next time you are pruning your herbs or deadheading your roses, save those trimmings and give this project a try.
Visit the Garden Resources page for supplies and inspiration. Don’t forget to subscribe to the Calendula’s Garden Newsletter for more gardening tips.
Calendula’s Garden is reader supported. When you buy through links on our site, we may earn an affiliate commission. As an Amazon Associate, I earn from qualifying purchases. For more information, view our Disclaimer page. Thank you!