How to Make Hydrating Herbal Face Serums at Home
Calendula's Garden is reader suported This post may contain affiliate links, more on our Disclaimer page. Thank you!
Hydrated, glowing skin isn’t always about splurging on expensive beauty products. Instead, why not create a hydrating face serum tailored to your skin’s needs and preferences?
Not only is this a cost-effective solution, but it also ensures you know exactly what you’re applying to your skin.
With just a few simple ingredients, you can craft a serum that hydrates, nourishes, and rejuvenates your skin. This guide will walk you through every step.

Why a DIY Hydrating Face Serum?
A hydrating face serum is the MVP of any skincare routine. Lightweight yet powerful, serums are designed to penetrate deep into the skin, delivering concentrated ingredients to target dehydration, dullness, or irritation. By making your own, you can:
- Customize to Your Needs: Use ingredients that suit your skin type, whether it’s dry, sensitive, or acne-prone.
- Save Money: Store-bought serums often come with hefty price tags. With DIY, you get more bang for your buck.
- Eliminate Harsh Chemicals: Avoid questionable additives by sticking with natural, high-quality ingredients.
Making your own face serum is not only fulfilling but also gentle on both your skin and your wallet.
How to Create a Winter Skincare Routine for Dry Skin
Ingredients You’ll Need
Before you start, gather the following ingredients. Each one is chosen for its hydrating properties and overall skin benefits.
Base Oils (Primary Hydrators)
- Jojoba oil: Mimics the skin’s natural sebum and is great for all skin types.
- Rosehip oil: Rich in vitamins A and C, it boosts hydration and promotes healing.
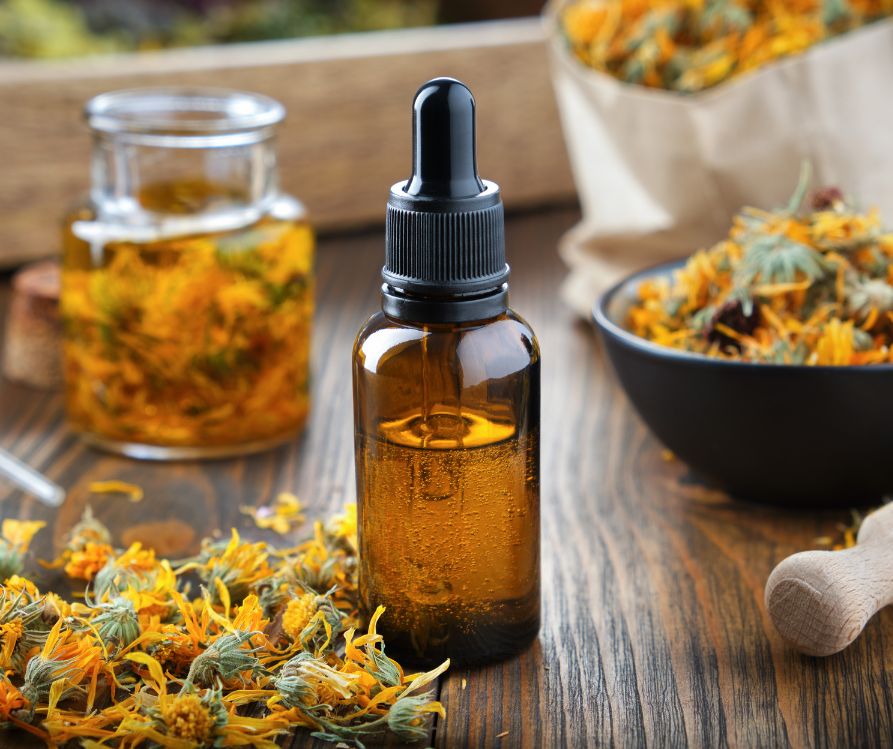
- Calendula oil: Packed with antioxidants, Calendula oil helps protect the skin from oxidative stress and environmental damage.
Essential Oils (For Added Skin Benefits)
- Lavender oil: Calms inflammation and soothes sensitive skin.
- Frankincense oil: Supports skin regeneration and reduces fine lines.
Note: Essential oils are potent, so always dilute them in a base oil.
Optional Additives
- Vitamin E oil: Acts as a preservative and provides antioxidant benefits.
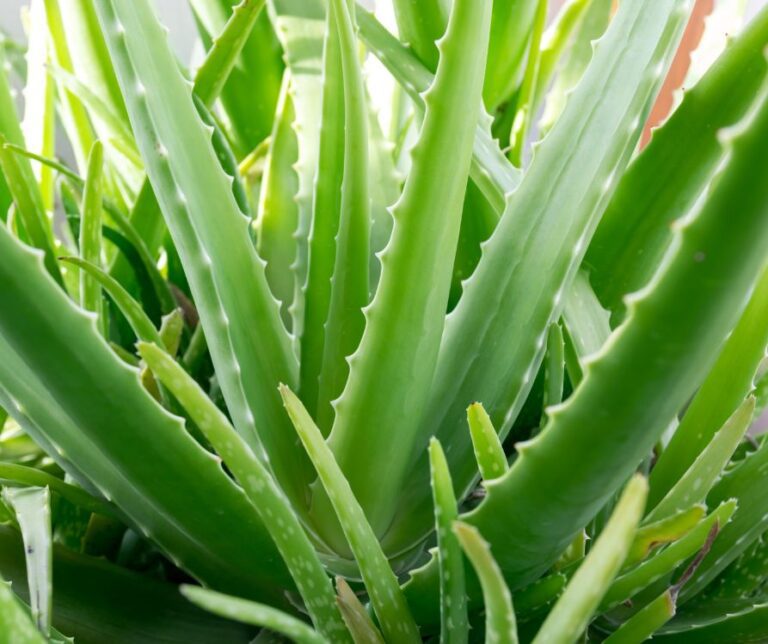
- Aloe vera gel (optional): Intensely hydrating and soothing, great for dry or irritated skin.
Keep in mind, you can adjust your ingredients based on your skin’s specific needs. For instance, those with oily skin may prefer grapeseed oil, while dry skin types can benefit from adding a few drops of argan oil.
Step-by-Step Instructions for Making Your Serum
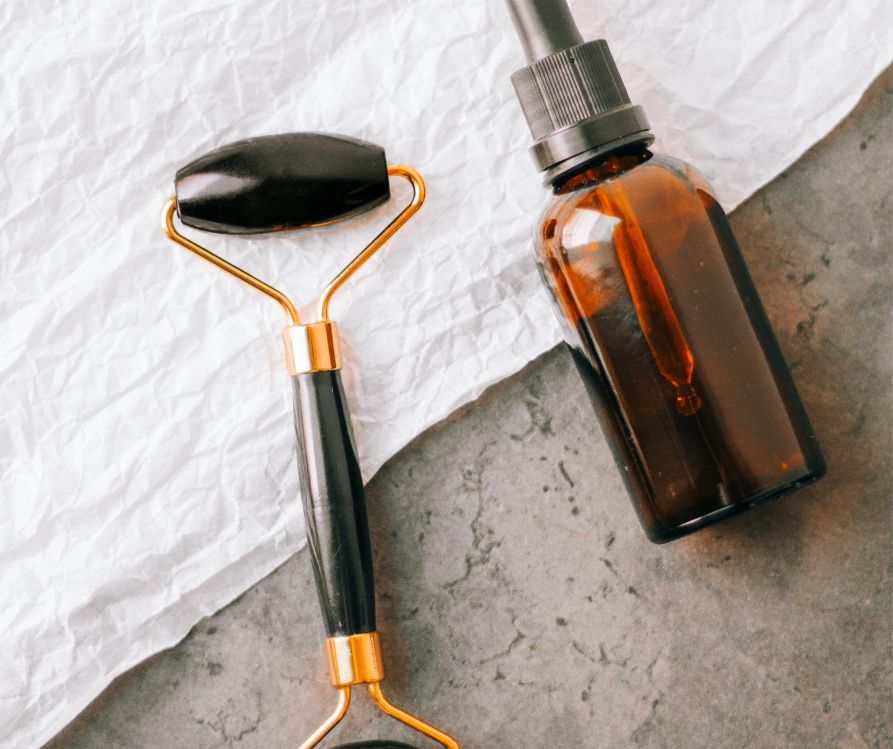
Creating your face serum is straightforward, but precision and hygiene are crucial to ensure your serum is effective and safe to use. Follow these steps:
Step 1: Prep Your Workspace
Cleanliness matters. Start by sanitizing your hands, tools, and workspace. Use rubbing alcohol to disinfect the dropper bottles and mixing utensils. This helps eliminate any unwanted bacteria.
Step 2: Measure Your Base Oil
Choose the base oils you want to use and measure approximately 2 tablespoons (30ml). For example:
- 1 tablespoon of jojoba oil
- 1 tablespoon of rosehip oil or calendula oil
Pour these into a small glass bowl or directly into a sterilized dropper bottle.
Step 3: Add Essential Oils
Add 2–3 drops of each essential oil you’ve chosen to the base oil mixture. If this is your first time making a serum, start with lavender and frankincense oils for their versatile skin benefits. Essential oils are potent, so don’t exceed 6 drops per 30ml.
Step 4: Optional Boosts
If adding vitamin E oil, include 1–2 drops at this stage. It acts as a natural preservative and protects against oxidation, prolonging the shelf life of your serum. If using aloe vera gel, mix it in well for an extra hydrating boost.
Step 5: Mix Thoroughly
Use a small spatula or the dropper itself to mix the ingredients together. If your ingredients are in a bowl, carefully transfer the mixture into your sterilized dropper bottle.
Step 6: Label Your Serum
Don’t forget to label your bottle with the date you made it and a brief description of the ingredients. This will help you keep track of its freshness and recipe details.
How to Store Your Homemade Serum
Proper storage is key to maintaining the potency and efficacy of your serum:
- Use an Amber Glass Bottle: These protect your serum from UV light, which can degrade the ingredients.
- Store in a Cool Place: Keep your serum away from direct sunlight or heat. A bathroom cabinet or dresser drawer works well.
- Shelf Life: Your homemade hydrating serum should last around 3–4 months, thanks to the vitamin E oil acting as a preservative. If you notice any changes in smell or consistency, discard and make a fresh batch.
Integrating Your Serum into Your Routine
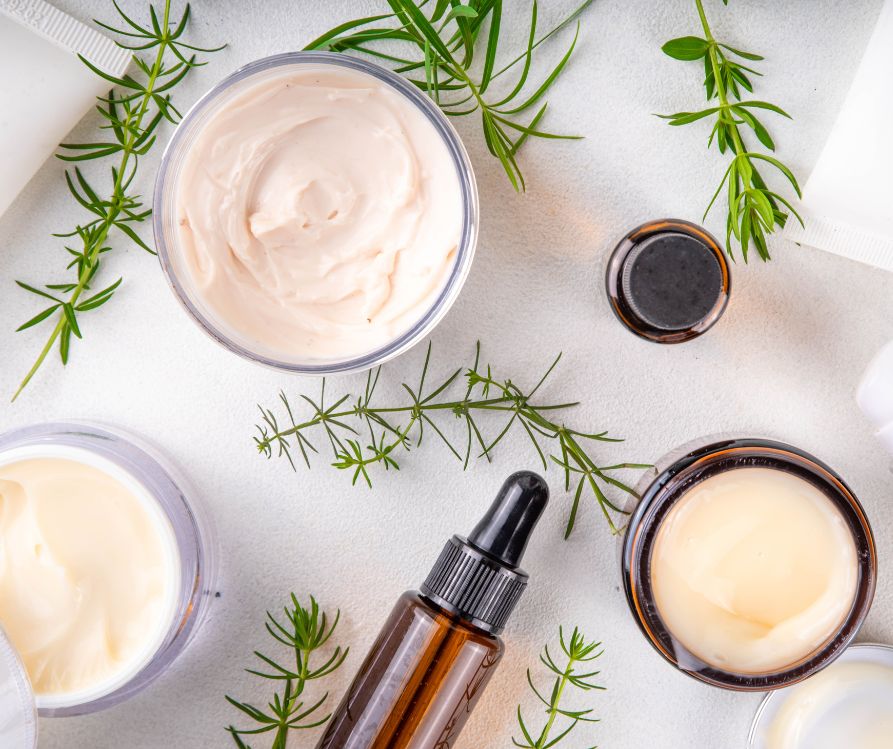
Now that you’ve created your serum, it’s time to incorporate it into your daily skincare regimen. Here’s how to get the best results:
- Start with Clean Skin: Always apply your serum after cleansing and before moisturizing.
- Use 2–3 Drops: A little goes a long way. Apply the serum to your fingertips, and gently press it onto your face and neck.
- Morning and Night: For optimal hydration, use your serum twice daily. If using essential oils, check for photosensitivity. Some oils, like citrus, should only be used at night.
Gentle Botanical Face Cleanser You Can Make at Home
If this is your first time trying a DIY serum, monitor how your skin reacts over the first few weeks. Adjust your ingredients based on feedback from your skin. Customization is the beauty of going DIY.
Get Creative, and Share Your Journey!
Creating your own hydrating face serum isn’t just a skincare project. It’s an opportunity to connect with your skin and explore the world of natural beauty. The satisfaction of knowing you’ve crafted something yourself is unmatched, and your skin will thank you for it.
If you try this recipe, we’d love to hear how it worked for you! Drop a comment below and share your experience or questions. Plus, don’t forget to show off your glowing skin!
Visit the Garden Resources page for supplies and inspiration. Don’t forget to subscribe to the Calendula’s Garden Newsletter for more gardening tips.
Calendula’s Garden is reader supported. When you buy through links on our site, we may earn an affiliate commission. As an Amazon Associate, I earn from qualifying purchases. For more information, view our Disclaimer page. Thank you!