How to Make Gentle Lip Scrubs to Repair Cracked Lips
Calendula's Garden is reader suported This post may contain affiliate links, more on our Disclaimer page. Thank you!
Chapped, cracked lips can be a real nuisance. Whether it’s due to cold weather, dehydration, or simply neglecting your lip care routine, the struggle is all too familiar. Enter homemade lip scrubs.
These simple, natural remedies are a fantastic way to exfoliate and rejuvenate cracked lips, leaving them soft, smooth, and oh-so-kissable.
This guide will walk you through everything you need to know about making your own lip scrubs at home. You’ll learn about the best natural ingredients, how to create and store scrubs, and tips for using them effectively. Plus, we’ve included some bonus advice for keeping your lips healthy long-term. Get ready to say goodbye to dry lips and hello to a gorgeous smile!
Why Lip Care Matters and the Benefits of Homemade Lip Scrubs
Our lips deserve just as much care as the rest of our skin, yet they’re often overlooked. Unlike the skin on your body, your lips don’t have oil glands to keep them moisturized. That’s why they’re so prone to drying out, cracking, and even peeling.
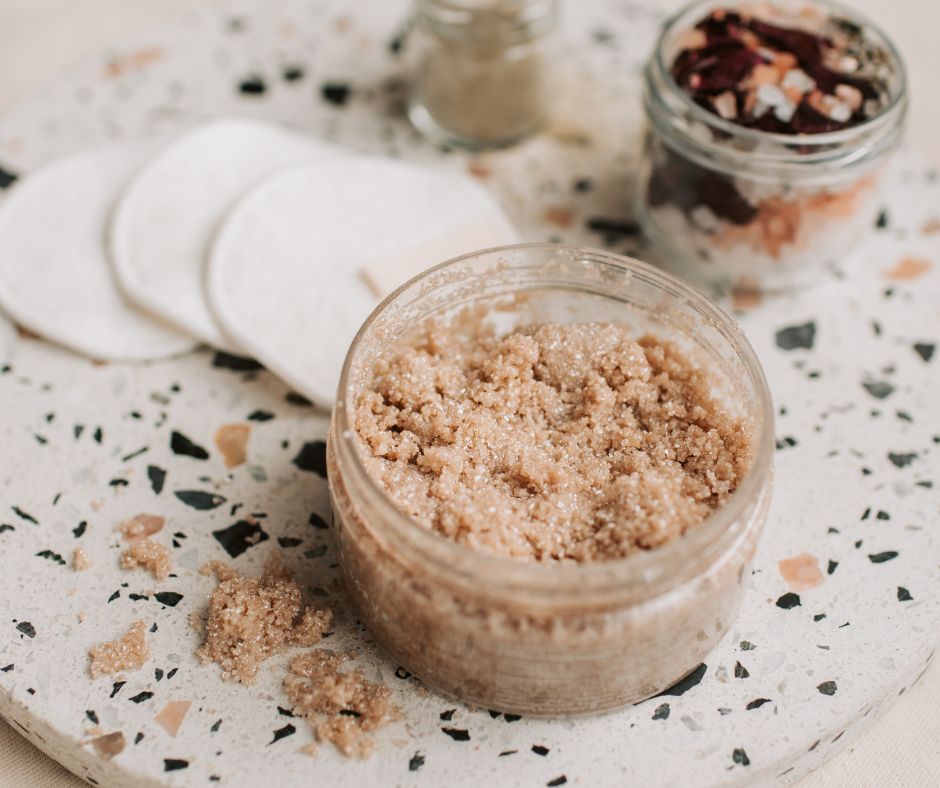
Enter lip scrubs, your secret weapon for tackling these issues. A good scrub works by gently exfoliating dead skin cells and stimulating circulation, leaving your lips soft and plump. While store-bought options are available, homemade lip scrubs offer distinct advantages:
- Customized Ingredients: You control what goes into your scrub, making it easier to avoid harsh chemicals and allergens.
- Cost-Effective: Most ingredients are pantry staples, making DIY scrubs far more affordable than commercial ones.
- Eco-Friendly: By reusing containers and avoiding overly packaged products, you’re being kinder to the planet.
Now, let’s explore the ingredients you’ll need!
Common Ingredients for Homemade Lip Scrubs
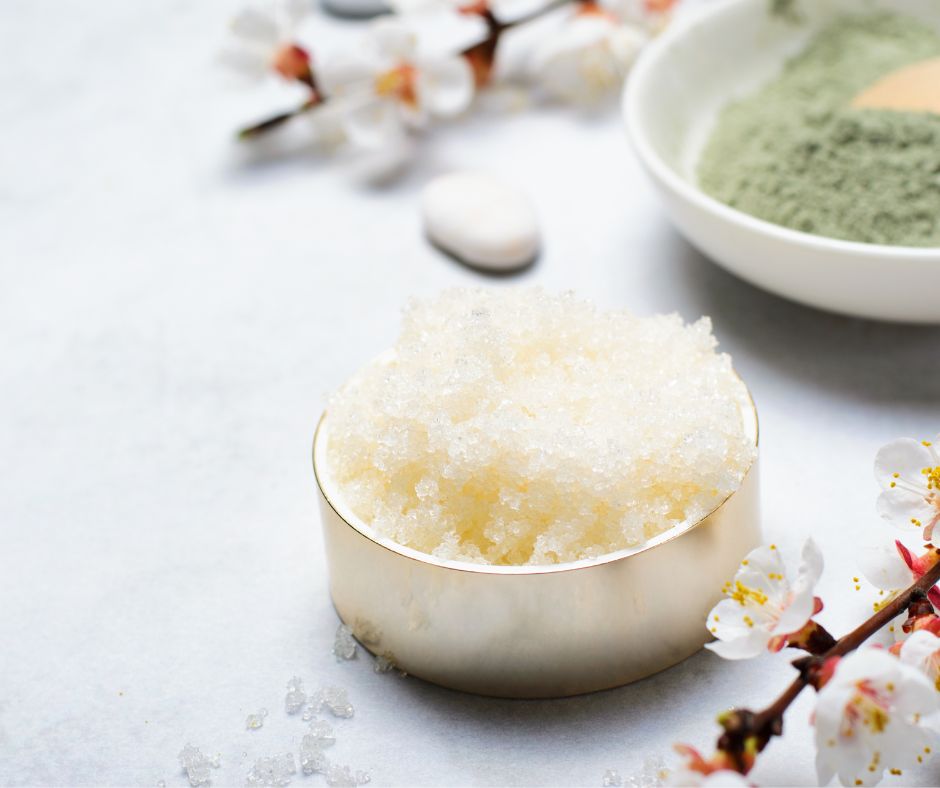
The best lip scrubs are simple to make, using a handful of natural, nourishing ingredients. Here’s a breakdown of the essentials:
Exfoliants (to remove dead skin):
- Sugar (brown or white): A gentle yet effective exfoliant that won’t harm sensitive lips.
- Coffee grounds (finely ground): Perfect for a textured scrub that also provides a caffeine boost.
Moisturizers (to hydrate and soften):
- Coconut oil: Known for its deep hydration and antibacterial properties.
- Honey: A natural humectant that draws moisture into your lips while offering antibacterial benefits.
- Shea butter or almond oil: Both are deeply nourishing and absorb easily into the skin.
Add-ons for Extra Benefits:
- Vitamin E oil for added hydration and repair.
- Essential oils (like peppermint or vanilla) for scent and mild tingling sensations.
- Natural colorants like beetroot powder for a pretty tint.
Pro Tip:
Always opt for organic and unrefined ingredients whenever possible for the purest formulations.
Step-by-Step Guide to Making and Storing Lip Scrubs
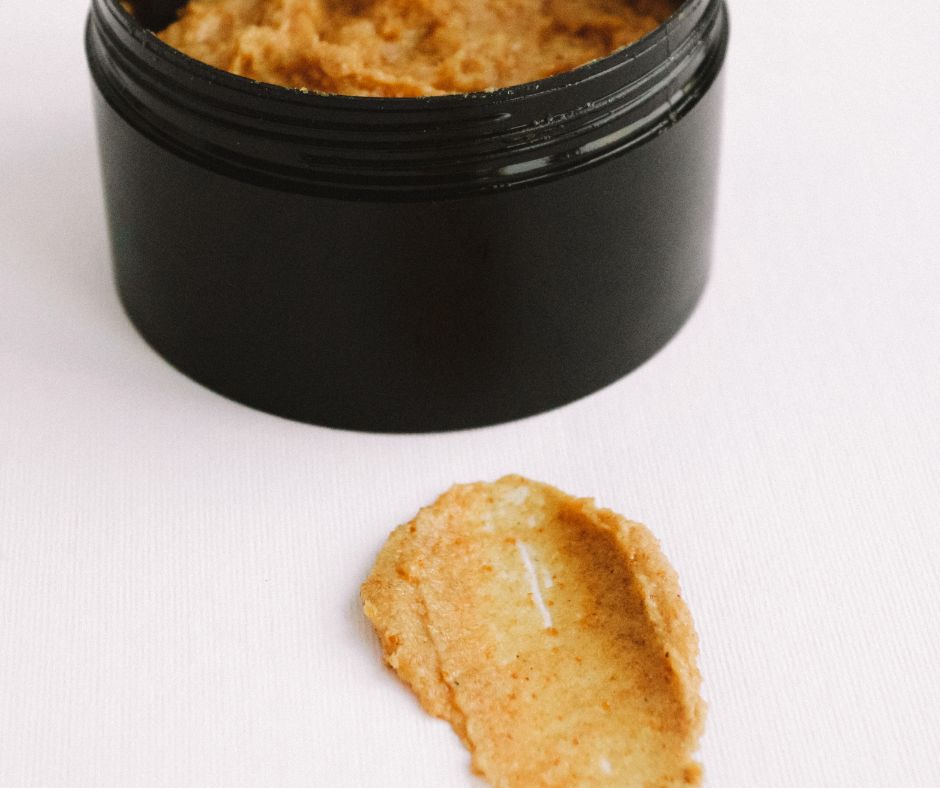
Creating your own lip scrub is wonderfully simple. Here’s how to do it:
Ingredients:
- 1 tablespoon of sugar (brown or white)
- 1 teaspoon of coconut oil
- 1 teaspoon of honey
- A few drops of vitamin E oil (optional)
Instructions:
- Mix the Ingredients:
- Combine sugar, coconut oil, and honey in a small bowl.
- Add a few drops of vitamin E oil, if desired, for extra nourishment.
- Stir well until the mixture achieves a paste-like consistency.
- Test the Texture:
- Rub a small amount between your fingers. It should feel gritty but gentle.
- Store the Scrub:
- Transfer it to a small, airtight container (repurposing an old lip balm pot works great!).
- Store in a cool, dry place or in the refrigerator if you’d like it to last longer (up to 2 weeks).
Pro Tip:
Label your container with the date you made your scrub to keep track of its freshness.
How to Use Lip Scrubs Effectively

Using a lip scrub incorrectly can lead to irritation, so here’s how to do it right:
Start with Clean Lips
Gently wipe off any residual lipstick, balm, or food using a damp cloth.
Apply a Small Amount
Take a pea-sized amount of your scrub and apply it to your lips using your fingertip or a clean brush.
Massage Gently
Use circular motions to rub the scrub onto your lips for about 1–2 minutes. Avoid being too rough; less is more.
Rinse Off
Rinse with warm water and gently pat your lips dry with a clean towel.
Moisturize
Follow up with a hydrating lip balm or a dab of coconut oil to seal in moisture.
For best results, use your scrub 1–2 times a week. Over-exfoliating can cause sensitivity, so listen to your lips!
Additional Tips for Healthy, Hydrated Lips
While lip scrubs work wonders, long-term lip health requires consistent care. Here are a few extra tips to ensure your lips stay smooth and supple:
Stay Hydrated
Drink plenty of water daily to keep your lips hydrated from the inside out.
Protect from Harsh Weather
Use a lip balm with SPF to shield your lips from sun damage. During colder months, a balm with a protective barrier (like beeswax) can prevent dryness.
Avoid Licking Your Lips
While it might offer temporary relief, licking your lips actually dries them out more.
Eat a Balanced Diet
Nutrients like vitamins B and E promote healthy skin, including your lips.
Break Bad Habits
Avoid biting or picking at your lips, as this can cause micro-tears and delay healing.
It’s Time to Pamper Your Lips!
Now that you know how easy it is to make your own lip scrubs, it’s time to give your lips the care they deserve. Whether you’re dealing with winter dryness or simply want to keep your pout perfect year-round, these scrubs are a game changer. Experiment with different ingredients to find the combination that works best for you.
Once you’ve tried the recipes and seen the results, why not share your experience? Drop your favorite homemade lip scrub recipe in the comments below or tag us in your creations on social media! Your luscious lips will thank you.
Visit the Garden Resources page for supplies and inspiration. Don’t forget to subscribe to the Calendula’s Garden Newsletter for more gardening tips.
Calendula’s Garden is reader supported. When you buy through links on our site, we may earn an affiliate commission. As an Amazon Associate, I earn from qualifying purchases. For more information, view our Disclaimer page. Thank you!