How to Make and Use Garden Cold Frames and Cloches for Winter Gardening
Calendula's Garden is reader suported This post may contain affiliate links, more on our Disclaimer page. Thank you!
Gardening doesn’t have to end when the weather turns cold. With some preparation and the right tools, you can extend your growing season and protect your plants throughout the harsh winter months.
Enter cold frames and cloches, two essential tools for winter gardening. This guide will help you understand what they are, how to make them, and how to use them effectively to keep your garden thriving no matter the weather. Plus, protecting your plants in winter will give you a head start in spring.
What Are Cold Frames and Cloches?
Cold frames and cloches are garden tools designed to shield plants from the cold, providing a slightly warmer microclimate to encourage growth during winter.
Cold Frames
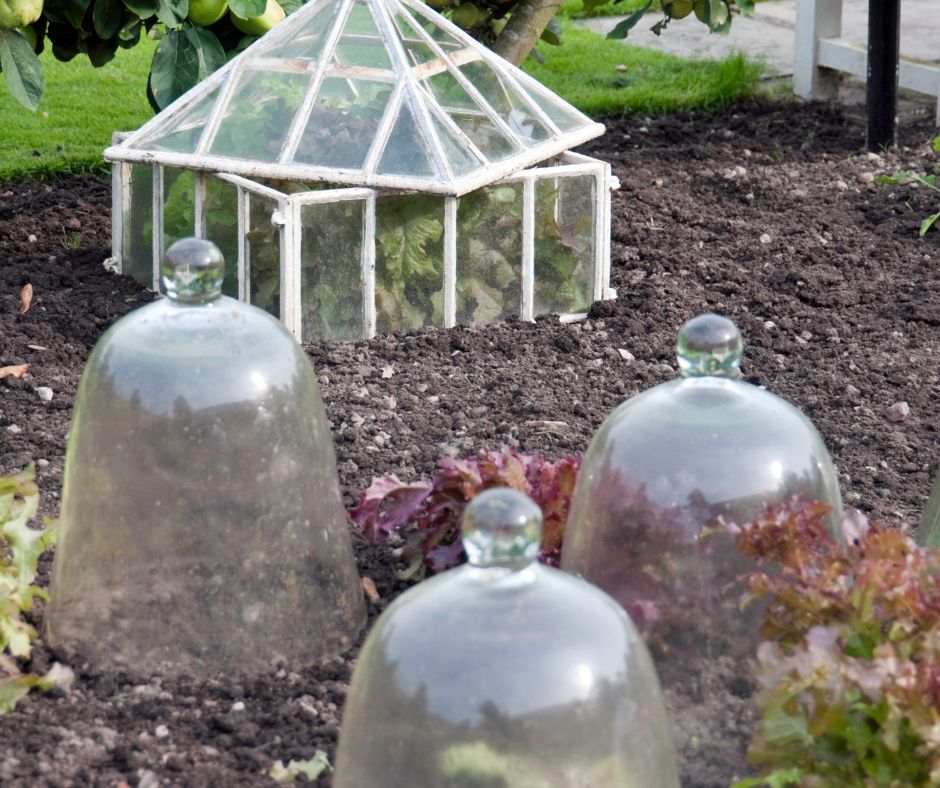
These are low lying, enclosed boxes with a transparent lid. They act as mini-greenhouses, trapping heat and protecting plants from frost, snow, and cold winds. Perfect for hardening seedlings, starting early crops, and extending the lifespan of vegetables like leafy greens and herbs.
Cloches
Protective coverings, traditionally bell-shaped, are placed over individual plants. They’re excellent for shielding delicate plants from frost and creating warmth around them, making them perfect for smaller gardens or as temporary protection.
With either of these tools, you can keep gardening when temperatures drop and enjoy fresh produce even during winter.
Materials and Tools Needed
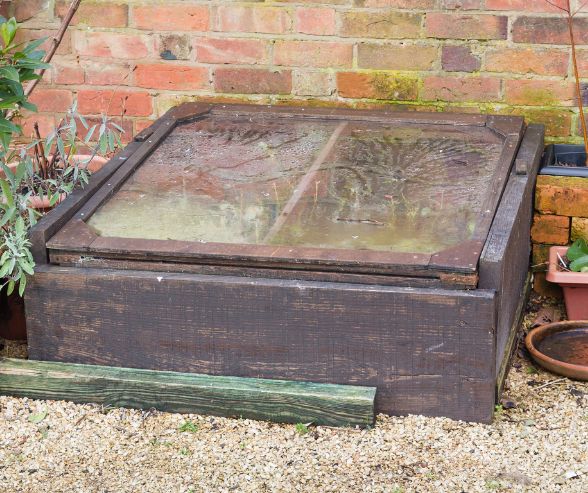
Before building your cold frame or cloche, gather the following materials and tools. These items can often be sourced inexpensively or repurposed from items you already have.
Supplies For Cold Frames
- Wood or sturdy plastic for the frame (recommended size depends on your space; 3-4 ft. by 4-6 ft. is common).
- A clear, transparent cover such as an old window, acrylic sheet, or polycarbonate panel.
- Hinges (to attach the cover).
- Screws or nails.
- Weatherproof sealant (optional, for added durability).
- Saw.
- Drill or hammer.
- Measuring tape.
Supplies For Cloches
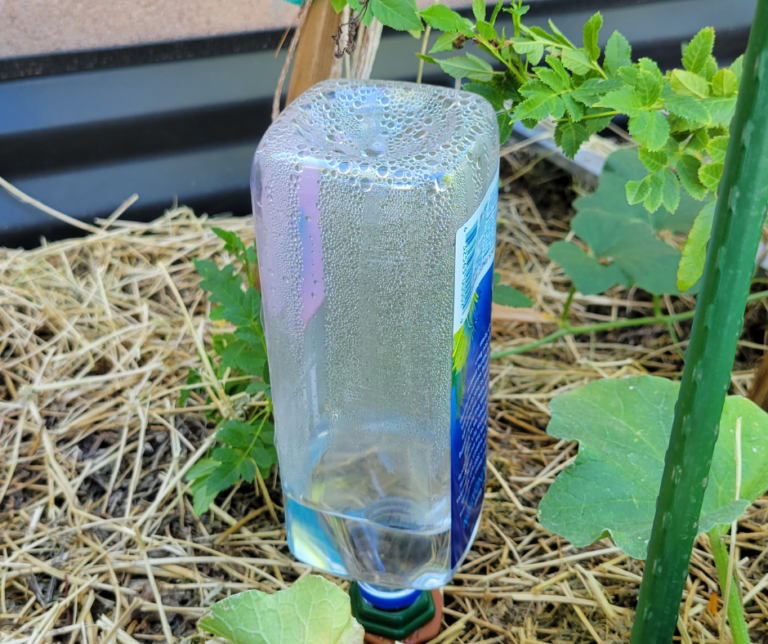
- Clear plastic bottles or glass jars for individual plant cloches (bottles like milk jugs work well).
- PVC pipes or metal hoops for row cloches.
- Plastic sheeting or frost cloth to cover the hoops.
- Garden stakes (optional, to secure the covering).
- Scissors or a sharp knife.
- Zip ties or clips (if using hoops).
Step-by-Step Guide to Building a Cold Frame
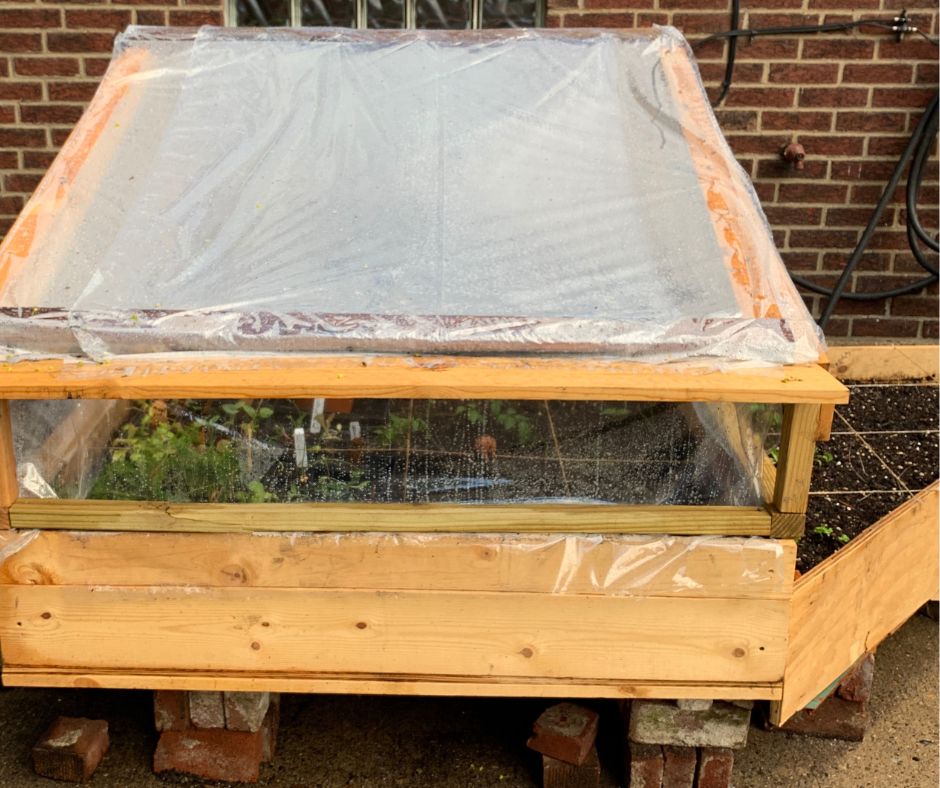
1. Choose the Right Location
Pick a sunny spot in your garden that gets plenty of light during the day. South facing locations are ideal, as they maximize exposure to sunlight. Ensure the ground is level for stability.
2. Construct the Frame
- Cut the wood or plastic into four pieces according to your desired dimensions. Two shorter sides (for the width) and two longer sides (for the length).
- Assemble the pieces into a rectangular or square shape, securing them with screws or nails.
3. Add a Transparent Lid
- Attach the transparent cover to the top of the frame using hinges, so you can open and close it easily for watering and ventilation. We like to repurpose old windows and door hinges.
- Ensure the lid fits snugly along the frame to retain heat effectively.
4. Weatherproof (Optional)
Apply a weatherproof sealant to the wood for added durability against moisture.
Now you have your cold frame ready to use!
Watch the Crew from This Old House Build a Cold Frame
Step-by-Step Guide to Building a Cloche
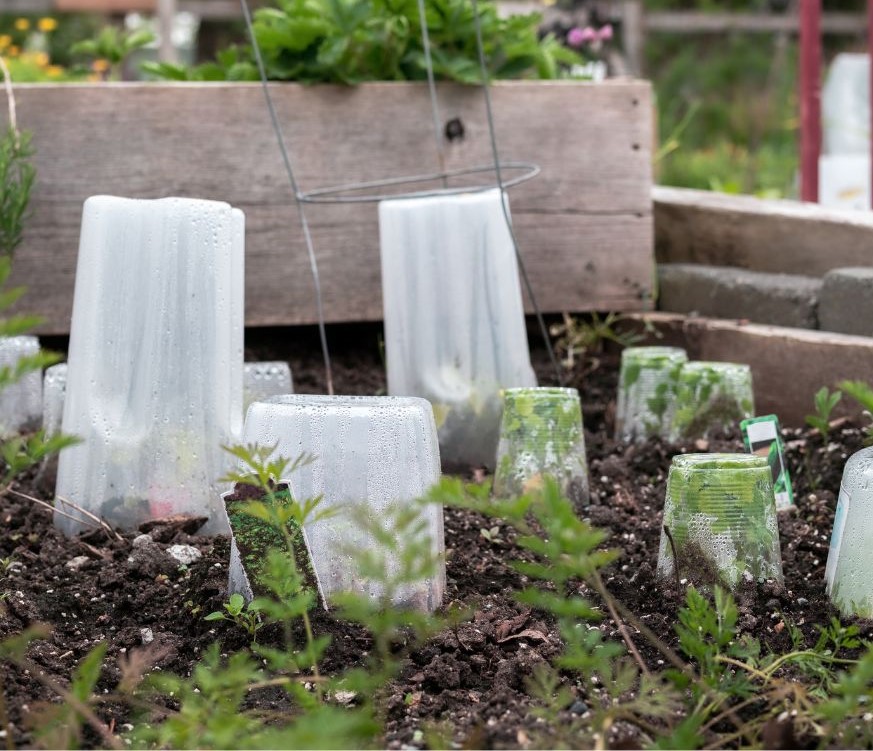
1. For Individual Plant Cloches
- Find a large, clear plastic bottle, such as a milk jug.
- Cut off the bottom of the bottle using scissors or a knife, leaving the top intact.
- Place the bottle over the plant, ensuring it’s snug in the soil to keep out cold air. Remove the cap for ventilation during warmer days.
2. For Row Cloches
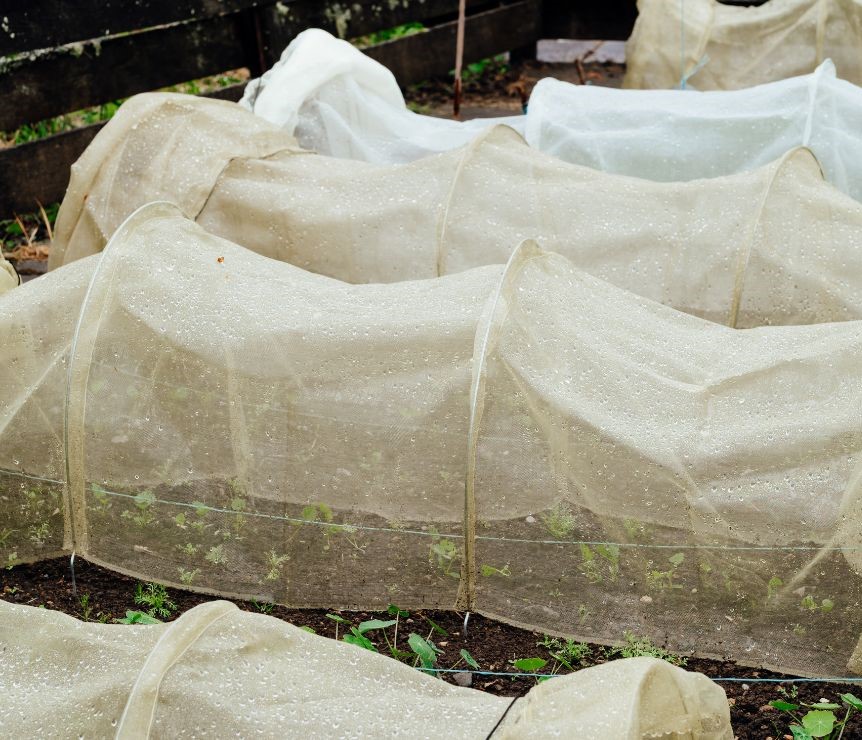
- Insert PVC pipes or metal hoops into the soil to create an arch over your plants. Space them evenly along the row.
- Drape clear plastic sheeting or frost cloth over the hoops, ensuring it touches the ground on both sides.
- Secure the covering with garden stakes or clip it to the hoops to prevent it from lifting in the wind.
Cloches are lightweight and easy to remove, making them ideal for temporary protection.
Preparing Your Garden for Winter
Once your cold frame and cloches are ready, it’s time to prepare your garden for the colder months.
- Clear Dead Plant Material: Remove any dead or diseased plants to prevent pests and diseases from overwintering.
- Mulch the Soil: Add a layer of mulch around your plants to retain warmth and moisture in the soil.
- Plant Winter Crops: Use cold frames and cloches for crops like spinach, lettuce, kale, and carrots. These hardy vegetables thrive in a protected environment.
Maintenance and Care Tips

To ensure your cold frames and cloches remain effective throughout the winter, follow these maintenance tips:
- Ventilation: Open the cold frame lid or bottle caps on warmer days to prevent excessive heat buildup and condensation. Close them in the evening to retain warmth.
- Inspect Regularly: Check for damage to the structure, such as tears in the plastic or loose hinges, and repair them promptly.
- Clean the Covers: Remove dirt or debris from the clear covers to maximize sunlight exposure.
By maintaining your cold frames and cloches, you can get the most out of them season after season.
Winter Gardening Made Easy
Cold frames and cloches are game changers for gardeners who want to extend their growing season. Not only do they protect plants from frost, but they also create an ideal microclimate to keep your garden thriving during the colder months. Whether you’re a seasoned DIY enthusiast or new to winter gardening, these tools are worth the effort.
Why not start building your own today? Share your results and winter gardening tips with us in the comments. We can’t wait to hear about your success!
Visit the Garden Resources page for supplies and inspiration. Don’t forget to subscribe to the Calendula’s Garden Newsletter for more gardening tips.
Calendula’s Garden is reader supported. When you buy through links on our site, we may earn an affiliate commission. As an Amazon Associate, I earn from qualifying purchases. For more information, view our Disclaimer page. Thank you!