How to Keep Your Indoor Herb Garden Thriving All Year
Calendula's Garden is reader suported This post may contain affiliate links, more on our Disclaimer page. Thank you!
There’s something magical about snipping fresh basil from your windowsill while preparing dinner or adding a handful of just-picked chives to your morning eggs.
Starting an indoor herb garden transforms your kitchen into a living pantry where fresh flavors are always within reach. The best part? You don’t need a green thumb or acres of land to make it happen.
Growing herbs indoors has become increasingly popular, and for good reason. Unlike outdoor gardening, an indoor garden gives you complete control over growing conditions while providing year-round access to fresh herbs.
Whether you’re living in a small apartment or simply want to extend your growing season, creating an indoor herb garden is one of the most rewarding projects you can tackle.
This guide will walk you through everything you need to know to create a thriving indoor herb garden in your kitchen.
From selecting the right herbs to troubleshooting common problems, you’ll discover how easy it can be to grow your own fresh seasonings right at home.
Why Your Kitchen Needs an Indoor Herb Garden
The benefits of growing your own herbs extend far beyond the convenience of having fresh ingredients at hand.
When you cultivate an indoor garden, you’re investing in your health, your wallet, and your culinary adventures.
Health and Nutrition Benefits
Fresh herbs pack significantly more nutrients than their dried counterparts.
When you harvest herbs directly from your indoor garden, you’re getting maximum vitamin content, essential oils, and antioxidants that diminish over time in store-bought herbs.
Basil contains compounds that support heart health, while parsley is loaded with vitamin K and vitamin C.
Economic Advantages
A single packet of fresh herbs at the grocery store can cost $2-4, but an herb plant typically costs the same amount and produces herbs for months.
Your initial investment in supplies pays for itself quickly, especially if you cook regularly with fresh herbs.
Culinary Excellence
The flavor difference between fresh and dried herbs is remarkable. Fresh herbs offer bright, complex flavors that elevate even the simplest dishes.
Having an herb garden means you can experiment with different varieties and harvest exactly what you need when you need it.
Choosing the Perfect Herbs for Indoor Growing
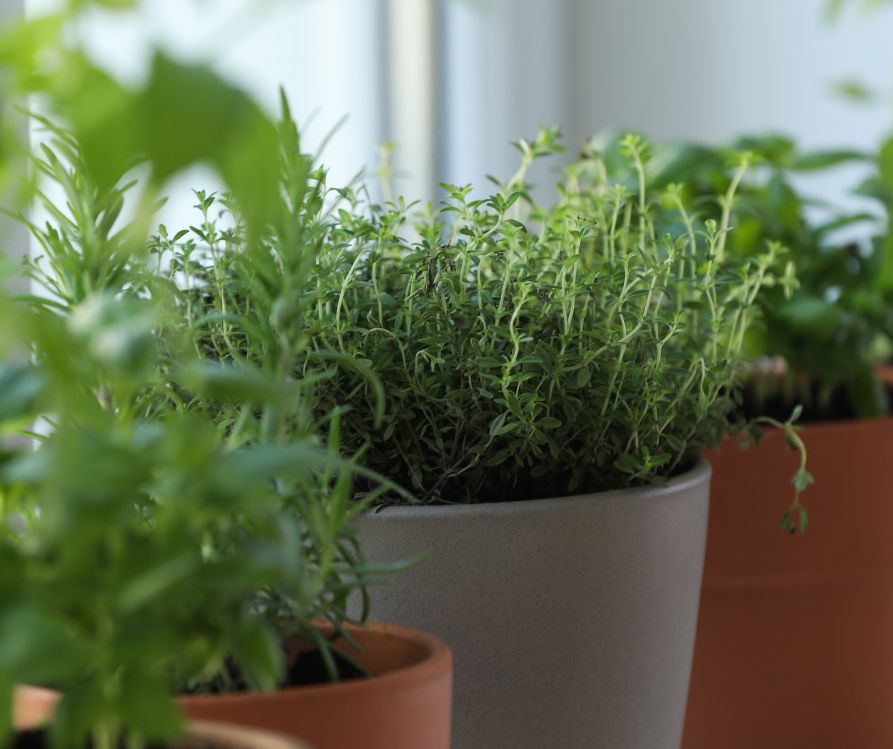
Not all herbs thrive indoors, but many varieties adapt beautifully to container life with proper care. Start with these beginner-friendly options that flourish in kitchen environments.
Basil: The Star of Your Indoor Garden
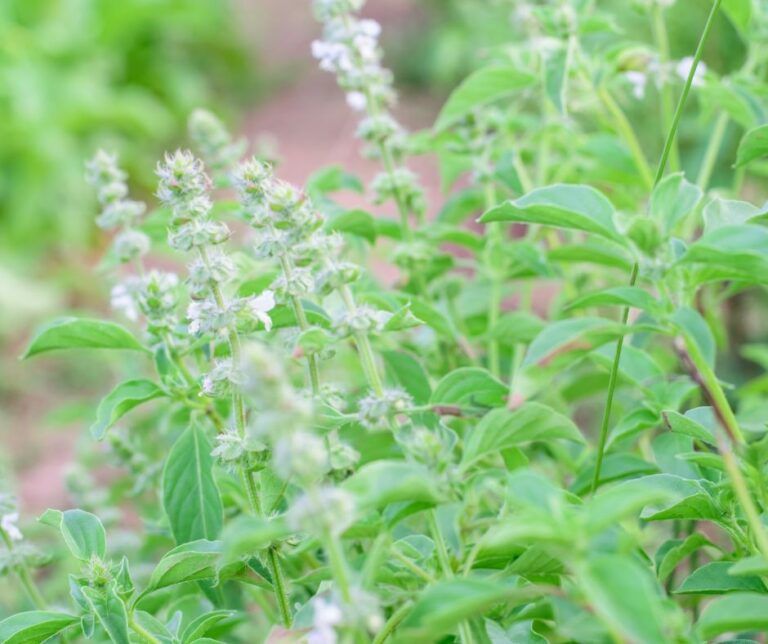
Basil tops the list of must-have herbs for indoor growing.
This aromatic herb loves warmth and bright light, making it perfect for sunny kitchen windows.
Sweet basil works wonderfully for Italian dishes, while purple basil adds visual interest to your indoor garden.
Basil grows quickly and responds well to regular harvesting, which actually encourages more growth.
Mint: Easy and Vigorous
Mint might be the most forgiving herb for beginners.
It grows enthusiastically in containers (perhaps too enthusiastically outdoors, where it can become invasive).
Spearmint and peppermint are excellent choices for teas, cocktails, and Middle Eastern cuisine. Keep mint in its own container as it tends to overtake other plants.
Chives: The Mild Onion Alternative
Chives offer a gentle onion flavor without the tears. These grass-like herbs are nearly indestructible and continue producing throughout the growing season.
They even develop pretty purple flowers that are edible and add color to salads.
Parsley: Flat or Curly
Both flat-leaf (Italian) and curly parsley grow well indoors.
Flat-leaf parsley offers more intense flavor and is preferred for cooking, while curly parsley makes an attractive garnish.
Parsley grows more slowly than other herbs but provides steady harvests once established.
Essential Supplies for Your Indoor Herb Garden
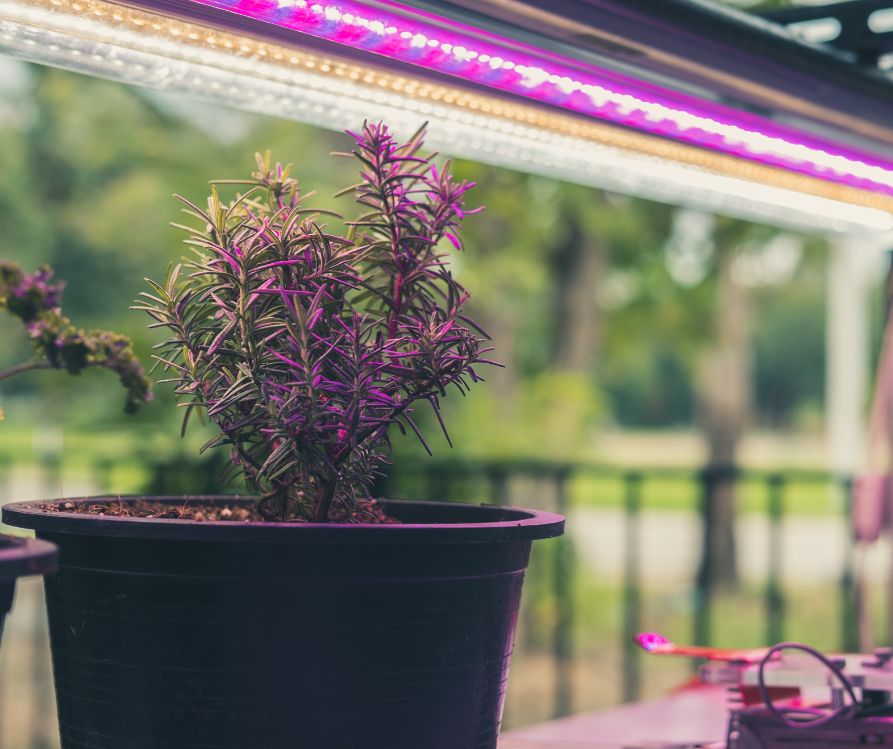
Success with indoor herbs starts with having the right supplies. You don’t need expensive equipment, but choosing quality basics will set your herbs up for success.
Where to find seeds, plants, and supplies:
Containers and Drainage
Proper containers make or break indoor herb gardening. Each herb needs its own pot that’s at least 6 inches deep with drainage holes.
Terra cotta pots work excellently because they allow air circulation around roots, but any container with good drainage will work.
Avoid containers without drainage holes, as waterlogged soil kills herbs quickly.
Place saucers under pots to protect surfaces, but don’t let water sit in saucers for extended periods. Empty excess water after 30 minutes to prevent root rot.
Soil Selection
Garden soil is too heavy for container growing. Instead, choose a high-quality potting mix designed for containers.
Look for mixes that contain perlite or vermiculite for drainage and organic matter for nutrition.
Avoid mixes with water-retaining crystals, as herbs prefer slightly drier conditions than many houseplants.
Lighting Requirements
Most herbs need 4-6 hours of direct sunlight daily. South-facing windows provide the most light, while east and west windows can work for less light-hungry herbs.
If your kitchen lacks adequate natural light, consider LED grow lights. Position them 6-12 inches above plants and run them for 12-16 hours daily.
Watering Tools
A watering can with a narrow spout gives you better control than pouring from a cup. Some gardeners prefer spray bottles for gentle watering, especially for seedlings.
Having a small measuring cup helps you provide consistent water amounts as you learn each plant’s needs.
Step-by-Step Planting Guide
Starting your indoor herb garden properly sets the foundation for months of fresh harvests.
Whether you’re starting from seeds or transplanting seedlings, following these steps ensures the best results.
Preparing Your Containers
Clean containers thoroughly before planting, especially if reusing pots from previous plants.
Cover drainage holes with coffee filters or small pieces of screen to prevent soil from washing out while still allowing water to drain.
Planting Seeds vs. Seedlings
Starting from seedlings gives faster results and higher success rates for beginners. You can find herb seedlings at garden centers, farmers markets, or online.
If you prefer starting from seeds, basil and chives germinate easily indoors, while parsley can be more challenging due to slower germination.
For seeds, plant at the depth recommended on the packet, generally 2-3 times the seed diameter. Keep soil consistently moist but not waterlogged until germination occurs.
Proper Planting Technique
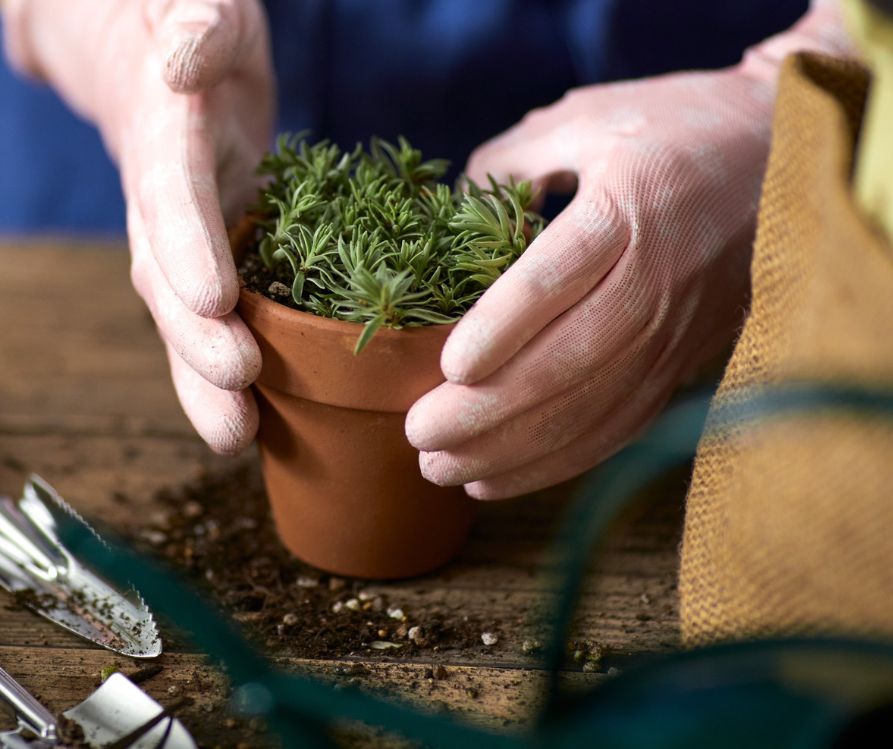
Fill containers with potting mix, leaving about an inch of space at the top. If transplanting seedlings, dig holes slightly larger than the root ball.
Gently remove seedlings from their original containers, being careful not to disturb roots excessively.
Place the plant at the same depth it was growing previously, then water thoroughly.
Initial Care
Newly planted herbs need gentle care for the first few weeks. Keep soil consistently moist but not soggy, and avoid fertilizing immediately.
Plants need time to establish their root systems before they can effectively use added nutrients.
Caring for Your Indoor Herb Garden
Successful herb growing comes down to understanding each plant’s basic needs and providing consistent care. Indoor herbs are generally low-maintenance, but paying attention to watering, feeding, and pruning keeps them productive.
Watering Wisely
Most herb problems stem from improper watering. Herbs prefer soil that dries out slightly between waterings rather than staying constantly moist.
Check soil moisture by inserting your finger about an inch deep. If it feels dry, it’s time to water.
Water thoroughly until water drains from the bottom holes, then empty saucers after 30 minutes.
Morning watering works best because it allows plants to dry out during the day, reducing disease risks.
Fertilizing Your Herbs
Indoor herbs need regular but light feeding. Use a balanced, water soluble fertilizer diluted to half strength every 2-3 weeks during the growing season.
Over fertilizing produces lush growth but reduces the essential oils that give herbs their flavor and aroma.
Organic options include fish emulsion or compost tea, both diluted according to package directions. Some gardeners prefer slow-release fertilizer pellets mixed into potting soil at planting time.
Pruning and Pinching
Regular harvesting actually improves herb production by encouraging new growth.
Pinch off flower buds as they appear on basil, as flowering reduces leaf production and flavor.
For most herbs, harvest no more than one-third of the plant at once.
Cut stems just above leaf pairs to encourage branching. This creates bushier plants that produce more leaves over time.
Managing Pests Naturally
Indoor herbs occasionally attract aphids, spider mites, or fungus gnats. Check plants weekly for early pest detection.
Aphids can be removed with a gentle spray of water or by wiping leaves with a damp cloth.
For persistent pest problems, insecticidal soap provides effective, safe control. Ensure good air circulation around plants to prevent fungal issues, and avoid overcrowding containers.
Harvesting Your Fresh Herbs
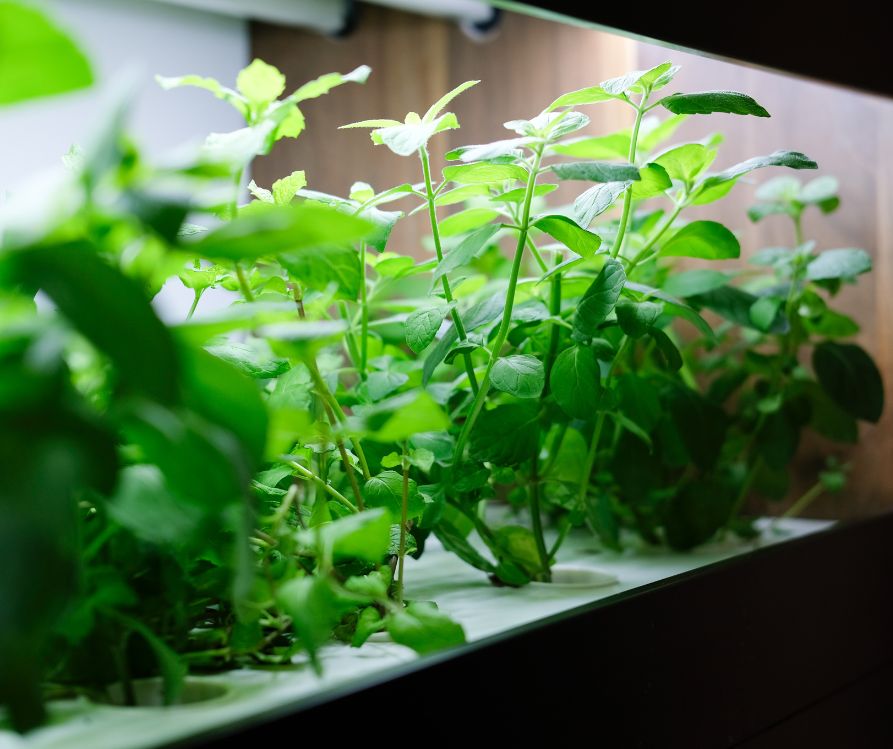
Knowing when and how to harvest herbs maximizes both flavor and plant productivity. Proper harvesting techniques ensure your indoor garden continues producing for months.
Timing Your Harvest
Harvest herbs in the morning after dew has dried but before the day gets hot. This is when essential oil content is highest, providing the best flavor.
For most herbs, you can begin harvesting once plants have 6-8 sets of leaves.
Harvesting Techniques
Use clean scissors or pruning shears to avoid damaging plants. Cut stems just above a leaf pair or branching point to encourage continued growth.
For leafy herbs like basil and mint, cut entire stems rather than picking individual leaves.
Chives can be cut like grass, about an inch above soil level. They’ll regrow from the base within a few weeks.
Parsley can be harvested by cutting the outer stems first, allowing the center to continue growing.
Preserving Your Harvest
Fresh herbs are best used immediately, but you can extend their life by storing cut stems in water like flowers.
For longer preservation, herbs can be frozen in olive oil using ice cube trays, dried by hanging bundles in a dry area, or preserved in salt.
Creative Display Ideas for Your Indoor Garden
Your herb garden can be both functional and beautiful. Creative displays turn your indoor garden into a focal point that adds life and fragrance to your kitchen.
Window Gardens
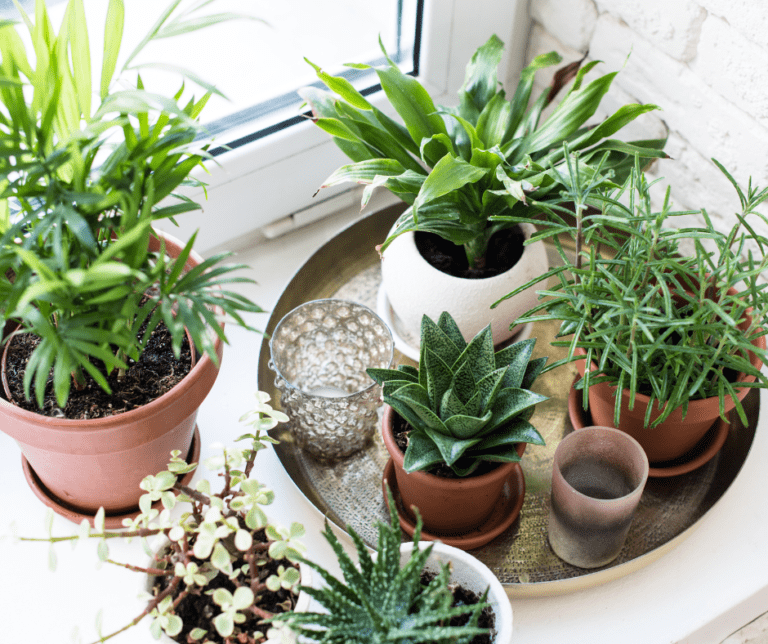
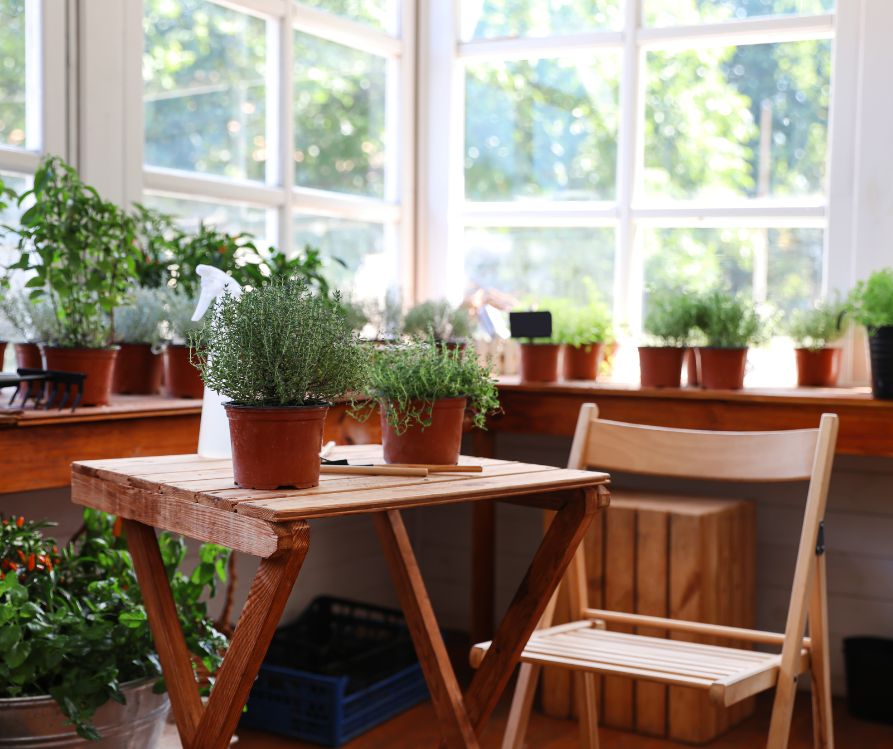
Arrange herbs on window sills or install narrow shelves across windows. Group plants by height with taller herbs in the back and shorter ones in the front.
Use matching containers for a cohesive look, or mix different pot styles for eclectic charm.
Vertical Growing Solutions
Wall-mounted planters, hanging baskets, or tiered plant stands maximize growing space in small kitchens. Vertical gardens work especially well for trailing herbs like oregano or thyme.
Mobile Herb Carts
Rolling carts let you move herbs to follow sunlight or bring them closer when cooking. This flexibility is particularly useful in kitchens with limited natural light.
Troubleshooting Common Problems
Even experienced gardeners encounter challenges with indoor herbs. Recognizing common problems early prevents minor issues from becoming major setbacks.
Leggy, Weak Growth
Spindly, stretched growth usually indicates insufficient light. Move plants closer to windows or supplement with grow lights. Pinching growing tips encourages bushier growth.
Yellowing Leaves
Yellow leaves can indicate overwatering, underwatering, or nutrient deficiencies. Check soil moisture levels and adjust watering accordingly.
If soil stays soggy, the plant may have root rot and need repotting with fresh soil.
Poor Flavor
Herbs losing their flavor may be getting too much fertilizer or not enough light. Reduce feeding and ensure plants receive adequate light.
Allowing plants to flower also reduces leaf flavor in most herbs.
Slow Growth
Slow-growing herbs might need more light, warmer temperatures, or fresh potting soil. Most herbs prefer temperatures between 65-70°F during the day.
Growing Success in Your Kitchen
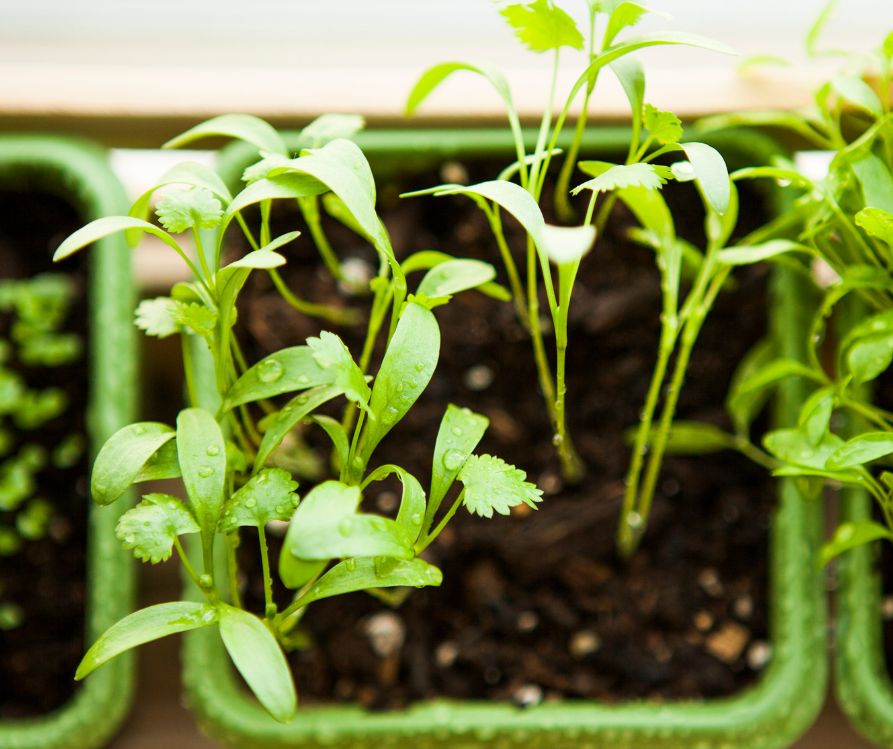
Creating a thriving indoor herb garden transforms your relationship with cooking and connects you with your food in meaningful ways.
The satisfaction of seasoning meals with herbs you’ve grown yourself never gets old, and the fresh flavors will spoil you for dried herbs forever.
Start small with just two or three herbs that you use frequently in cooking. As you gain confidence and experience, you can expand your collection to include more adventurous varieties.
Remember that every expert gardener was once a beginner, and even experienced growers continue learning with each growing season.
Your kitchen herb garden will reward you with months of fresh flavors, aromatic leaves, and the simple pleasure of nurturing living plants.
With consistent care and attention, you’ll soon be enjoying homegrown herbs year-round, regardless of the weather outside.
Visit the Garden Resources page for supplies and inspiration. Don’t forget to subscribe to the Calendula’s Garden Newsletter for more gardening tips.
Calendula’s Garden is reader supported. When you buy through links on our site, we may earn an affiliate commission. As an Amazon Associate, I earn from qualifying purchases. For more information, view our Disclaimer page. Thank you!