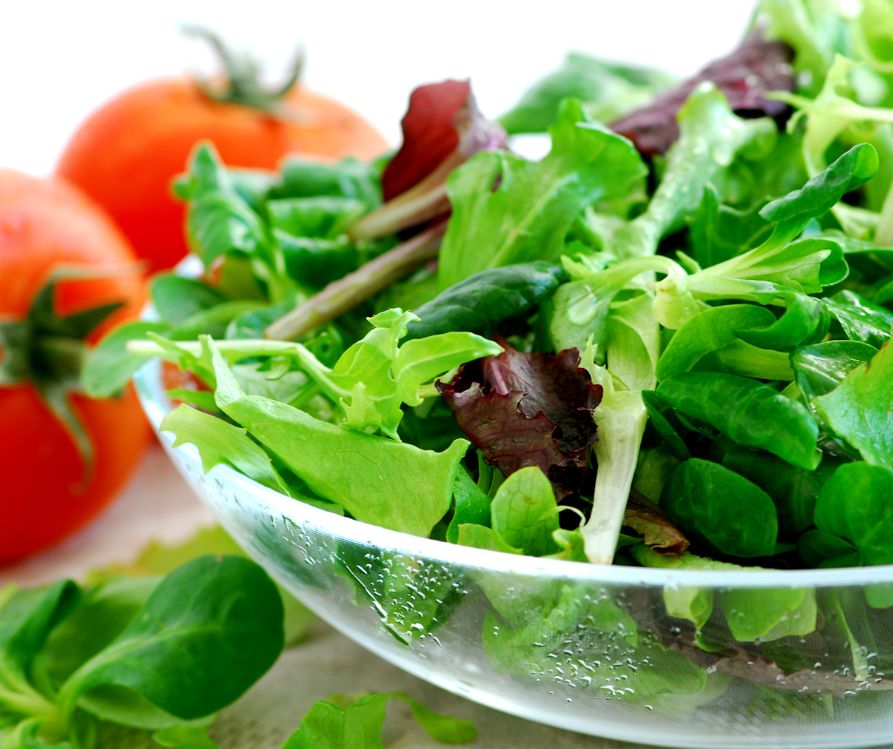
How to Grow Fresh Baby Greens Indoors Year-Round
Calendula's Garden is reader suported This post may contain affiliate links, more on our Disclaimer page. Thank you!

Fresh, tender baby greens bursting with flavor and nutrients right from your kitchen counter. No backyard required, no weather worries, and no waiting months for a harvest. Growing baby greens indoors has become one of the most rewarding ways to bring fresh produce into your home, especially if you’re short on outdoor space or dealing with harsh climates.
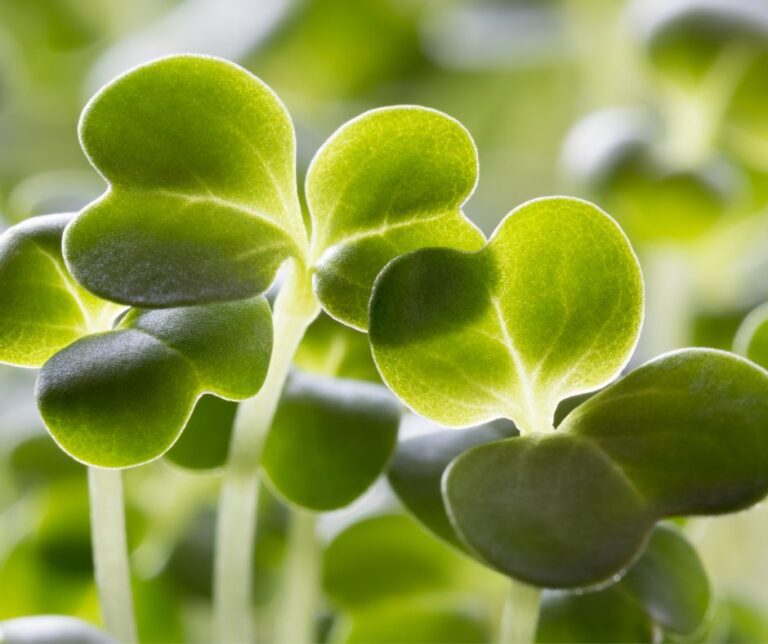
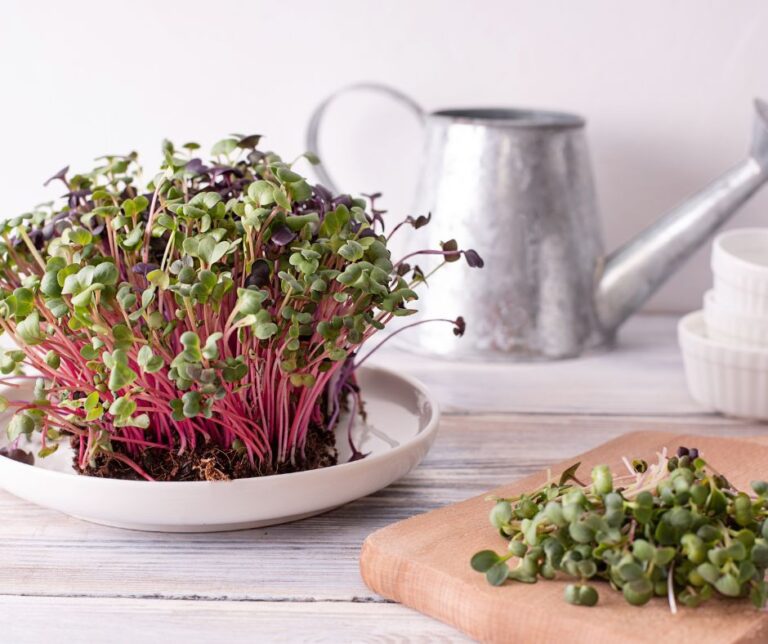
Baby greens are young vegetable plants harvested early, typically when they’re just 2-4 inches tall. Unlike their full-grown counterparts, these tender leaves pack concentrated nutrition into every bite while offering incredibly mild, sweet flavors that even picky eaters love. The best part? Most varieties go from seed to salad in just 2-3 weeks.
Whether you’re a complete gardening novice or someone juggling a packed schedule, this guide will walk you through everything you need to create your own thriving indoor garden.
You’ll discover which varieties grow best indoors, what supplies you actually need (spoiler: it’s simpler than you think), and how to troubleshoot common growing challenges.
By the end, you’ll have all the knowledge needed to enjoy fresh, homegrown greens every single day of the year.
Why Growing Baby Greens Indoors Makes Perfect Sense
Starting an indoor garden with baby greens offers benefits that extend far beyond just having fresh produce at your fingertips. Let’s explore why this approach works so well for busy lifestyles and small spaces.
Health Benefits That Add Up Quickly
Baby greens contain significantly higher concentrations of vitamins and minerals compared to mature vegetables. Research shows that young lettuce, for example, contains up to 40% more vitamin C than full-grown heads.
Microgreens and baby spinach are particularly rich in folate, iron, and vitamin K. Nutrients that support everything from energy levels to bone health.
When you grow your own baby greens, you control exactly what goes into them. No pesticides, no questionable growing practices, and no wondering how long they’ve been sitting in transport or on store shelves. You’re harvesting at peak freshness, which means maximum nutrition and flavor in every leaf.
Space-Saving Convenience
One of the biggest advantages of focusing on baby greens is how little space they require. A single windowsill can produce enough fresh greens for daily salads.
Unlike full-sized vegetables that need deep containers and extensive root systems, baby greens thrive in shallow trays just 2-3 inches deep.
This makes indoor gardening accessible even if you’re living in a tiny apartment, dorm room, or house without any outdoor growing space. You can easily set up productive growing areas on countertops, shelving units, or even under cabinets with proper lighting.
Speed and Satisfaction
Perhaps the most compelling reason to start with baby greens is the incredible speed from seed to harvest. While tomatoes take months to produce fruit and herbs can take weeks to establish, most baby greens are ready to eat in 14-21 days.
This rapid turnaround means you’ll see results quickly, which helps maintain enthusiasm and momentum in your new, growing adventure.
The quick growth cycle also means you can experiment with different varieties frequently, learning what works best in your specific conditions without waiting months to try something new.
Video: How To Grow Baby Greens At Home
Where to find seeds, plants, and supplies:
Essential Supplies for Your Indoor Baby Greens Garden
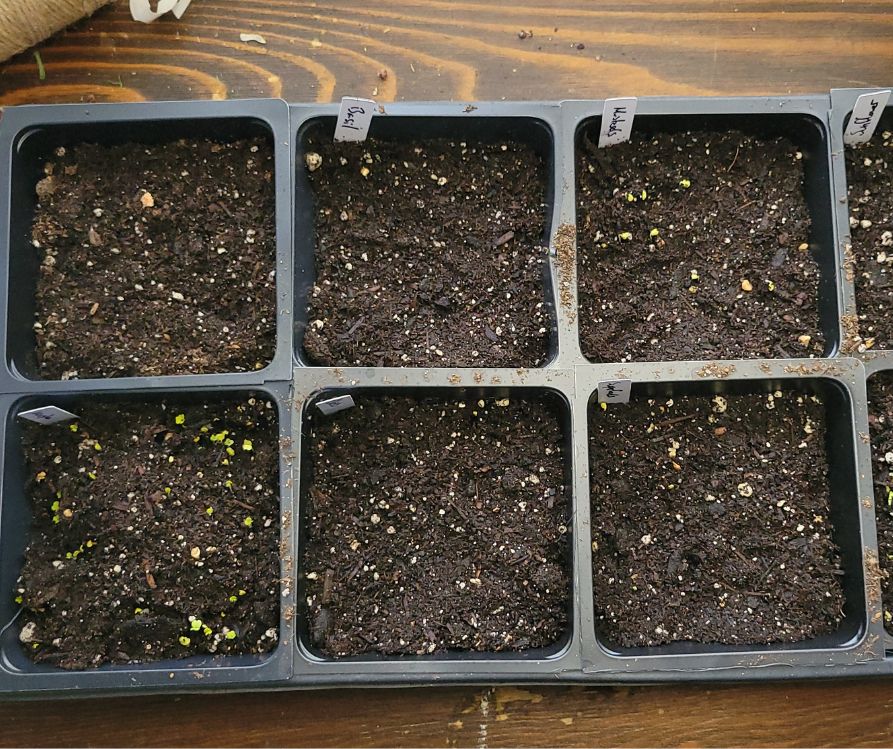
Getting started with indoor baby greens requires surprisingly few materials, and many items you might already have at home. Here’s what you’ll need to create a productive growing setup.
Containers and Growing Medium
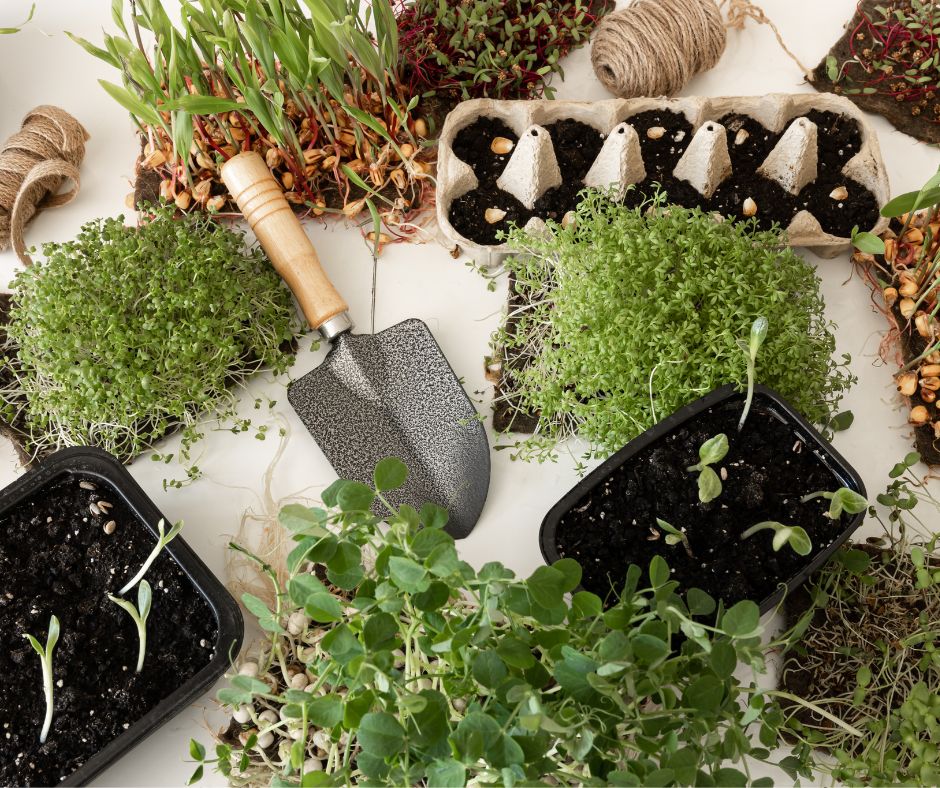
Your baby greens will thrive in shallow containers between 2 and 4 inches deep. Repurpose aluminum baking pans, plastic takeout containers, or seedling trays. Make sure they have drainage holes. If using containers without existing holes, carefully poke several small holes in the bottom using a nail or sharp knife.
For growing medium, high-quality potting mix works perfectly. Avoid garden soil, which can be too heavy and may contain pests or diseases. Look for mixes labeled for containers or seed starting, as these provide the right balance of drainage and moisture retention that baby greens need.
Seeds: Your Foundation for Success
Choose seeds specifically labeled for microgreens or baby leaf production when possible, as these varieties are selected for tender leaves and quick growth. However, regular vegetable seeds work perfectly well—you’re simply harvesting them young.
Buy seeds from reputable suppliers and check germination dates. Fresh seeds germinate more reliably and produce stronger plants. Store unused seeds in a cool, dry place, and they’ll remain viable for several years.
Lighting Solutions
While a bright, south-facing window can work for some baby greens, most indoor spaces benefit from supplemental lighting. LED grow lights have become affordable and energy-efficient, making them the top choice for indoor gardening.
We have had excellent results with Barrina 4FT T8 Plant Grow Lights and LED Grow Light Panel 200W.
Look for full-spectrum LED panels or strips that can be positioned 6-12 inches above your growing trays. Many options come with timers, which help maintain consistent light schedules even when you’re busy or traveling
Watering Tools
Gentle watering is crucial for baby greens, as harsh streams can disturb seeds and damage delicate seedlings. A spray bottle works well for initial watering and misting mature plants.
For regular watering, a watering can with a fine rose attachment or even a turkey baster allows for precise water placement.
Consider setting up a simple bottom-watering system using a larger tray filled with water. Place your planted containers in this tray, and the soil will draw up moisture as needed. This method reduces the risk of overwatering and fungal issues.
Step-by-Step Guide to Growing Baby Greens
Now that you have your supplies ready, let’s walk through the complete process of growing your first crop of indoor baby greens.
Preparing Your Containers
Start by filling your containers with potting mix, leaving about half an inch of space at the top. Gently level the surface without packing the soil down. Baby green seeds need a loose, breathable growing medium for proper germination.
Thoroughly moisten the soil using your spray bottle or by bottom-watering. The growing medium should feel evenly damp throughout but not waterlogged. Properly moistened soil will hold together when squeezed but crumble easily when disturbed.
Sowing Your Seeds
Baby greens can be planted much more densely than full-sized vegetables. Sprinkle seeds evenly across the soil surface. They should be close together but not overlapping. As a general rule, aim for about 10-15 seeds per square inch for most varieties.
Gently press seeds into the soil surface or cover with a thin layer (about 1/8 inch) of growing medium. Very small seeds, like lettuce, can be left on the surface, while larger seeds like peas benefit from a light covering.
Creating the Right Environment
Place your newly planted containers in a warm location (65-75°F is ideal) to encourage germination. Most baby green seeds don’t need light to germinate, so you can keep them in a warm, dark place for the first few days if needed.
Keep the soil consistently moist but not soggy during germination. Check daily and mist lightly if the surface appears to be drying out. Most seeds will begin sprouting within 3-7 days, depending on the variety and conditions.
Providing Proper Lighting
Once seedlings emerge, they need immediate access to bright light to prevent them from becoming tall and weak. If using artificial lighting, position LED grow lights 6-12 inches above the plants and run them for 12-16 hours daily.
For window growing, choose the brightest location available and rotate containers every few days to ensure even growth. South-facing windows work best, but east or west-facing windows can also produce good results.
Maintaining Your Crop
Water your baby greens regularly to keep the soil evenly moist. Check daily by inserting your finger into the soil. If the top inch feels dry, it’s time to water. Baby greens have shallow roots, so they dry out more quickly than mature plants.
Maintain good air circulation around your plants to prevent fungal issues. A small fan can help if you’re growing in an enclosed or humid space.
Watch for any signs of yellowing leaves or fuzzy growth, which may indicate too much moisture or poor air movement. Add a small fan to your setup to increase air circulation.
Best Varieties for Indoor Baby Greens Success
Choosing the right varieties can make the difference between gardening success and frustration. These tried-and-true options perform consistently well in indoor conditions.
Quick-Growing Champions
Lettuce varieties top the list for beginner-friendly baby greens. Buttercrunch, Red Sails, and Oak Leaf lettuce germinate quickly and produce tender, mild-flavored leaves in just 14-21 days. These varieties tolerate lower light conditions better than many other greens.
Spinach grows beautifully indoors and provides exceptional nutrition in its baby form. Space and Bloomsdale varieties work particularly well, offering sweet, tender leaves perfect for salads or light cooking.
Arugula adds a peppery kick to salad mixes and grows incredibly fast. It is often ready to harvest in just 10-14 days. This Mediterranean green actually prefers cooler conditions, making it perfect for indoor growing during warmer months.
Colorful and Nutritious Options
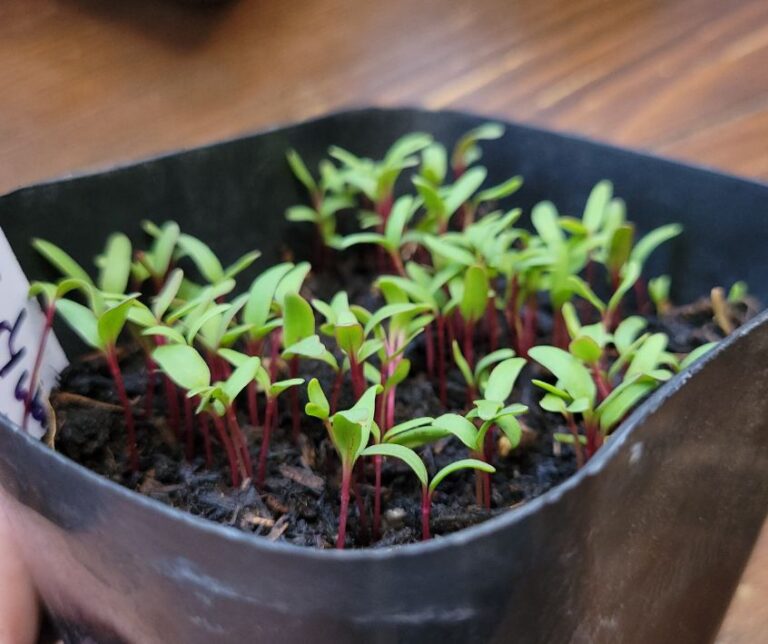
Swiss chard produces stunning baby leaves in rainbow colors, such as red, yellow, orange, and pink stems topped with colorful leaves. Baby chard is much milder than mature plants and adds beautiful color to salads.
Asian greens like bok choy, mizuna, and tatsoi grow quickly and offer unique flavors and textures. These varieties tend to be very cold-tolerant and often perform well in cooler indoor conditions.
Kale varieties can be harvested as tender baby greens before they develop their characteristic strong flavor. Red Russian and Winterbor varieties work particularly well for indoor baby leaf production.
Specialty Additions
Pea shoots from regular garden peas provide sweet, crunchy stems and leaves that are delicious in salads or stir-fries. They grow quickly and can be cut multiple times from the same planting.
Radish greens offer a mild, slightly spicy flavor and grow extremely quickly, often ready in just 7-10 days. The leaves are what you’re after here, not the root, so plant them densely and harvest young.
Troubleshooting Common Growing Challenges
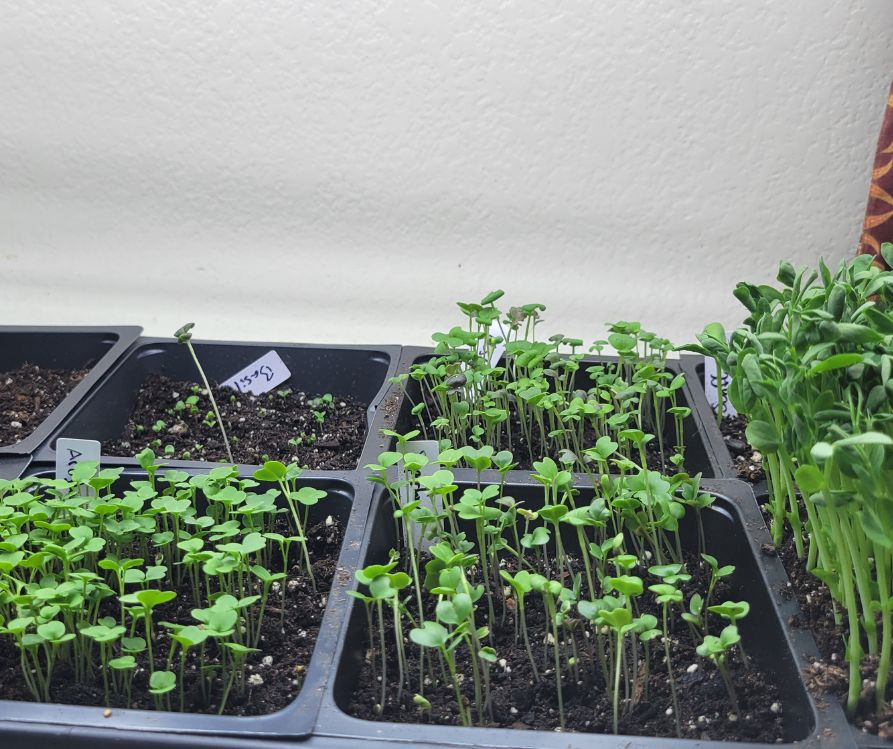
Even with the best planning, you might encounter some challenges with your indoor baby greens. Here are solutions to the most common issues new growers face.
Leggy, Weak Seedlings
If your seedlings are tall, thin, and falling over, they’re not getting enough light. This condition, called “stretching,” happens when plants try to reach toward insufficient light sources.
Move your containers closer to windows or adjust artificial lighting to be nearer to the plants. Ensure grow lights run for adequate hours daily. Most baby greens need 12-16 hours of supplemental light indoors.
Poor Germination Rates
When only a few seeds sprout, several factors could be at play. Old seeds lose viability over time, so check expiration dates and buy fresh seeds when needed. Soil that’s too dry or too wet can also prevent germination.
Temperature also plays a crucial role. Most baby green seeds germinate best between 60-75°F. If your space is cooler, consider using a heating mat designed for seed starting.
Mold or Fungal Growth
Fuzzy white or gray growth on soil or plants indicates fungal problems, usually caused by excess moisture and poor air circulation. Reduce watering frequency and ensure containers have proper drainage.
Improve air movement around plants with a small fan, and avoid overhead watering, which can splash soil onto leaves. If fungal issues persist, start fresh with clean containers and sterilized growing medium.
Slow Growth
Baby greens that seem stuck in slow motion often lack adequate nutrition or light. While baby greens don’t typically need fertilizer, a very poor potting mix might benefit from a dilute liquid fertilizer application.
More commonly, insufficient light causes slow growth. Increase daily light exposure or move plants to brighter locations. Temperature can also affect growth rates. Most baby greens prefer temperatures between 60-70°F.
Harvesting Your Indoor Baby Greens
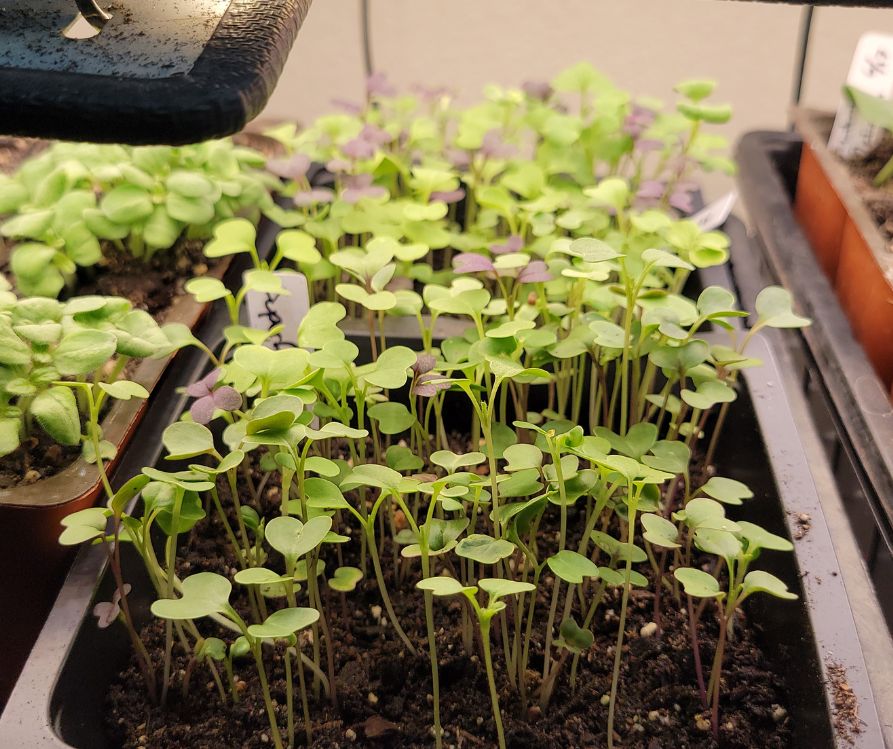
Knowing when and how to harvest ensures you get the best flavor and continued production from your indoor garden.
Timing Your Harvest
Most baby greens reach perfect eating size when leaves are 2-4 inches long, typically 14-25 days after planting. Harvest in the morning when plants are fully hydrated and leaves are crisp.
Don’t wait too long to harvest. Baby greens can quickly become tough and bitter if allowed to mature. It’s better to harvest slightly early than too late.
Harvesting Techniques
For cut-and-come-again harvests, use clean scissors to cut leaves about 1/2 inch above soil level. This allows the plants to regrow for additional harvests. Many varieties will produce 2-3 cuttings from a single planting.
For single harvests, you can pull entire plants, roots and all. This method works well when you want to replant immediately or when plants are getting close to bolting (going to seed).
Maximizing Yield
Harvest outer leaves first on varieties that grow from a central point, allowing inner leaves to continue developing. This extends your harvest window and provides continuous fresh greens.
Consider succession planting by starting new containers every 1-2 weeks, to ensure a constant supply of baby greens. This approach provides fresh harvests year-round without overwhelming you with too much produce at once.
Delicious Ways to Enjoy Your Homegrown Baby Greens
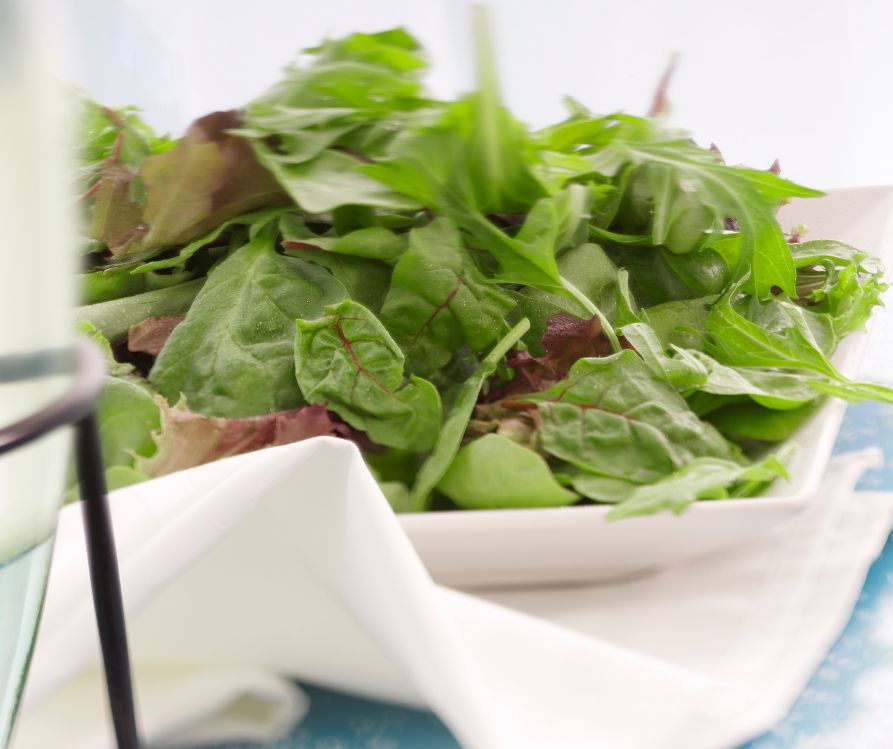
Your freshly harvested baby greens deserve preparation methods that highlight their tender texture and delicate flavors.
Simple Salad Combinations
Mix different varieties of your homegrown baby greens for complex flavors and textures. Combine mild lettuce with peppery arugula, add colorful chard for visual appeal, and toss in some pea shoots for crunch.
A simple vinaigrette made from olive oil, lemon juice, and a touch of honey perfectly complements most baby green mixtures without overpowering their delicate flavors.
Light Cooking Methods
Baby greens cook much faster than mature vegetables, making them perfect for quick sautés and stir-fries. Add them to pasta dishes during the last minute of cooking, or wilt them into omelets and frittatas.
Asian baby greens like bok choy and mizuna are particularly delicious in light broths or miso soups, where their mild flavors can shine through.
Creative Additions
Use baby greens as garnishes for soups, sandwiches, and grain bowls. Their small size and tender texture make them perfect toppers that add both nutrition and visual appeal.
Blend mild baby greens like spinach or lettuce into smoothies for a nutritional boost that doesn’t affect flavor. The tender leaves break down completely, unlike mature greens, which can leave tough bits.
Start Growing Your Indoor Garden Today
Growing baby greens indoors transforms your relationship with fresh produce while providing nutritious, flavorful greens year-round. The combination of quick results, minimal space requirements, and exceptional nutrition makes this one of the most rewarding forms of indoor gardening.
Start with one or two varieties that appeal to you most, perhaps some basic lettuce and spinach, and expand your selection as you gain confidence. Remember that each growing cycle teaches you something new about your specific conditions and preferences.
Your first harvest is just weeks away. Set aside time this weekend to gather supplies and plant your first containers. Once you experience the satisfaction of cutting fresh, homegrown baby greens for dinner, you’ll wonder why you waited so long to start. Your kitchen windowsill is about to become the most productive spot in your home.
Visit the Garden Resources page for supplies and inspiration. Don’t forget to subscribe to the Calendula’s Garden Newsletter for more gardening tips.
Calendula’s Garden is reader supported. When you buy through links on our site, we may earn an affiliate commission. As an Amazon Associate, I earn from qualifying purchases. For more information, view our Disclaimer page. Thank you!