How to Grow a Mini Indoor Vegetable Garden: Fresh Produce Year-Round
Calendula's Garden is reader suported This post may contain affiliate links, more on our Disclaimer page. Thank you!
Have you ever stood in your kitchen, looking at expensive store-bought vegetables and wondering if there’s a better way? You’re not alone. Growing your own mini indoor vegetable garden offers a rewarding solution that brings fresh, nutritious produce right to your fingertips. No backyard required.
Indoor vegetable gardening transforms any small space into a productive growing area. Whether you live in a cramped apartment, a house without a yard, or simply want fresh vegetables during the winter months, indoor gardening opens up possibilities you might not have considered.
The benefits extend far beyond convenience: you’ll enjoy pesticide-free produce, reduce your grocery bills, and gain the satisfaction that comes from nurturing plants from seed to harvest.
Starting an indoor vegetable garden might seem intimidating at first, but it’s more accessible than you think. With the right vegetables, basic equipment, and some guidance, you’ll soon be harvesting crisp lettuce for your salads and fresh herbs for your cooking.
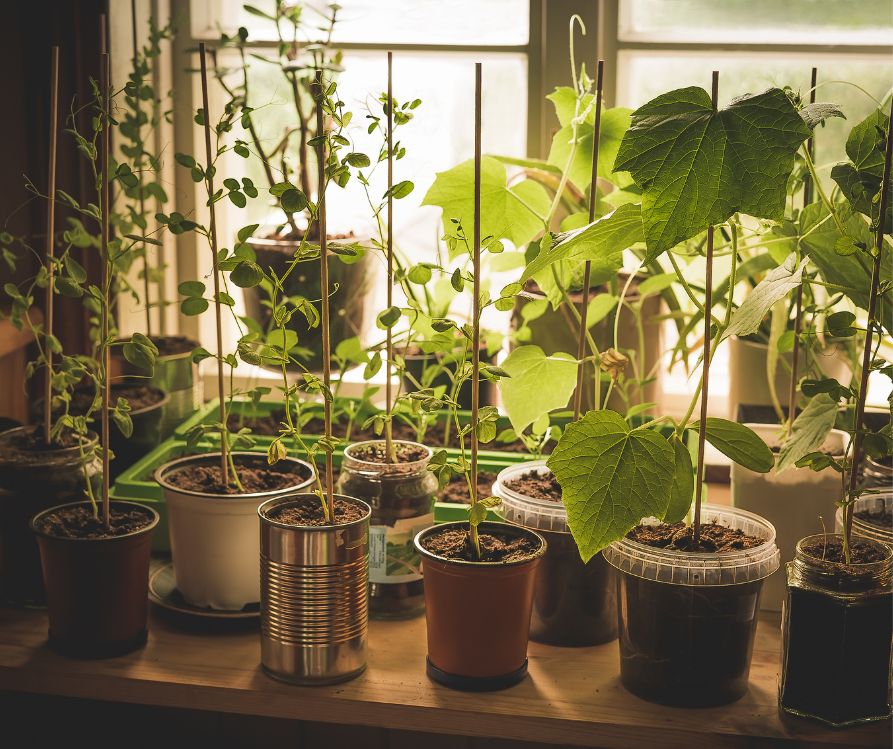
The best part? Most indoor vegetables require less maintenance than traditional outdoor gardens, making this perfect for busy lifestyles or gardening beginners.
This comprehensive guide will walk you through every step of creating your own thriving indoor vegetable garden. From selecting the perfect vegetables for your space to troubleshooting common challenges, you’ll have everything you need to start growing fresh, delicious produce right at home.
Choosing the Right Vegetables for Indoor Growing
Success with indoor gardening starts with selecting vegetables that adapt well to container life and indoor conditions. Not all vegetables are created equal when it comes to thriving indoors, so choosing the right varieties sets the foundation for your gardening success.
Where to find seeds, plants, and supplies:
Leafy Greens: Your Indoor Garden Superstars
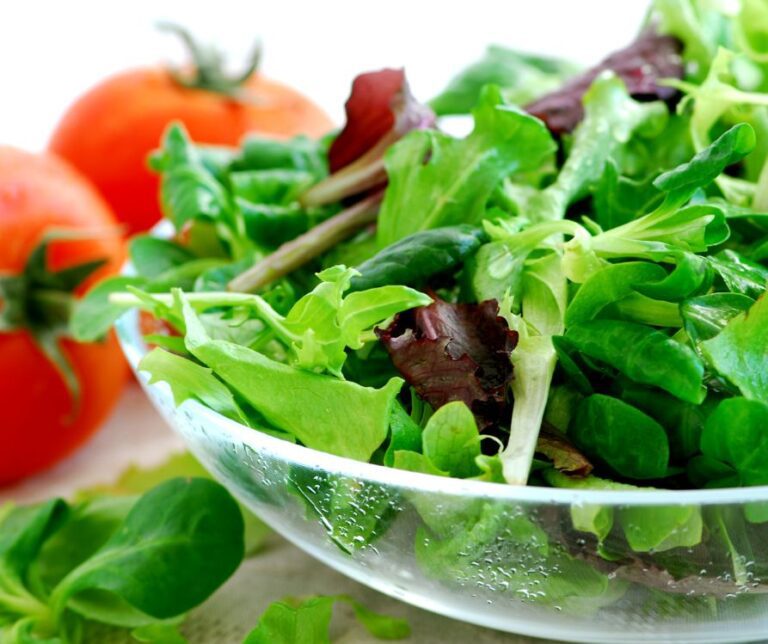
Leafy greens are the perfect starting point for indoor gardeners. Lettuce, spinach, kale, and arugula grow quickly, don’t require deep root systems, and tolerate lower light conditions better than fruiting vegetables. These vegetables typically mature in 30-60 days, giving you fast results that keep motivation high.
Butter lettuce and loose-leaf varieties work particularly well indoors because they don’t form dense heads that might struggle in containers.
Baby spinach offers continuous harvests when you pick outer leaves regularly, while kale provides both baby greens and full-sized leaves depending on your preference.
Herbs: Flavor Powerhouses in Small Packages
Fresh herbs elevate any meal, and they’re among the easiest plants to grow indoors. Basil, cilantro, parsley, chives, and oregano thrive in containers and provide ongoing harvests for months.
Most herbs prefer well-draining soil and moderate watering, making them relatively low-maintenance choices.
Basil deserves special mention because it grows vigorously indoors and produces abundant leaves when harvested regularly.
Start with sweet basil varieties, then experiment with purple basil or Thai basil as your confidence grows.
Compact Fruiting Vegetables
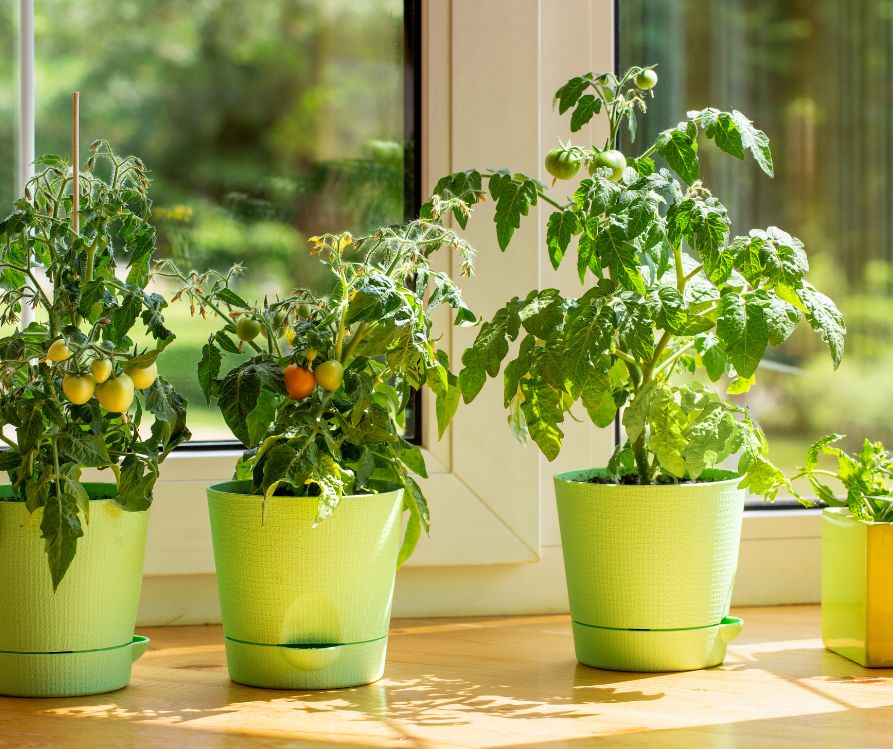
While leafy greens and herbs are the easiest options, certain fruiting vegetables can succeed indoors with proper care.
Cherry tomatoes, small pepper varieties, and compact eggplant cultivars work well in larger containers with adequate light.
Look for determinate tomato varieties or those specifically bred for containers. Cherry tomatoes like ‘Tiny Tim’ or ‘Red Robin’ stay compact while producing abundant fruit.
For peppers, choose smaller varieties like ‘Thai Hot’ or ‘Mini Bell’ that won’t outgrow their containers.
Microgreens: Maximum Nutrition in Minimal Space
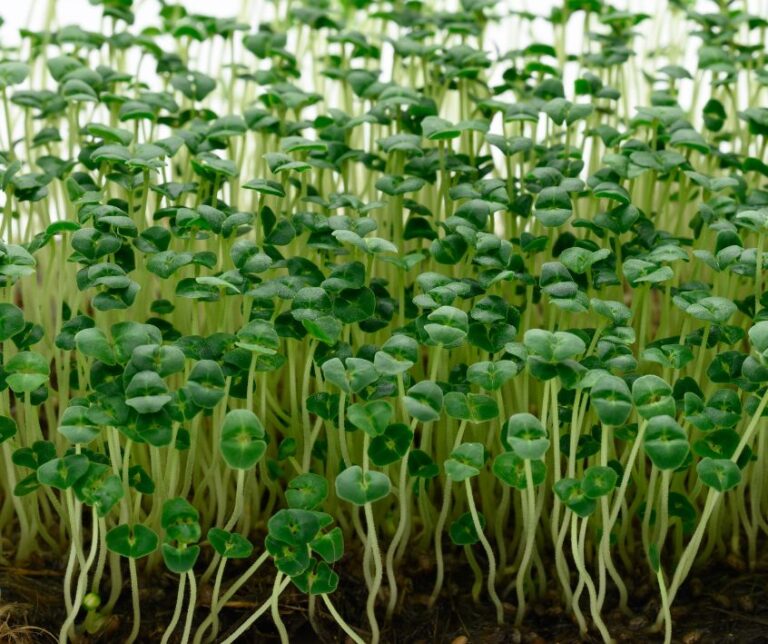
Microgreens deserve consideration for their incredible nutritional density and space efficiency.
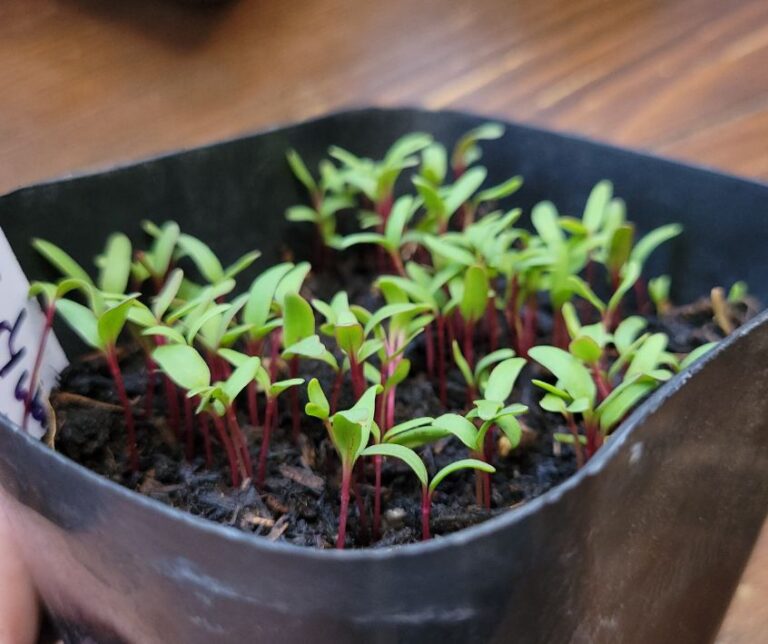
These young seedlings of vegetables and herbs are harvested just after their first true leaves appear, typically within 7-14 days of planting.
How To Start Growing Delicious Microgreens
Popular microgreen options include radish, broccoli, pea shoots, and sunflower greens. They require minimal equipment and space while providing intense flavors and nutrients that rival their full-grown counterparts.
Essential Equipment and Supplies
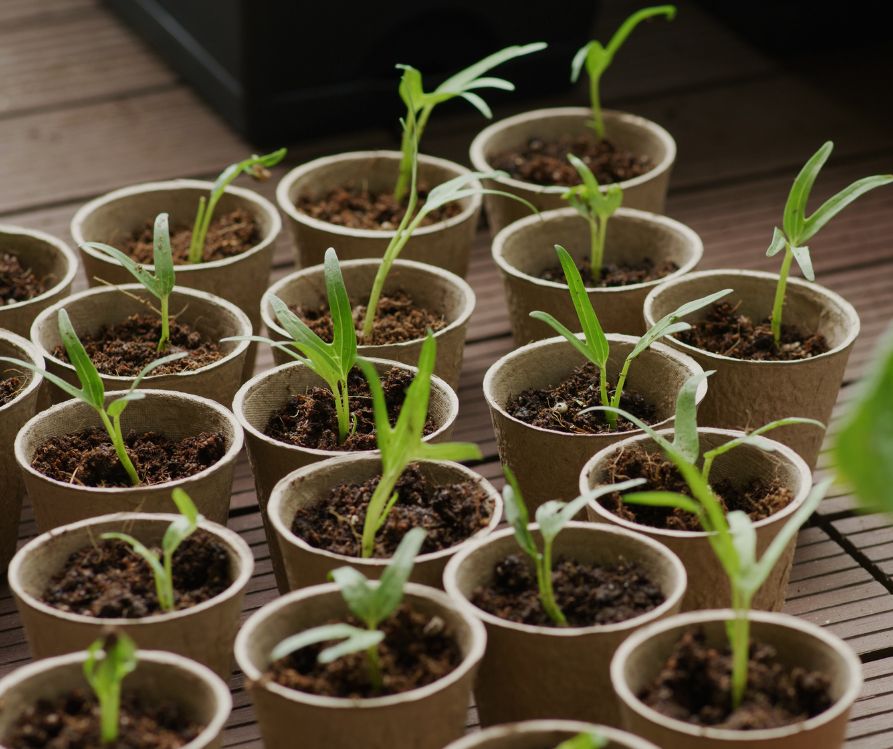
Creating a successful indoor vegetable garden requires some basic equipment, but you don’t need to break the bank. Focus on quality essentials that will serve you well rather than accumulating unnecessary gadgets.
Containers and Drainage
Proper containers form the foundation of healthy plant growth. Choose containers that are at least 6-8 inches deep for leafy greens and herbs, while fruiting vegetables need containers 12-18 inches deep.
Width matters too. Allow 4-6 inches between plants for proper air circulation.
Drainage holes are non-negotiable. Without proper drainage, your plants will develop root rot and other moisture-related problems. If you fall in love with a container that lacks drainage holes, you can carefully drill them yourself using a masonry bit.
Consider using saucers under your containers to protect surfaces from water damage. However, empty these saucers regularly to prevent water from sitting around plant roots.
Soil and Growing Medium
Regular garden soil is too heavy for container growing and may contain pests or diseases. Instead, invest in a high-quality potting mix designed for vegetables.
These mixes provide proper drainage while retaining enough moisture for healthy root development.
Look for potting mixes that contain perlite or vermiculite for drainage, along with organic matter like compost or coconut coir. Some gardeners prefer soilless mixes, which offer more control over nutrients but require more frequent fertilizing.
Lighting Solutions
Light often becomes the limiting factor in indoor vegetable gardening. While some leafy greens tolerate lower light conditions, most vegetables need 6-8 hours of direct sunlight or equivalent artificial light daily.
South-facing windows provide the best natural light, but even these may not provide sufficient intensity during winter months or in northern climates.
LED grow lights offer an energy-efficient solution that produces minimal heat while providing the light spectrum plants need.
Full-spectrum LED lights work well for most vegetables. Position lights 6-12 inches above leafy greens and 12-18 inches above taller plants. Adjust height as plants grow to maintain optimal light intensity.
Watering and Feeding Tools
A watering can with a narrow spout gives you better control over water placement and flow rate. Avoid watering directly onto leaves when possible, as this can promote fungal diseases in indoor environments with limited air circulation.
Consider investing in a moisture meter to take the guesswork out of watering. These inexpensive tools help you determine when soil is truly dry rather than just dry on the surface.
For feeding your plants, liquid fertilizers designed for vegetables work well in container growing. Organic options like fish emulsion or compost tea provide gentle nutrition without the risk of over-fertilizing.
Setting Up Your Indoor Garden
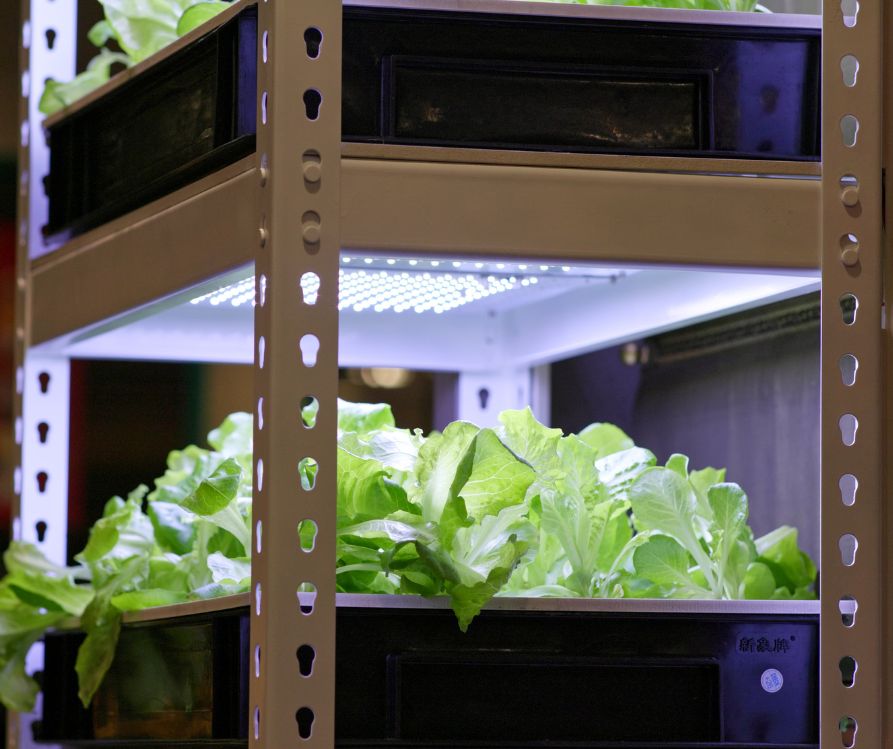
Now that you have your vegetables selected and equipment ready, it’s time to create your indoor growing space. Proper setup prevents many common problems and creates an environment where your vegetables can thrive.
Choosing Your Location
Select a location that receives maximum natural light while maintaining stable temperatures between 65-75°F. Avoid areas near heating vents, air conditioning units, or drafty windows that create temperature fluctuations.
Kitchen windowsills work wonderfully for herbs and small leafy greens, while larger spaces like spare rooms or basements accommodate bigger setups with grow lights.
Consider accessibility, too. You’ll need to water, harvest, and tend your plants regularly.
Preparing Your Containers
Start with clean containers to prevent disease problems. Wash used containers with a 10% bleach solution, rinse thoroughly, and allow to dry completely before planting.
Fill containers with potting mix, leaving about an inch of space at the top. Gently water the soil until it’s evenly moist but not waterlogged. This pre-moistening helps seeds and seedlings establish more easily.
Planting Seeds and Seedlings
Follow the seed packet instructions for planting depth and spacing. As a general rule, plant seeds at a depth equal to twice their diameter.
Tiny seeds like lettuce or herbs can be scattered on the surface and lightly covered with a thin layer of soil.
If starting with seedlings, plant them at the same depth they were growing in their original containers. Water gently after planting and place containers in their designated growing location.
Setting Up Grow Lights
If using artificial lighting, position lights according to manufacturer recommendations and plant needs.
Most vegetables need 14-16 hours of artificial light daily to compensate for lower light intensity compared to natural sunlight.
Use a timer to maintain consistent light schedules. Plants benefit from darkness periods just like they do outdoors, so avoid leaving lights on 24 hours a day.
Caring for Your Indoor Garden
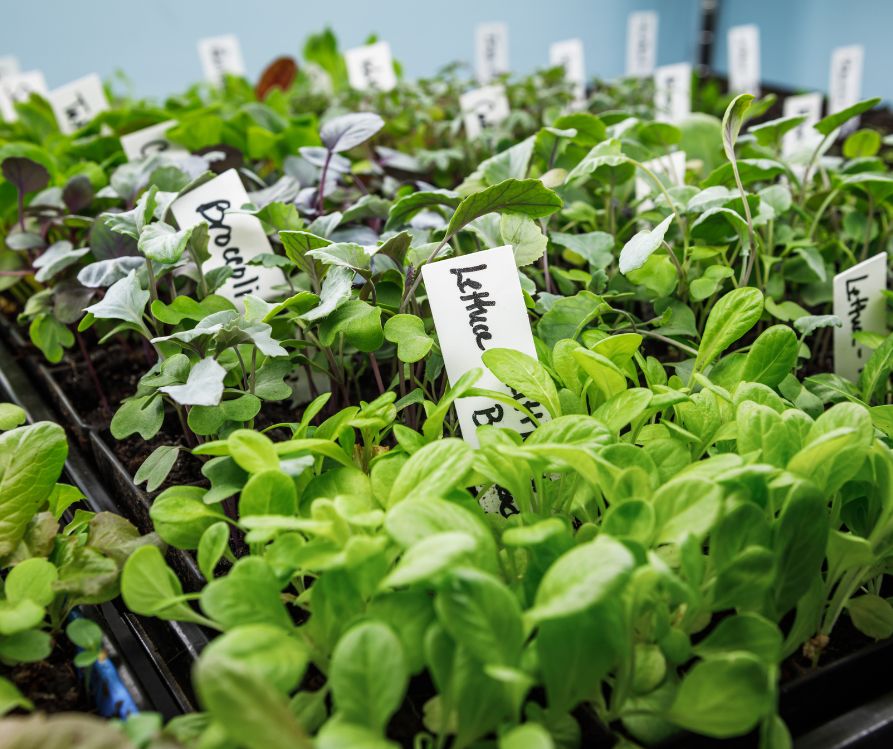
Successful indoor gardening requires consistent but not complicated care. Understanding your plants’ needs and maintaining regular routines keeps your garden productive and healthy.
Watering Wisdom
Overwatering kills more indoor plants than underwatering. Check soil moisture by inserting your finger about an inch deep into the soil. Water when the top inch feels dry, but the soil underneath remains slightly moist.
Water slowly and thoroughly until water drains from the bottom holes. This ensures the entire root system receives moisture while flushing out any accumulated salts from fertilizers.
Different vegetables have varying water needs. Leafy greens prefer consistent moisture, while herbs like slightly drier conditions between waterings. Fruiting vegetables need steady moisture during flowering and fruit development.
Fertilizing for Success
Container vegetables need regular feeding because nutrients wash out through drainage holes. Start feeding 2-3 weeks after planting with a balanced, water-soluble fertilizer diluted to half strength.
Leafy greens benefit from nitrogen-rich fertilizers that promote leaf growth. Fruiting vegetables need balanced fertilizers during vegetative growth, then switch to fertilizers higher in phosphorus and potassium during flowering.
Organic options like compost tea, fish emulsion, or kelp meal provide gentle, slow-release nutrition. These options are particularly good for herbs, which can become overly vigorous with chemical fertilizers.
Pruning and Harvesting Techniques
Regular harvesting actually encourages more growth in many vegetables. Harvest leafy greens by cutting outer leaves first, allowing the center to continue growing.
This “cut-and-come-again” method extends your harvest period significantly.
Pinch flower buds from leafy greens and herbs to keep plants producing tender leaves rather than going to seed. However, allow some herbs like cilantro or dill to flower if you want to collect seeds for future plantings.
For fruiting vegetables, remove lower leaves that turn yellow naturally, and provide support for heavy fruit to prevent branch breakage.
Managing Air Circulation
Indoor environments often lack the natural air movement that outdoor plants enjoy. Poor air circulation leads to fungal diseases and weak plant growth.
A small fan on low speed, positioned to create gentle air movement, helps strengthen plant stems and prevents moisture-related problems.
Avoid pointing fans directly at plants, which can cause excessive water loss. Instead, aim for gentle air circulation throughout the growing area.
Troubleshooting Common Issues
Even experienced gardeners encounter challenges with indoor growing. Recognizing problems early and understanding their solutions keeps your garden productive and your frustration levels low.
Light-Related Problems
Insufficient light causes leggy, weak growth and pale green leaves. Plants stretch toward available light sources, becoming tall and spindly rather than compact and bushy.
If your plants show these symptoms, move them closer to windows or invest in grow lights.
Conversely, too much artificial light can stress plants and waste energy. Signs include leaves curling, brown leaf edges, or stunted growth. Adjust light distance or duration to resolve these issues.
Watering Challenges
Overwatering symptoms include yellowing leaves, musty soil odors, and fungal growth on soil surfaces. Improve drainage by adding perlite to your potting mix, and reduce watering frequency while allowing the soil to dry more between waterings.
Underwatering causes wilting, dry soil that pulls away from container edges, and crispy leaf edges. Increase watering frequency and check that water is reaching all soil areas in the container.
Pest Management
Indoor gardens face fewer pest problems than outdoor gardens, but issues can still arise. Aphids, spider mites, and whiteflies are the most common indoor vegetable pests.
Inspect plants weekly, checking under leaves where many pests hide. Early detection makes treatment easier and more effective. Insecticidal soap sprays control most indoor pests safely without harsh chemicals.
Sticky yellow traps help monitor and control flying pests like whiteflies and fungus gnats. Place these near plants, but avoid touching leaves with the sticky surface.
Disease Prevention
Fungal diseases thrive in the warm, humid conditions that vegetables prefer. Prevent problems by ensuring good air circulation, avoiding overhead watering, and not overcrowding plants.
Remove affected plant parts immediately if you notice disease symptoms like dark spots, fuzzy growth, or rotting areas. Clean tools with rubbing alcohol between plants to prevent disease spread.
Nutrient Deficiencies
Yellowing leaves often indicate nitrogen deficiency, especially in leafy greens. Purple leaf coloring may suggest phosphorus deficiency, while brown leaf edges can indicate potassium deficiency or salt buildup.
Flush containers occasionally with plain water to remove salt buildup, then resume normal fertilizing. Adjust fertilizer type and frequency based on plant responses and growth patterns.
Harvesting and Enjoying Your Produce
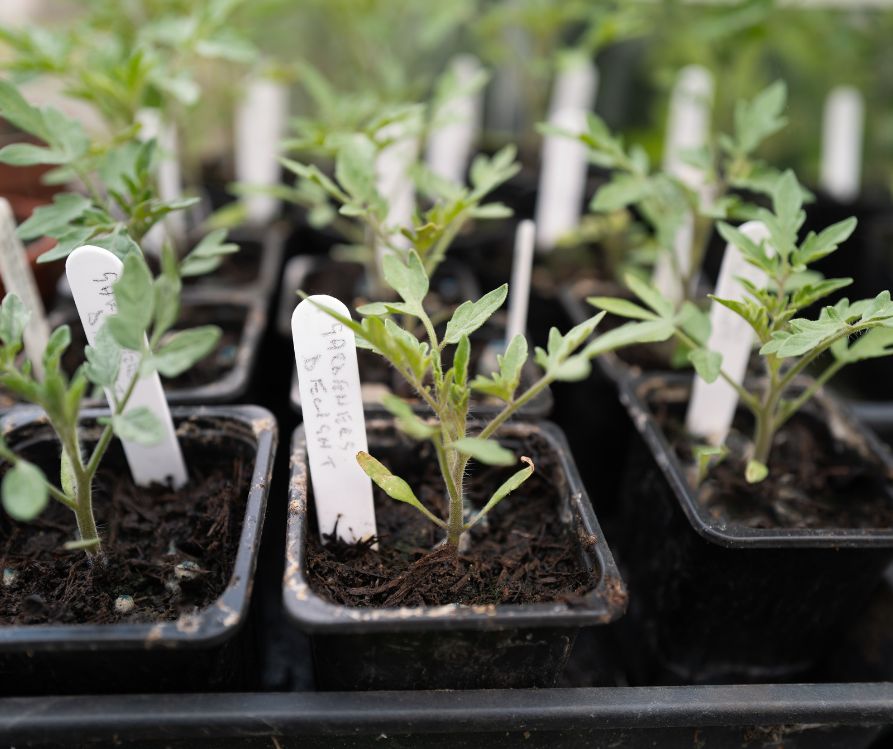
The most rewarding aspect of indoor gardening comes when you harvest your first homegrown vegetables. Knowing when and how to harvest ensures peak flavor and continued production from your plants.
Timing Your Harvests
Leafy greens taste best when harvested young and tender. Begin harvesting when leaves reach 2-3 inches long, always taking outer leaves first. This allows the plant center to continue producing new growth for future harvests.
Herbs develop the most intense flavors just before flowering. Harvest in the morning after dew has dried but before the day becomes hot. Regular harvesting actually increases production by encouraging new growth.
For fruiting vegetables, harvest when fruits reach full size and color but remain firm. Cherry tomatoes should have good color and a slight give when gently squeezed. Peppers can be harvested at any size, though they develop more flavor as they ripen and change color.
Harvesting Techniques
Use clean, sharp scissors or pruning shears for harvesting to prevent damage to plants. Make cuts just above leaf nodes or growth points to encourage new growth from those areas.
Handle harvested vegetables gently to prevent bruising. Rinse leafy greens and herbs in cool water immediately after harvesting, then dry thoroughly before storing.
Storage and Preservation
Fresh vegetables from your indoor garden often taste so good that storage becomes less of an issue. You’ll want to eat them immediately! However, proper storage extends the enjoyment of your harvest.
Leafy greens are best stored in the refrigerator wrapped in slightly damp paper towels inside plastic bags. Most herbs can be stored like cut flowers in glasses of water, covered with plastic bags, and refrigerated.
Consider preservation methods like freezing herbs in ice cubes with water or oil, or drying herbs for longer-term storage. These methods let you enjoy your indoor garden’s bounty even when production slows.
Cooking with Your Harvest
Fresh vegetables from your indoor garden deserve simple preparations that highlight their superior flavor. Young leafy greens need minimal cooking. Try them in salads, as sandwich toppings, or lightly sautéed with garlic.
Fresh herbs transform ordinary dishes into something special. Add them at the end of cooking to preserve their delicate flavors, or use them as garnishes to add color and aroma to finished dishes.
Growing Your Green Thumb Success
Starting a mini indoor vegetable garden opens the door to fresh, nutritious produce regardless of your living situation or outdoor space limitations.
The vegetables you’ve learned to grow, leafy greens, herbs, and compact fruiting plants, provide the foundation for expanding your indoor gardening adventures as your confidence and experience grow.
Remember that every successful gardener started as a beginner. Your first attempts might not produce perfect results, but each growing cycle teaches valuable lessons that improve your skills.
The satisfaction of eating vegetables you’ve nurtured from seeds more than compensates for any initial challenges.
Health Benefits of Indoor Plants – Piedmont Health
As you become comfortable with basic indoor growing techniques, consider experimenting with new varieties or expanding your setup. Many indoor gardeners find the hobby so rewarding that they gradually convert entire rooms into productive growing spaces.
Your indoor garden connects you with your food source while providing a relaxing, rewarding hobby that benefits both your health and your wallet. Start small, be patient with yourself, and enjoy watching your green thumb develop alongside your vegetables.
Ready to begin? Choose two or three easy vegetables like lettuce, basil, and spinach for your first indoor garden. Gather your basic supplies, set up your growing space, and plant your first seeds. Within weeks, you’ll be enjoying the freshest vegetables you’ve ever tasted—grown right in your own home.
Visit the Garden Resources page for supplies and inspiration. Don’t forget to subscribe to the Calendula’s Garden Newsletter for more gardening tips.
Calendula’s Garden is reader supported. When you buy through links on our site, we may earn an affiliate commission. As an Amazon Associate, I earn from qualifying purchases. For more information, view our Disclaimer page. Thank you!