How to Create Herbal Hydrating Mists and Toners
Calendula's Garden is reader suported This post may contain affiliate links, more on our Disclaimer page. Thank you!
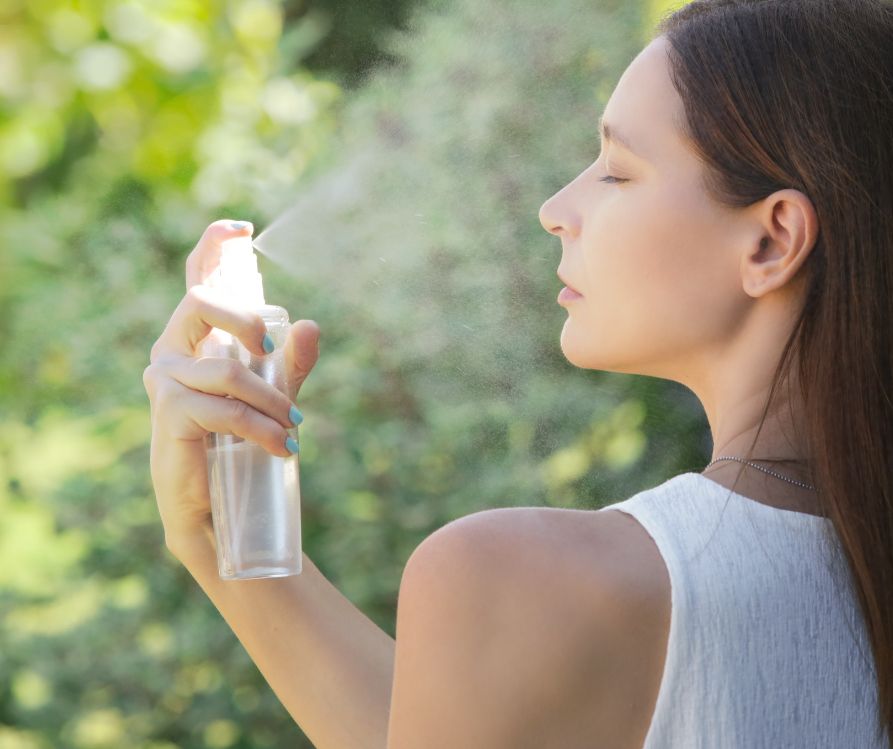
Looking for a natural way to refresh your skin while staying eco-friendly? A DIY botanical hydrating toner or mist is the perfect addition to any skincare routine.
Not only are these toners gentle and customizable, but they also allow you to avoid harsh chemicals found in many store-bought products. Plus, making your own toner is a fun and creative way to explore the beauty of botanicals. It is especially satisfying knowing that you grew the herbs yourself.
By the end of this guide, you’ll have learned how to craft a toner tailored to your skin type, using ingredients you likely already have at home. Whether you’re a DIY skincare newbie or a gardening enthusiast looking to put your botanicals to good use, this tutorial will set you on the right path.
The Benefits of Botanical Hydrating Toners and Mists
Botanical toners and mists provide more than just instant refreshment; they can work wonders for your skin. Here are a few reasons to add them to your routine:
- Hydration: Formulated with skin-nourishing botanicals and ingredients, these toners help replenish moisture levels throughout the day.
- Customizable Care: From soothing aloe to clarifying witch hazel, every ingredient serves a unique purpose, so you can mix-and-match depending on your needs.
- Eco-Friendly Beauty: Making your own toner is sustainable. Reducing waste while ensuring your product is free from harsh chemicals, synthetic fragrances, and preservatives.
- Budget-Friendly: Skipping the expensive serums doesn’t mean compromising results. DIY options are cost-effective yet surprisingly luxurious.
Choosing the Right Botanicals for Your Skin Type and Needs
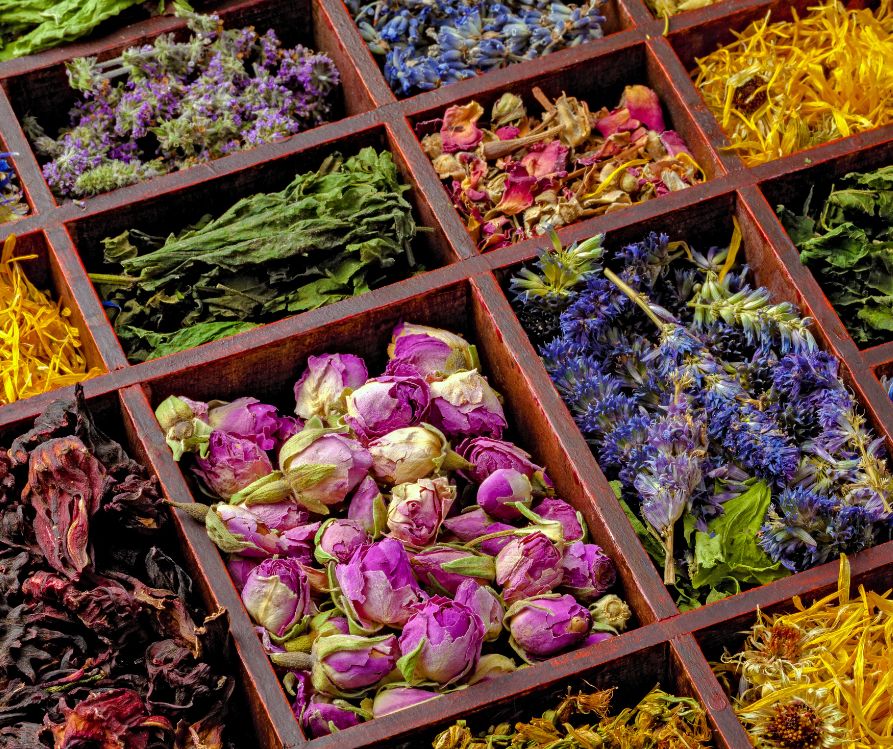
The secret to a truly effective toner lies in choosing the right botanicals. Keep your skin type and goals in mind when selecting ingredients. Here’s a quick guide to help you choose wisely:
- Sensitive Skin: Go for calming botanicals like chamomile, calendula, or rose petals. These are known to soothe skin and reduce redness.
- Oily/Acne-Prone Skin: Choose ingredients with clarifying and anti-inflammatory properties, such as green tea, witch hazel, or rosemary.
- Dry Skin: Hydrating botanicals like aloe vera, cucumber, or lavender will work wonders to lock in moisture.
- Aging Skin: Opt for ingredients high in antioxidants, such as hibiscus (“the botox plant”) or rosehip, to improve elasticity and combat fine lines.
Tip: If you grow your own herbs or flowers, you can harvest them freshly for your toner. If not, dried herbs can work just as well. Look for organic suppliers to ensure purity.
Basic Ingredients and Tools You’ll Need
Before getting started, gather all the necessary ingredients and tools. Don’t worry, it’s nothing too fancy!
Ingredients:
- 1 cup distilled water (avoid tap water to ensure hygiene and longer shelf life)
- 1 tablespoon of your chosen botanical(s) (e.g., dried chamomile, rose petals, or green tea)
- 1-2 tablespoons witch hazel or aloe vera (optional, for added benefits)
- A few drops of essential oils (optional; consider lavender for relaxation or tea tree for acne-prone skin)
Tools:
- A small saucepan or kettle
- A fine strainer or cheesecloth
- A sterilized spray bottle or glass jar
- Measuring spoons and cups
Step-by-Step Instructions for Creating the Toner or Mist
Here’s the fun part! Follow the steps below to create your personalized hydrating botanical toner or mist.
Step 1. Prepare Your Botanicals
If using fresh herbs, rinse them thoroughly to remove dirt or debris. For dried botanicals, measure them out and crush them lightly to release their aromas and beneficial compounds.
Step 2. Brew Your Botanical Base
- Boil 1 cup of distilled water and pour it over your selected botanicals in a heatproof container.
- Cover and steep the mixture for 10-15 minutes to allow the botanicals to infuse their goodness into the water.
- Strain the mixture using a fine strainer or cheesecloth to separate the liquid from the solids.
Step 3. Add Additional Ingredients
Once the liquid has cooled to room temperature, mix in a tablespoon or two of witch hazel or aloe vera for extra hydration and soothing properties.
Add a few drops of an essential oil that suits your skin type, but don’t overdo it; 3-5 drops per cup is plenty.
Step 4. Transfer to Your Bottle
Pour the mixture into a sterilized spray bottle or glass jar. A dark-colored glass bottle works best as it preserves the ingredients by reducing light exposure.
And just like that, your DIY botanical toner or mist is ready to use!
Tips for Storage and Shelf Life
Your homemade toner may not contain preservatives, which means its shelf life will be shorter than store-bought products. Keep these tips in mind to get the most out of your creation:
- Store the toner in your refrigerator to keep it fresh for up to 7-10 days.
- Use sterilized tools and containers to minimize contamination.
- If the toner changes its scent or appearance, it’s likely time to dispose of it and make a fresh batch.
How to Incorporate Your DIY Toner or Mist into Your Routine
To fully enjoy the benefits of your botanical creation, here’s how to include it in your daily skincare routine.
- Morning: Use it after cleansing your face to prep your skin for moisturizer and sunscreen.
- Throughout the Day: Keep it in the fridge and spritz it on as a midday pick-me-up, especially in warmer weather.
- Evening: After cleansing, apply the toner before night cream or serum to lock in hydration overnight.
- Pro Tip: Use your toner under a sheet mask to maximize hydration and absorption of nutrients.
Calendula Bath and Home: Morning Rituals for Radiant Skin and a Fresh Start
Experiment and Elevate Your Skincare Journey
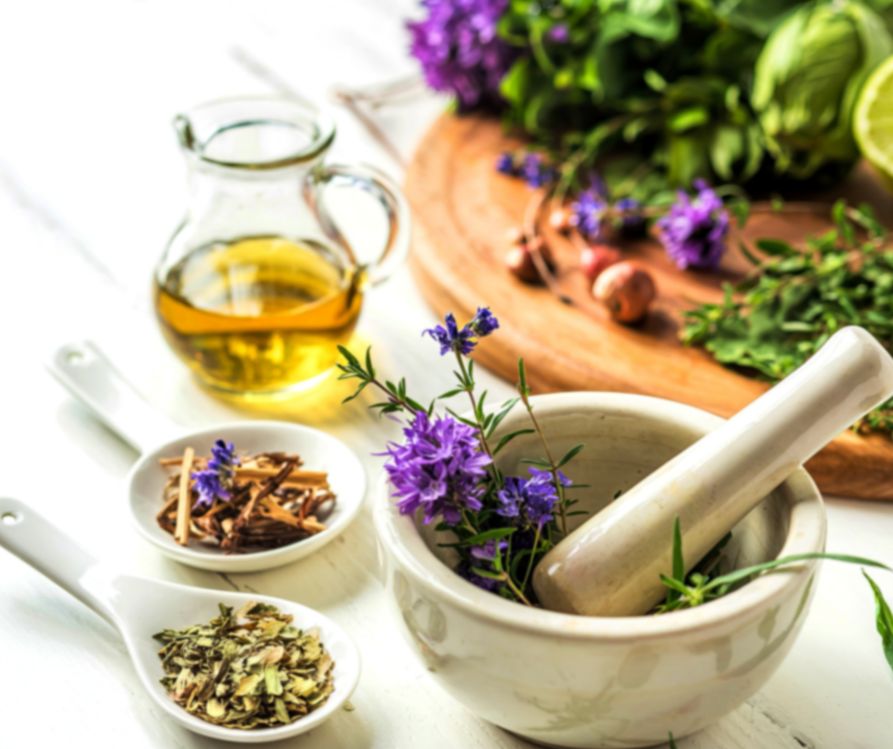
Congratulations on creating your own DIY botanical hydrating toner or mist! Not only have you created something beneficial for your skin, but you’ve also taken an eco-conscious step toward sustainable beauty.
Don’t stop here. Explore other DIY skincare recipes, like masks or scrubs, to expand your skills.
Remember, skincare is personal, so feel free to experiment with different botanicals until you find the perfect blend for your needs. You’ll love seeing how your creations positively transform your skin (and your wallet).
If you loved this guide and are curious about even more botanical beauty recipes, sign up for our newsletter for exclusive tips and inspiration!
Visit the Garden Resources page for supplies and inspiration. Don’t forget to subscribe to the Calendula’s Garden Newsletter for more gardening tips.
Calendula’s Garden is reader supported. When you buy through links on our site, we may earn an affiliate commission. As an Amazon Associate, I earn from qualifying purchases. For more information, view our Disclaimer page. Thank you!