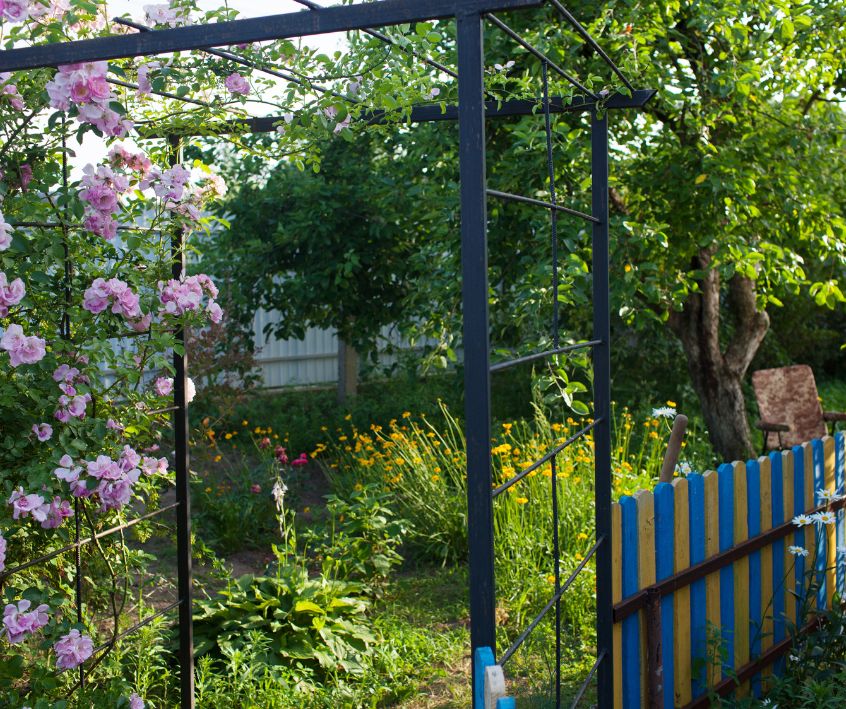
How to Create a Mini Forest Garden in Your Backyard
Calendula's Garden is reader suported This post may contain affiliate links, more on our Disclaimer page. Thank you!
Have you ever walked through a forest and noticed how everything seems to thrive without anyone weeding, watering, or fertilizing it? Nature has a way of balancing itself perfectly.
Plants grow in layers, pests are kept in check by predators, and the soil is constantly nourished by falling leaves.
Now, what if you could recreate that self-sustaining magic right outside your back door?
That’s the beauty of a forest garden. It isn’t just for people with acres of land. Even in a small urban backyard, you can mimic a natural forest ecosystem to grow food, attract pollinators, and create a beautiful, low-maintenance sanctuary.
Whether you’re a complete beginner or looking to make your garden more sustainable, creating a mini forest garden is one of the most rewarding projects you can start this season.
What is a Mini Forest Garden?
A forest garden (often called a food forest) is a gardening technique that mimics the structure and diversity of a natural forest.
But instead of just growing wild trees, you plant productive, edible crops, fruit trees, nut bushes, perennial vegetables, and herbs, intermixed with plants that support the ecosystem.
The goal isn’t to plant a dark, dense thicket of trees. Instead, it’s about using vertical space efficiently. By planting in layers, from tall canopy trees down to ground cover, you maximize your harvest in a small footprint.
Why You Should Start One
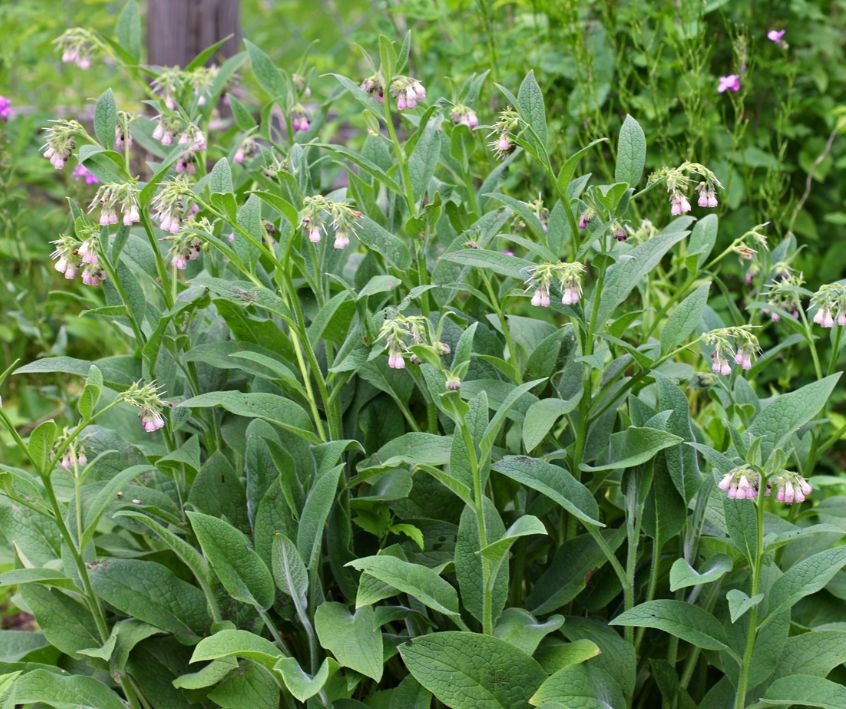
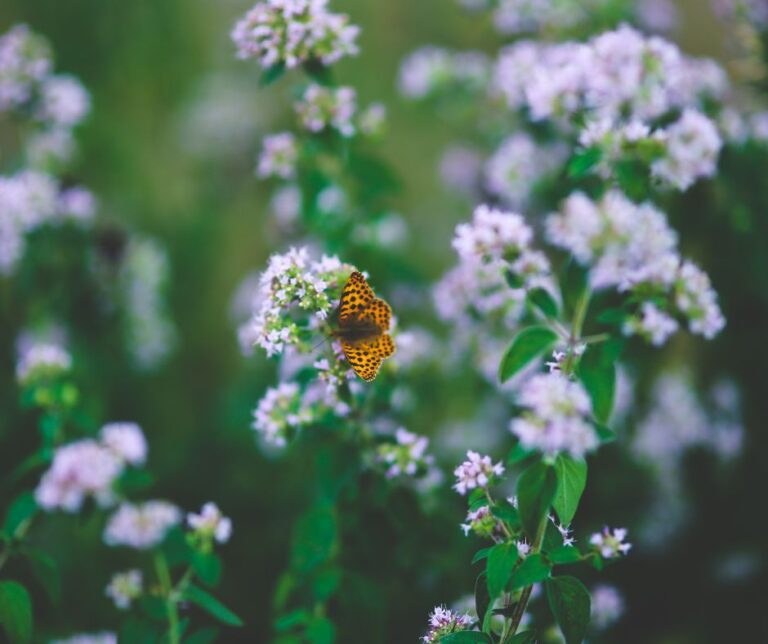
Biodiversity Boost: By planting a variety of species, you create a “pollinator paradise.” You’ll attract bees, butterflies, and beneficial insects that keep pests under control naturally.
Sustainability: Once established, forest gardens require far less water and fertilizer than traditional veggie patches. They build their own soil fertility through natural mulch and nitrogen-fixing plants.
Resilience: Because you aren’t relying on a single crop, your garden is less susceptible to total failure from pests or weather changes. If one crop struggles, another will likely thrive.
Beauty and Health: It’s a space to reconnect with nature, grow chemical-free food for your family, and enjoy a lush, green retreat.
Phase 1: Planning Your Mini Forest Garden
Before you grab a shovel, take a moment to observe. A successful forest garden starts with understanding your unique slice of earth.
Assessing Your Space
You don’t need a massive plot of land; a corner of a suburban yard is enough. Walk your space and look for the following:
Sunlight: Which areas get full sun (6+ hours), and which are shady? In a forest garden, your tallest trees will cast shade, so you need to plan where the shadows will fall.
Soil Quality: Is your ground hard clay or sandy? Do a simple squeeze test (grab a handful of damp soil; if it holds its shape, it’s clay; if it crumbles immediately, it’s sandy). Improving your soil is key, but knowing what you’re working with helps you choose the right plants.
Water Flow: Watch where rainwater goes during a storm. Does it pool in one area? That might be the perfect spot for moisture-loving plants like elderberry.
Where to find seeds, plants, and supplies:
Designing the Layers
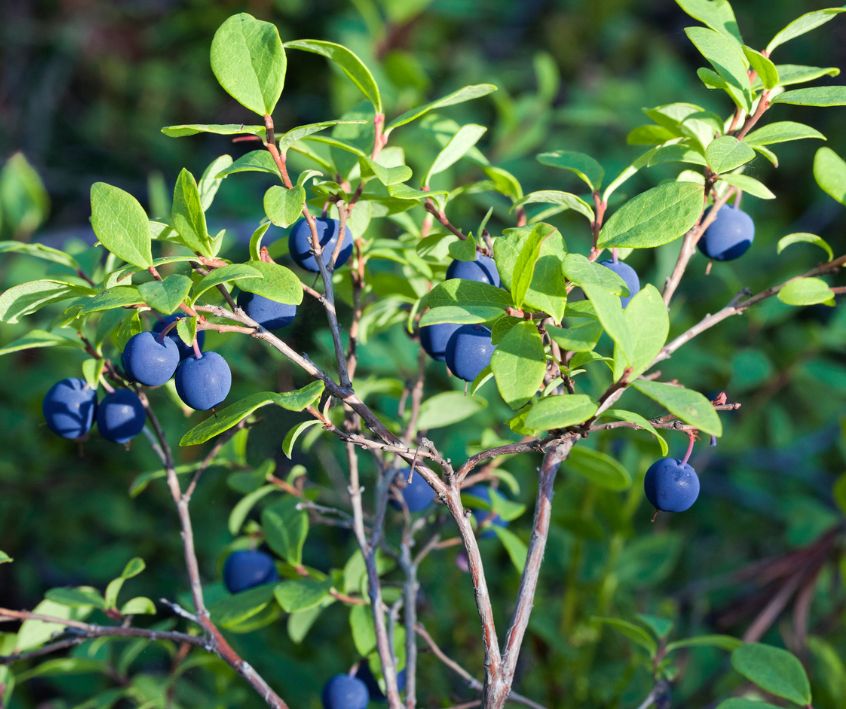
This is the fun part! A forest garden typically has seven layers, though in a mini version, you might only use three or four. Think of it like stacking blocks:
- Canopy Layer: The tallest fruit or nut trees (e.g., Apple, Pear, or a dwarf variety for small spaces).
- Shrub Layer: Berry bushes that thrive under the taller trees (e.g., Currants, Blueberries, Gooseberries).
- Herbaceous Layer: Perennial vegetables and herbs (e.g., Comfrey, Rhubarb, Mint).
- Ground Cover: Low-growing plants to suppress weeds and protect soil (e.g., Strawberries, Clover).
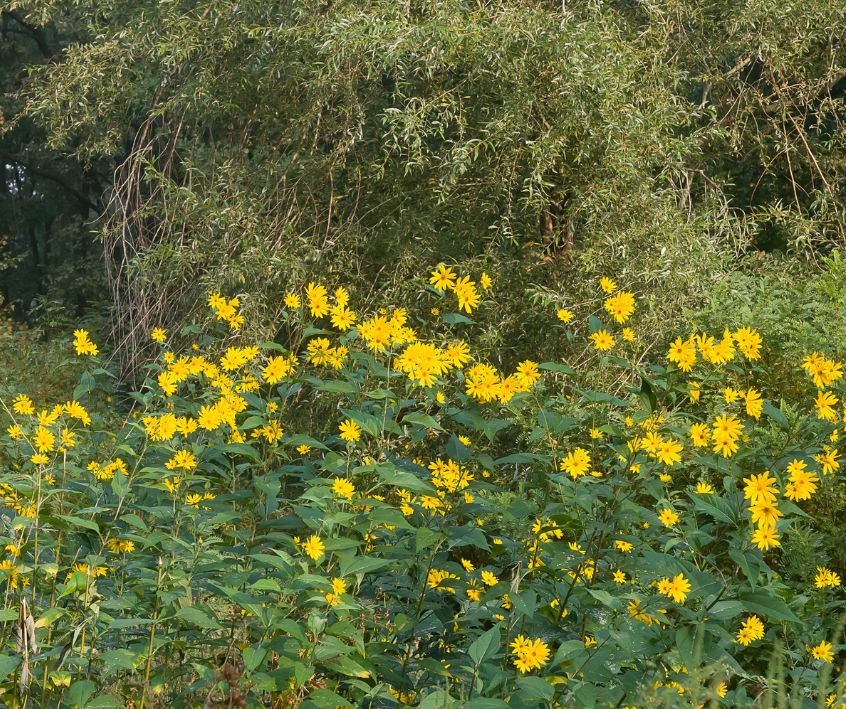
- Underground Layer: Root crops (e.g., Jerusalem Artichokes, Garlic).
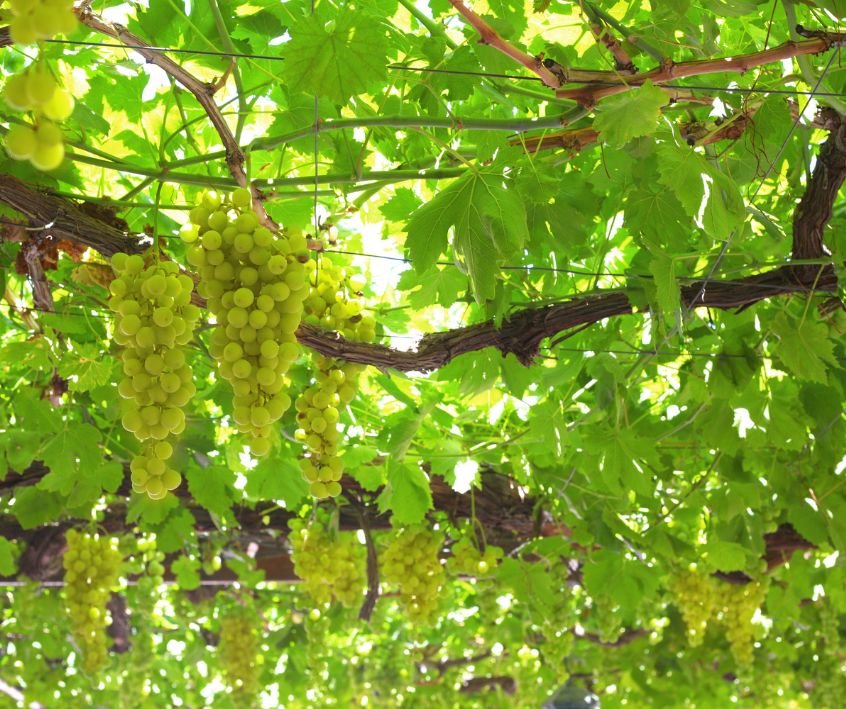
- Climbing Layer: Vines that grow up the trees (e.g., Grapes, Kiwi, Passionfruit).
Pro Tip: For a small backyard, focus on a “guild.” This is a central fruit tree surrounded by supportive plants (companions) that help it grow.
Selecting Your Plants
When choosing plants, think “native” and “perennial.” Native species are adapted to your local climate and local wildlife. Perennials come back year after year, saving you work in the long run.
Look for functional plants, too. For example, Clover and Lupines are “nitrogen fixers.” They pull nitrogen from the air and store it in their roots, naturally fertilizing the soil for neighboring plants.
Comfrey has deep taproots that mine nutrients from deep in the earth and bring them to the surface.
Phase 2: Planting Your Sanctuary
Once you have your plan and your plants, it’s time to get your hands dirty.
Preparing the Soil
Forests love rich, spongy soil full of organic matter. If your soil is poor, don’t worry, forest gardening is all about building soil over time.
Instead of tilling the earth (which disturbs soil life), try the “sheet mulching” method. Lay down cardboard over your grass or weeds to suppress them.
Cover the cardboard with a thick layer of compost and organic matter like leaves or straw. This creates a nutrient-rich bed for your new plants and invites earthworms to do the tillage for you.
Planting Techniques
Start with your largest trees (the canopy layer). These will be the anchors of your garden. Dig a hole twice as wide as the root ball, but no deeper. Place the tree in, backfill with native soil mixed with a little compost, and water it well.
Next, plant your shrubs and herbaceous layers around the tree. Be mindful of spacing. Plants look small now, but they will grow! Research the mature size of your plants to ensure you don’t overcrowd them.
- Guild Planting Example: Plant an apple tree in the center. About three feet away, plant a circle of chives (to repel pests) and comfrey (to build soil). Fill the gaps with strawberry plants for ground cover.
Phase 3: Maintaining Your Ecosystem
The beauty of a forest garden is that it becomes easier to care for as it matures. However, in the first year or two, your baby forest will need some nurturing.
Watering and Weeding
Young plants need regular water to establish their roots. Check the soil moisture frequently, especially during dry spells.
Weeding is mostly done in the establishment phase. Once your ground cover (like clover or strawberries) fills in, it will act as a living mulch, shading out most weeds. Until then, hand-pull weeds or add more organic mulch (wood chips or straw) to keep the soil covered.
Pruning and Mulching
“Chop and drop” is a classic forest gardening technique. When you prune your plants or cut back herbs like Comfrey, don’t throw the cuttings in the bin.
Drop them right on the ground around the base of your plants. As this organic matter breaks down, it feeds the soil, just like falling leaves in a real forest.
Pruning your fruit trees in late winter helps maintain their shape and encourages better fruit production. It also ensures light can reach the lower layers of your garden.
Organic Pest Control
Forget the chemical sprays. In a forest garden, we fight pests with biodiversity.
- Attract Predators: Ladybugs and lacewings love eating aphids. Plant Yarrow, Dill, and Fennel to attract these beneficial insects.
- Confuse Pests: Strong-smelling herbs like Garlic, Chives, and Mint can mask the scent of your fruit trees, making it harder for pests to find them.
- Acceptance: Understand that a few holes in leaves are okay. It means your ecosystem is alive!
Start Small, Grow Wild
Creating a mini forest garden is a journey, not a race. You don’t have to plant everything at once. You might start with a single fruit tree guild this spring and expand it next year.
The most important thing is to start. By planting even a small guild, you are contributing to a healthier planet, supporting local wildlife, and taking a big step toward a sustainable lifestyle. Plus, there is nothing quite like the taste of a berry picked fresh from a bush you planted yourself.
So, grab your gardening gloves and head to your local nursery. Your mini forest awaits.
Visit the Garden Resources page for supplies and inspiration. Don’t forget to subscribe to the Calendula’s Garden Newsletter for more gardening tips.
Calendula’s Garden is reader supported. When you buy through links on our site, we may earn an affiliate commission. As an Amazon Associate, I earn from qualifying purchases. For more information, view our Disclaimer page. Thank you!