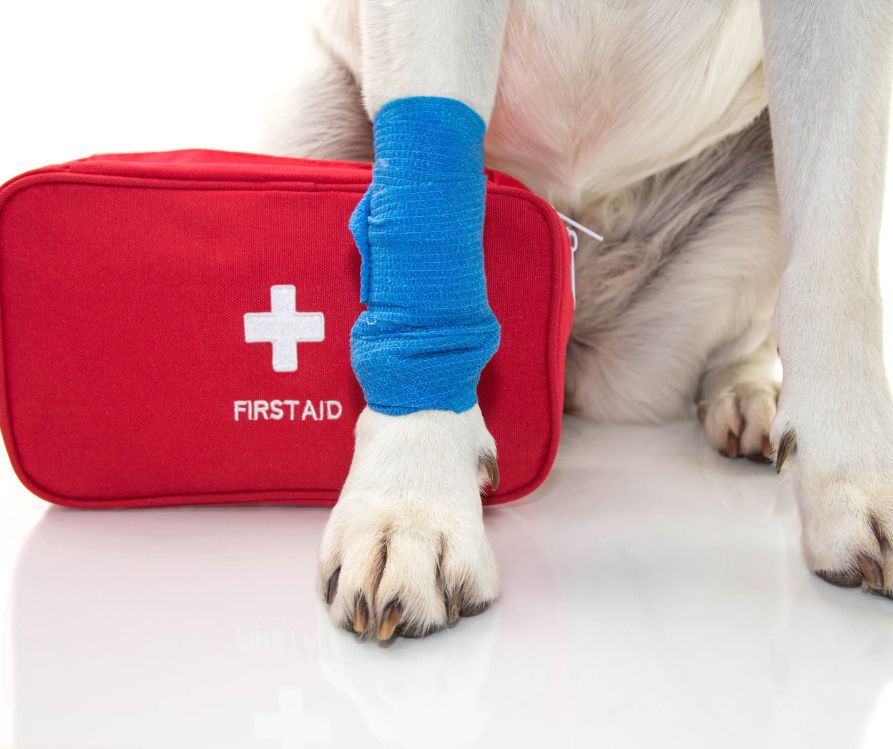
How to Build a DIY Pet Emergency Kit
Calendula's Garden is reader suported This post may contain affiliate links, more on our Disclaimer page. Thank you!
We often spend hours thinking about the perfect food for our pets, the comfiest beds, and the most engaging toys. But there’s one aspect of pet parenthood that tends to slip our minds until it’s absolutely critical: emergency preparedness.
Just like us, our furry companions are susceptible to sudden scrapes, tummy troubles, and unexpected health scares. And just like us, they need immediate care when things go wrong. Whether you’re out in the garden with your dog or your cat is exploring the garage, accidents happen when we least expect them.
Having a dedicated pet emergency kit isn’t about being paranoid; it’s about being prepared. It’s that peace of mind knowing that if your pup steps on a thorn or your kitty gets a little too curious with a bee, you have the tools to help them right away.
Think of it as an insurance policy you hope never to use, but will be eternally grateful for if you do.
In this guide, we are going to walk through exactly how to build a comprehensive DIY pet emergency kit from scratch. We’ll cover what goes in it, why you need it, and how to maintain it so it’s always ready for action.
Understanding Common Pet Emergencies
Before we start filling up a shopping cart with bandages and ointments, it helps to understand what exactly we are preparing for.
While severe emergencies always require immediate veterinary attention, a well-stocked kit bridges the gap between the accident and the vet clinic.
Minor Injuries and Scrapes
Active pets are bound to get into a little trouble now and then. If you have a dog that loves to run through the underbrush or dig in the garden, minor cuts, abrasions, and torn nails are common occurrences.
These injuries can bleed surprisingly heavily and are prone to infection if not cleaned properly. Having the right supplies to stop bleeding and disinfect a wound can prevent a minor ouchie from becoming a major infection.
Insect Bites and Stings
For those of us who spend a lot of time outdoors, perhaps tending to a vegetable patch or flower bed, we know that insects are just part of the ecosystem. Unfortunately, our pets don’t always understand that bees and wasps aren’t toys.
Insect stings can cause swelling, pain, and allergic reactions. Being able to remove a stinger safely and soothe the area is a crucial skill for any pet owner.
Digestive Issues and Poisoning
Pets are notorious scavengers. They explore the world with their mouths, which sometimes leads to them ingesting things they shouldn’t. This could be anything from a discarded chocolate wrapper on a walk to a toxic plant in the garden.
While induced vomiting should only ever be done under the strict guidance of a vet, having the supplies ready if they give you the go-ahead can save precious minutes.
Heatstroke and Dehydration
During those warm summer months when we are enjoying the sun, our pets are at risk of overheating. Dogs, in particular, struggle to regulate their body temperature as efficiently as humans.
Recognizing the signs of heatstroke, excessive panting, drooling, and lethargy, and having instant cold packs or water on hand can be lifesaving while you transport them to professional care.
Essential Items for Your DIY Pet Emergency Kit
Now, let’s get into the nitty-gritty. Building your own kit is often better than buying a pre-made one because you can customize it to your specific pet’s needs. Here is a comprehensive list of what you should consider including.
Bandaging and Wound Care
This is the core of your kit. You need supplies to clean wounds and keep them covered.
- Absorbent Gauze Pads: These are used to clean wounds and can be used as a soft absorbent layer for bandaging.
- Adhesive Tape: Specifically, medical tape (often white) that secures gauze in place.
- Self-Adhering Bandage (Vet Wrap): This is a magical material that sticks to itself but not to fur. It’s essential for wrapping limbs or paws without pulling hair.
- Cotton Balls or Swabs: Useful for cleaning delicate areas or applying ointments.
- Blunt-Tipped Scissors: Essential for cutting bandages or trimming fur away from a wound without risking poking your pet’s skin.
Antiseptics and Cleansers
Cleaning a wound is the first step to healing.
- Saline Solution: Sterile saline is the best thing to flush out debris or dirt from the eyes and wounds. It’s gentle and won’t sting.
- Antiseptic Wipes or Spray: Look for pet-safe options containing chlorhexidine or betadine. Avoid hydrogen peroxide unless directed by a vet, as it can damage tissue.
- Antibiotic Ointment: A basic triple-antibiotic ointment (like Neosporin) can be used on minor scrapes, but always check with your vet first, as some pets might lick it off and get an upset stomach.
Tools and Instruments
Sometimes you need a little mechanical help.
- Tweezers: High-quality tweezers are vital for removing ticks, thorns, or glass shards.
- Digital Thermometer: Your pet’s temperature is a key health indicator. Note: You will need a petroleum jelly lubricant for this, as pet temperatures are taken rectally.
- Tick Remover Tool: If you live in a tick-prone area, a specialized tool is often safer and easier than tweezers.
- Syringe or Eye Dropper: Useful for flushing wounds or administering oral medications.
- Flashlight: Injuries don’t always happen in broad daylight. A small penlight helps you see inside ears or mouths or examine paws at night.
Medications and Miscellaneous
- Diphenhydramine (Benadryl): Often used for allergic reactions to stings. Crucial: Consult your vet beforehand for the correct dosage for your pet’s weight.
- Styptic Powder: This works wonders to stop bleeding quickly if a nail is torn or cut too short.
- Instant Cold Pack: great for reducing swelling from bruises or stings.
- Emergency Blanket: A foil blanket helps retain body heat if your pet goes into shock.
- Disposable Gloves: To keep your hands clean and prevent introducing bacteria into a wound.
Important Paperwork
In a high-stress situation, your memory might fail you.
- Medical Records: A copy of vaccination records and medical history.
- Emergency Contacts: Your vet’s number, the nearest emergency animal hospital, and poison control numbers written clearly on a card.
- Photo of Your Pet: In case they get lost during an emergency.
Step-by-Step Guide to Assembling Your Kit

Gathering the supplies is step one. Organizing them effectively is step two. You don’t want to be digging through a chaotic bag when your dog is bleeding.
Step 1: Choose the Right Container
You need something durable, water-resistant, and portable. A plastic tackle box or a dedicated tool case works wonderfully because they have compartments for small items.
Alternatively, a bright red or orange waterproof dry bag is excellent if you plan to take the kit hiking or camping. The key is visibility. You want to be able to spot it instantly on a shelf.
Step 2: Categorize and Pack
Don’t just throw everything in. Group items logically.
- Zone 1: Wound Care. Keep bandages, gauze, and tape together. Consider putting them in a clear ziplock bag inside the container to keep them sterile and dry.
- Zone 2: Tools. Place scissors, tweezers, and the thermometer in a separate compartment or a small pencil case.
- Zone 3: Liquids. Ensure saline and antiseptic sprays are upright if possible, or sealed in plastic bags to prevent leaks from ruining the rest of the kit.
Step 3: Label Everything
Even if you know what everything is, someone else might be the one grabbing the kit. Use a permanent marker or a label maker to clearly label bottles and bags.
If you have specific dosage instructions from your vet for medications like Benadryl, write them directly on the bottle or on a card taped to it.
Step 4: Add the Personal Touches
Every pet is different. If your dog has a chronic condition requiring daily medication, keep a backup supply in the kit. If your cat is notoriously anxious, perhaps include a calming spray or pheromone wipes.
Don’t forget a spare leash and collar. Collars can break, and in an emergency, you need a secure way to hold your pet.
How to Use the Items in Your Kit
Having the gear is great, but knowing how to use it is non-negotiable. Here are a few tips on using your new tools safely.
Using the Thermometer
A pet’s normal body temperature is higher than a human’s, typically between 101°F and 102.5°F (38.3°C to 39.2°C). To take a temperature, lubricate the tip of the digital thermometer with petroleum jelly.
Lift your pet’s tail and gently insert the tip about an inch into the rectum. Wait for the beep. If the temperature is over 104°F or under 99°F, it is an emergency. Head to the vet immediately.
Bandaging a Paw
If your pet cuts a paw pad, bleeding can be profuse.
- Apply pressure with a gauze pad to stop the bleeding.
- Clean the wound with saline.
- Place a fresh non-stick pad over the cut.
- Wrap the paw with cotton padding, starting from the toes and working up the leg slightly.
- Cover with the Vet Wrap. Caution: Do not wrap too tightly! You should be able to fit a finger under the bandage. If it’s too tight, you cut off circulation, which can cause severe damage.
Handling Poisoning
If you suspect poisoning, do not induce vomiting unless a professional tells you to. Some substances cause more damage coming back up than they did going down.
Call the ASPCA Poison Control, Pet Poison Helpline, or your vet immediately. Have the packaging of whatever they ate ready so you can read the ingredients to the operator.
Restraining an Injured Pet
This is the hardest part for loving owners to hear: pain can make even the sweetest pet bite. If your pet is in severe pain, they may lash out instinctively.
- Approach slowly and speak calmly.
- If necessary, you can fashion a makeshift muzzle out of a strip of gauze or a leash (for dogs) to prevent biting while you administer first aid. Never muzzle a vomiting dog or one with difficulty breathing.
- Wrapping a cat in a thick towel (the “burrito” method) can keep their claws safely contained while you examine them.
Storing and Maintaining Your Pet Emergency Kit
You’ve built a fantastic kit. Now, where does it go?
Accessibility is Key
Store the kit in a cool, dry place that is easy to reach. A hall closet, the pantry, or a shelf in the laundry room are good spots.
Avoid the bathroom (humidity can ruin supplies) or the garage (temperature fluctuations can degrade medications). Everyone in the household should know exactly where it is.
Travel Considerations
If you travel frequently with your pet, consider making a smaller, travel-sized version of this kit to keep in your car. Just remember that extreme heat in a parked car can ruin medications and liquids, so you may need to bring them inside when you arrive at your destination.
The Six-Month Checkup
Set a reminder on your phone to check your kit every six months.
- Check Expiration Dates: Medications, ointments, and even saline solution expire. Replace anything that is out of date.
- Check Sterile Supplies: Ensure that sterile gauze packaging hasn’t been punctured or damaged.
- Replace Used Items: Did you use a few Band-Aids last month? Replenish them now so you aren’t caught short next time.
- Battery Check: Turn on the flashlight and digital thermometer to ensure the batteries are still working.
Ensuring Your Pet’s Safety in Times of Need
Creating a DIY pet emergency kit is an act of love. It’s a tangible way to say, “I’ve got your back” to your four-legged family member. While we all hope that our kits gather dust and never need to be opened, the reality of pet ownership, and life in general, is that accidents happen.
By taking the time this weekend to gather these supplies, organize them, and learn how to use them, you are empowering yourself. You are transforming from a worried bystander into a capable first responder for your pet. Whether it’s a bee sting in the garden or a scraped paw on a hike, you’ll be ready to handle it with calm confidence.
So, grab a container, head to the pharmacy, and start building. Your future self (and your furry best friend) will thank you.
Visit the Garden Resources page for supplies and inspiration. Don’t forget to subscribe to the Calendula’s Garden Newsletter for more gardening tips.
Calendula’s Garden is reader supported. When you buy through links on our site, we may earn an affiliate commission. As an Amazon Associate, I earn from qualifying purchases. For more information, view our Disclaimer page. Thank you!