How to Add Lighting to Your Fairy Garden for an Enchanted Forest Glow
Calendula's Garden is reader suported This post may contain affiliate links, more on our Disclaimer page. Thank you!
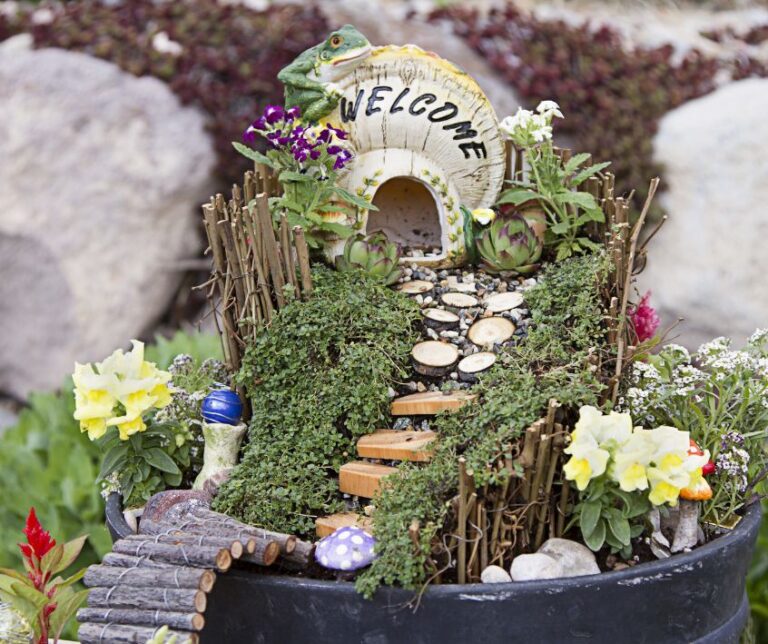
I love the evening glow of a subtly illuminated fairy garden. These miniature landscapes allow us to shrink down our gardening dreams and create tiny, whimsical worlds right in our backyards or on our balconies.
But the magic doesn’t have to end when the sun goes down. In fact, that’s when the real enchantment begins.
Adding lighting to your fairy garden transforms it from a cute daytime display into a glowing, mysterious forest floor that captivates children and adults alike.
It highlights the intricate details of your mossy pathways and tiny cottages while adding a layer of warmth to your outdoor space.
Whether you are a beginner looking to spice up your first planter or an eco-conscious gardener wanting to add some sustainable sparkle, this guide will walk you through exactly how to illuminate your miniature world.
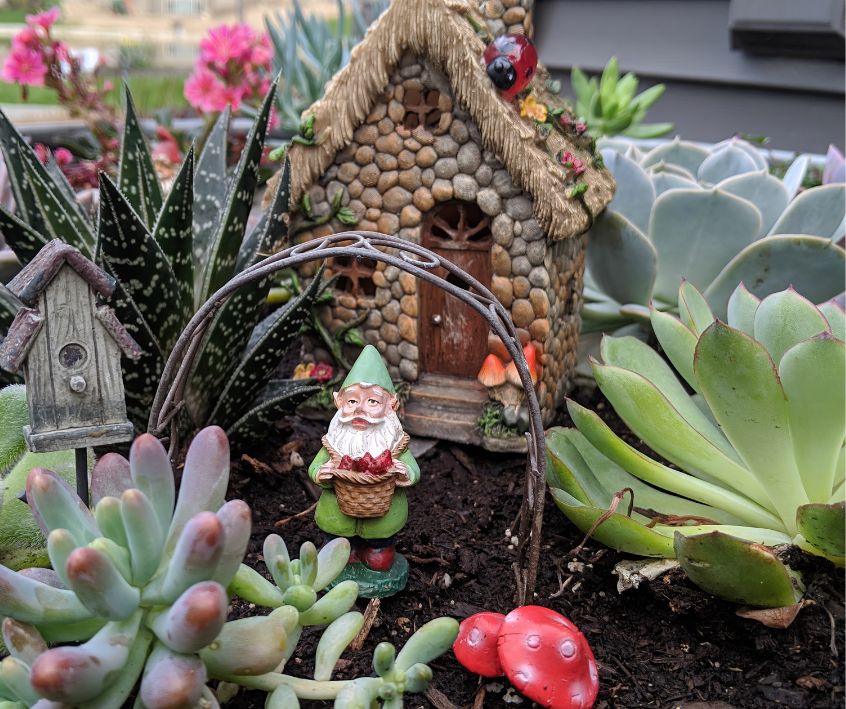
Choosing the Right Lights for Your Miniature World
Before you start stringing bulbs, you need to pick the right tools for the job. Not all lights are created equal, especially when you are dealing with the delicate scale of a fairy garden. Here is a breakdown of the best options for ease of use and sustainability.
Solar Powered Lights
For the eco-friendly gardener, solar lights are the gold standard. They soak up the sun during the day and automatically flicker to life at dusk.
- Pros: Energy-efficient, no batteries to replace, and no messy wires running to an outdoor outlet.
- Cons: They require a spot that gets direct sunlight, which can be tricky if your fairy garden is tucked under a shady tree or on a covered porch.
These Waterproof Solar String Fairy Lights for Outside have survived 4 years in our hot desert backyard.
Battery Operated LED String Lights
“Fairy lights” (appropriately named!) on thin copper wires are incredibly popular for miniature settings.
- Pros: They are versatile, come in various colors, and the wires are easy to hide under moss or soil. You can place the garden anywhere, regardless of sunlight.
- Cons: You will need to change batteries periodically. To keep things sustainable, we highly recommend investing in high-quality rechargeable batteries.
Easy to use Waterproof Fairy Lights Battery Operated with Timer and a remote.
Miniature Street Lamps and Accessories
Many garden centers sell tiny, pre-wired accessories like lanterns or street lamps designed specifically for fairy gardens.
- Pros: They add immediate character and scale to the scene.
- Cons: They can be more expensive than DIY string lights and often require a specific power source or “system” to work together.
These Vaguelly 8pcs Miniature Street Lamps are adorable.
Planning Your Lighting Design
It is tempting to just drape lights over everything, but a little planning goes a long way. Think of yourself as a landscape architect, just on a much smaller scale.
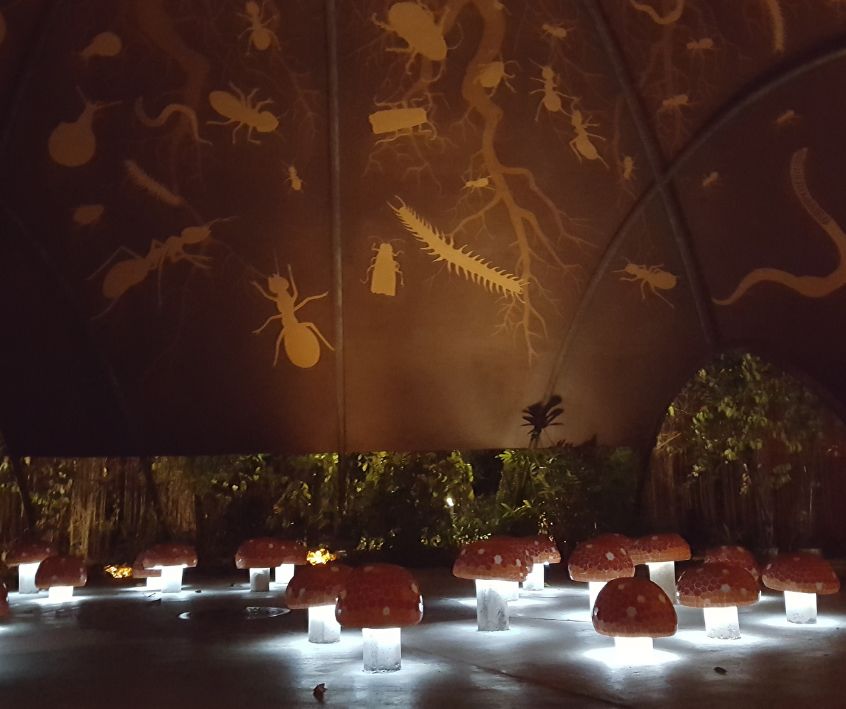
First, identify your focal points. Do you have a central fairy cottage? A sparkling “river” made of blue stones? Or perhaps a circle of toadstools? These are the elements you want to highlight.
Next, consider the “rule of three.” Grouping lights or illuminated objects in odd numbers often looks more natural and pleasing to the eye than symmetrical even numbers.
Finally, think about concealment. The goal is to see the glow, not the bulb or the battery pack. Look for hollow logs, dense patches of Soleirolia soleirolii (Baby’s Tears), or large decorative stones where you can hide the technical components.
Installation Guide: Bringing the Glow to Life
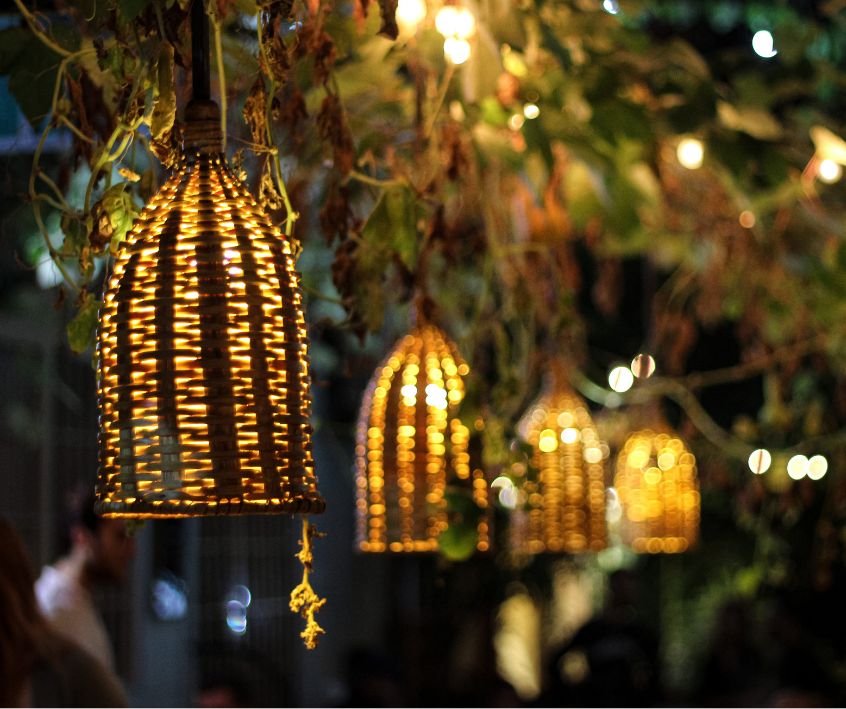
Ready to install? Let’s get your hands dirty. Here is a simple step-by-step process to get your garden glowing without damaging your delicate plants.
Step 1: Map it out
Before burying anything, lay your lights on top of the soil to test the placement. Turn them on to see how the light casts shadows against your succulents or ferns.
Step 2: Prepare the pathways
If you are using string lights to line a path, use a small stick or a dibber to create a shallow trench along the walkway. Gently press the wire into the trench.
Step 3: Hide the wire
Cover the wire with soil, sand, or decorative pebbles. If you are wrapping lights around a miniature tree or trellis, be gentle so you don’t snap the delicate copper wire.
Step 4: Secure the power source
If you are using a battery pack, place it in a plastic bag (if it’s not waterproof) and tuck it behind a large rock or inside a hollowed-out stump accessory. Ensure the switch is accessible so you don’t have to dig it up every time you want to turn it on.
Step 5: The final reveal
Cover any exposed wires with sheet moss or ground cover plants like Creeping Thyme. Turn on the lights and make final adjustments.
Important Safety Tips for Outdoor Lighting
We want your garden to sparkle, but safety always comes first, especially when mixing electricity with water and organic materials.
- Check the rating: Ensure any lights you buy are rated for outdoor use (often labeled as IP44 or higher). Indoor lights can corrode or short-circuit when exposed to morning dew or rain.
- Keep it cool: Stick to LEDs. Old-fashioned incandescent bulbs generate heat, which can scorch delicate leaves or dry out the moss in your fairy garden. LEDs stay cool to the touch.
- Battery safety: If using battery packs, ensure the compartment is sealed against moisture. Water ingress can cause batteries to leak, which introduces harmful chemicals into your organic soil.
- Pet safety: If you have dogs or cats, make sure wires are buried deep enough that they won’t be chewed on.
Creative Ideas for Every Theme
Lighting isn’t one-size-fits-all. The type of light you use can change the entire mood of your garden.
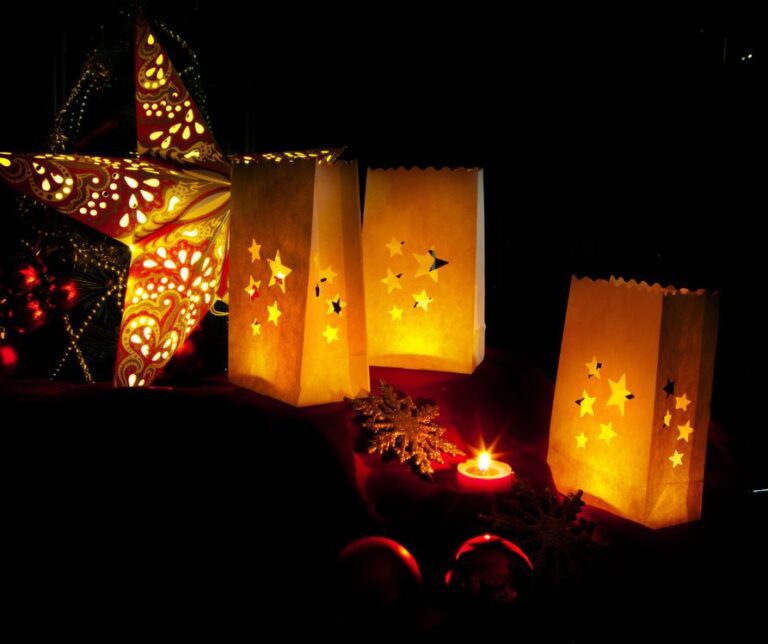
- The Whimsical Forest: Use soft, warm white lights intertwined with ivy or ferns. This mimics the look of fireflies dancing in the woods.
- The Winter Wonderland: For a seasonal touch, switch to cool white or blue-toned LEDs. These look fantastic against white sand or faux snow and silver-leafed plants like Dusty Miller.
- The Harvest Festival: In autumn, try orange or amber lights. Place them inside miniature pumpkins or gourds for a tiny “jack-o’-lantern” effect.
- The Underwater Illusion: If you have a water feature (or blue glass representing water), tuck a blue light underneath the glass rocks. It gives the appearance of glowing, magical water.
Maintaining the Magic
To keep your enchanted forest glowing night after night, a little maintenance is required.
Check your lights regularly for dimming. If you are using solar lights, wipe off the solar panel with a damp cloth every few weeks. Dust and pollen can block sunlight, preventing the battery from charging fully.
For battery operated units, remove the batteries if you plan to store the fairy garden away for the winter or if you won’t be using the lights for an extended period. This prevents corrosion.
Finally, watch your plant growth. Fast-growing ground covers can quickly overtake small lights. Give your plants a gentle trim now and then to ensure the light can still break through the foliage.
Start Your Captivating Illumination Project
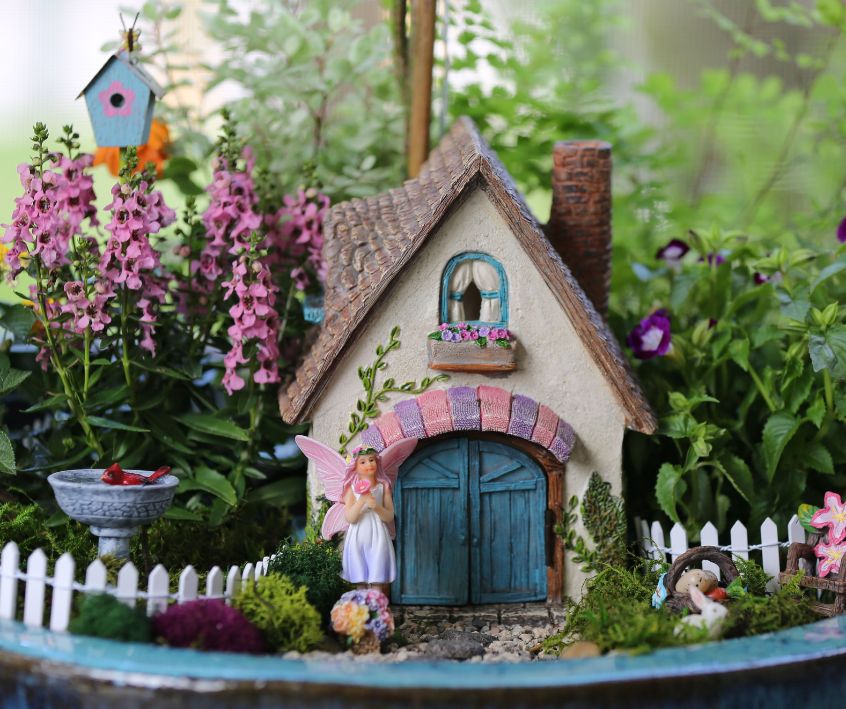
Adding light to your fairy garden is one of the most rewarding steps in miniature gardening. It extends the enjoyment of your hard work into the evening hours and creates a sense of wonder that is hard to replicate with full-sized landscaping.
Don’t be afraid to experiment. Move lights around, try different colors, and see what speaks to you. Your garden is a living, breathing ecosystem, and it will evolve over time.
Visit the Garden Resources page for supplies and inspiration. Don’t forget to subscribe to the Calendula’s Garden Newsletter for more gardening tips.
Calendula’s Garden is reader supported. When you buy through links on our site, we may earn an affiliate commission. As an Amazon Associate, I earn from qualifying purchases. For more information, view our Disclaimer page. Thank you!