Growing Vibrant Beet Microgreens at Home (Plus 2 Recipes)
Calendula's Garden is reader suported This post may contain affiliate links, more on our Disclaimer page. Thank you!
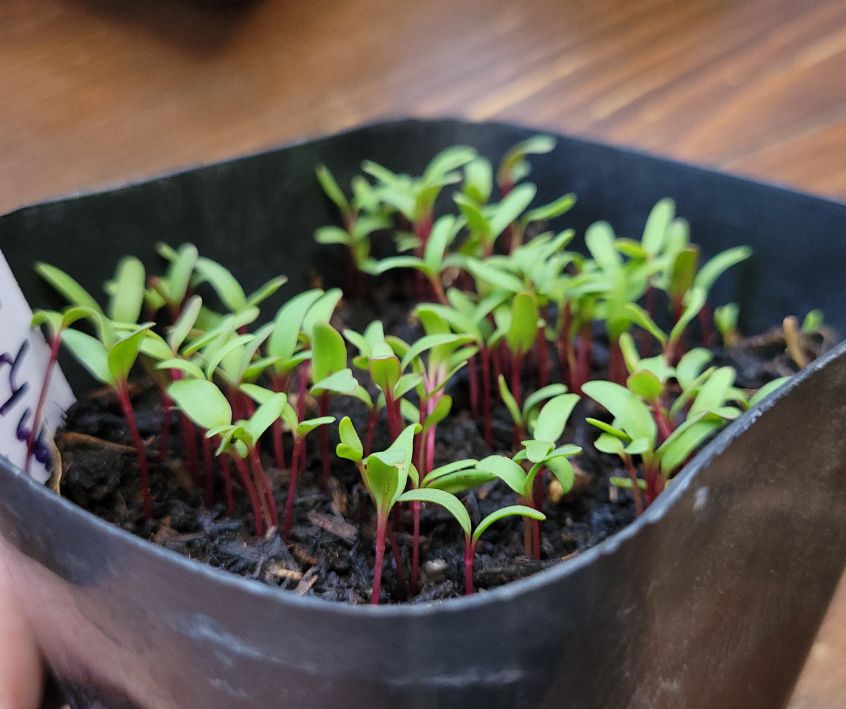
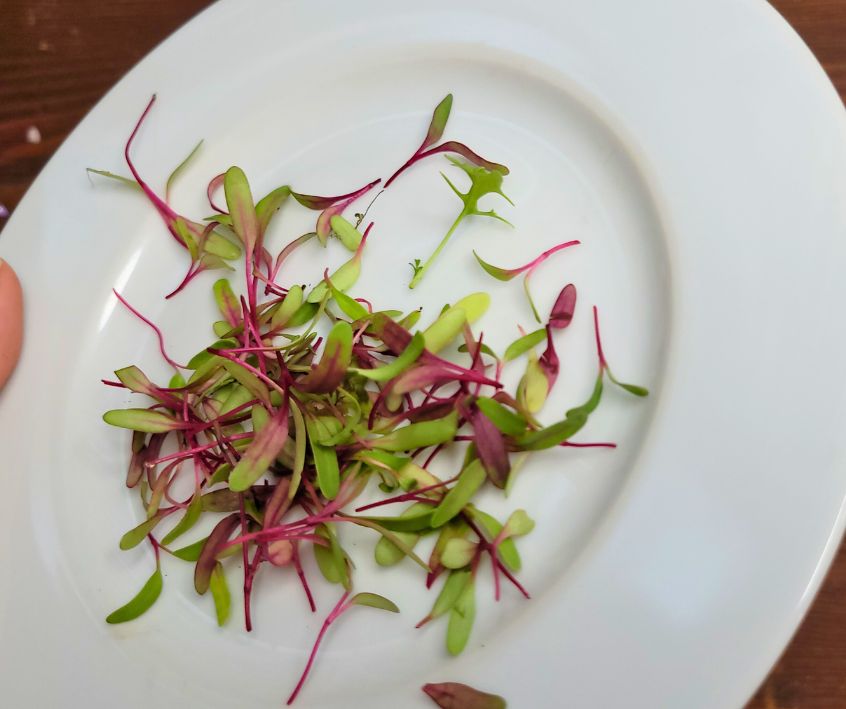
Bright magenta stems contrasting with vibrant green leaves make beet microgreens a stunning addition to any dish.
These tiny seedlings offer an intense, earthy flavor that mirrors fully grown beets, but they pack a concentrated punch of color and nutrition. Growing them at home is a straightforward process that yields fresh, flavorful greens in a matter of weeks.
Adding fresh microgreens to your daily meals elevates the visual appeal and nutritional value of your food. This guide covers everything you need to know to cultivate your own beet microgreens from seed to harvest.
You will learn the exact steps to plant them, how to troubleshoot common growing issues, and how to feature them in two elegant small-plate recipes.
The Health Benefits of Beet Microgreens
Despite their small size, beet microgreens contain a remarkable concentration of nutrients. Research shows that microgreens often carry higher levels of vitamins and carotenoids than their mature plant counterparts.
Eating beet microgreens provides a rich source of antioxidants, which help neutralize harmful free radicals in the body. They are loaded with Vitamin K, essential for bone health and blood clotting, as well as Vitamin C to support a healthy immune system.
These young plants also offer beneficial minerals like iron, potassium, and calcium. The natural nitrates found in beets and their greens are known to support healthy blood pressure levels and improve cardiovascular health.
Incorporating a handful of these vibrant greens into your diet is a simple way to boost your daily nutrient intake.
A Step-by-Step Guide to Growing Beet Microgreens
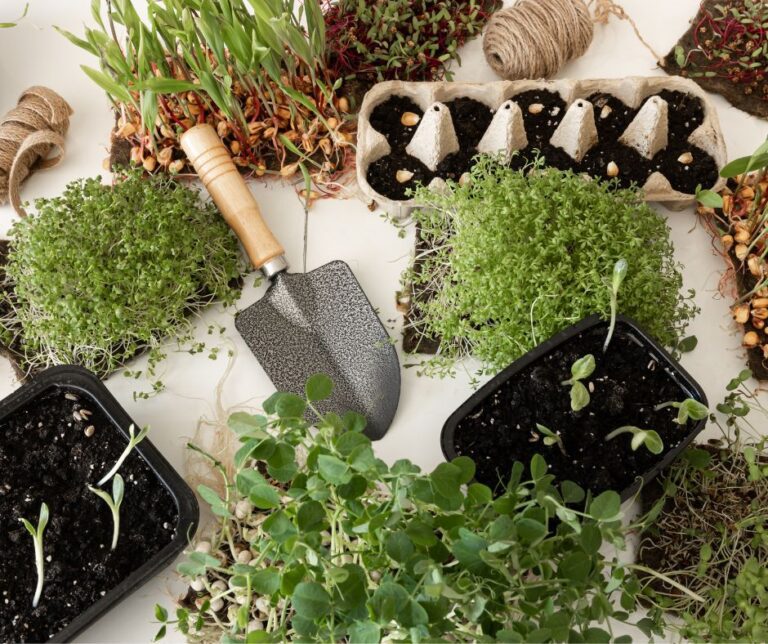
Cultivating beet microgreens requires minimal space and equipment. You only need a shallow growing tray, high-quality potting soil, beet seeds (preferably organic or untreated), and a water spray bottle.
Where to find seeds, plants, and supplies:
1. Soaking the Seeds
Beet seeds have a tough outer shell that can slow down germination. Place your seeds in a bowl of room-temperature water and let them soak for 8 to 12 hours. Drain and rinse the seeds thoroughly before planting.
This softening process encourages faster and more uniform sprouting. This step is optional. If you skip it, the seeds will take a few additional days to germinate.
2. Preparing the Tray and Planting
Fill your growing tray with about one to two inches of moistened potting soil. Smooth the surface lightly, ensuring it remains airy and not heavily compacted. Spread the soaked beet seeds evenly across the soil.
Because you are harvesting them as microgreens, you can sow the seeds quite densely. Press the seeds gently into the soil and mist them generously with your spray bottle.
Cover the tray with a lid or another inverted tray to create a dark, humid environment for the first three to four days.
3. Light and Watering
Check your seeds daily, misting them to keep the soil surface damp. Once the seeds sprout and reach about an inch tall, remove the blackout cover.
Place the tray in a location that receives plenty of natural sunlight or under a grow light. Continue to water the soil from the bottom by adding water to an under-tray, or mist the soil directly at the base of the plants to keep the leaves dry.
4. Harvesting
Your beet microgreens will be ready to harvest in roughly 14 to 21 days. Look for stems that are two to three inches tall with fully open cotyledons (the first set of leaves).
Use a sharp, clean pair of scissors to cut the greens just above the soil line. Rinse them gently in cold water and dry them completely on a paper towel before eating.
Troubleshooting Common Growing Issues
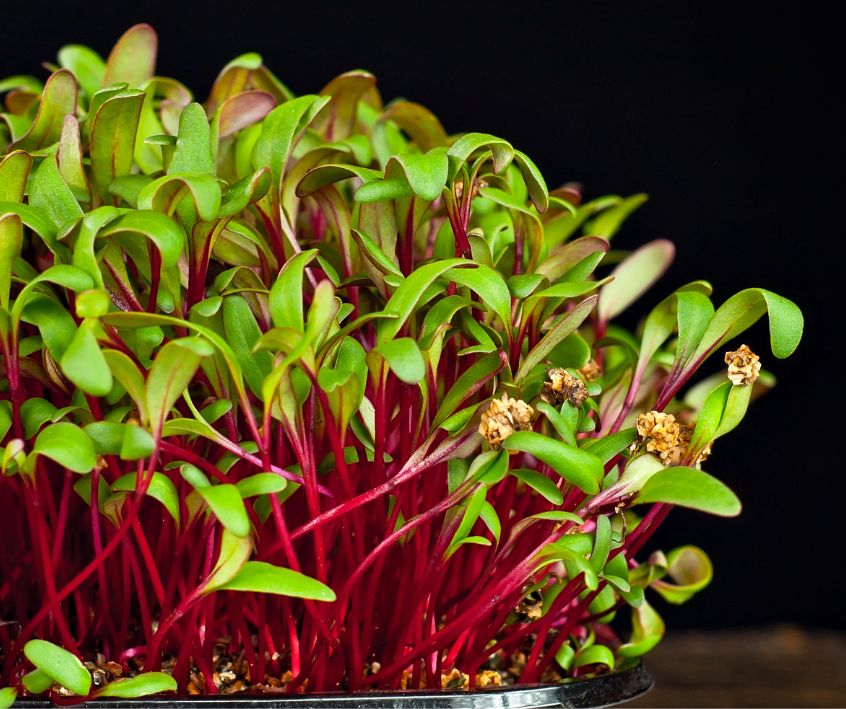
Growing microgreens is beginner-friendly, but a few specific challenges can arise regarding moisture and light.
Moisture Control
Overwatering is the most common mistake. Soil that stays soggy can lead to mold or a fungal disease called damping-off, which causes the stems to rot at the base.
Add a small amount of peroxide to the water in your spray bottle to help avoid damping off and fungus gnats. Spraying with chamomile tea also helps.
Ensure your growing tray has proper drainage holes. Always water the soil rather than the leaves, and provide good air circulation around your growing area.
Light Requirements
If your beet microgreens look pale, stringy, or are leaning heavily to one side, they are not getting enough light.
They need at least six to eight hours of bright light daily once the blackout dome is removed. If you are using a sunny window, rotate the tray every day to encourage even, upright growth.
Mild Versatile Flavor Profile
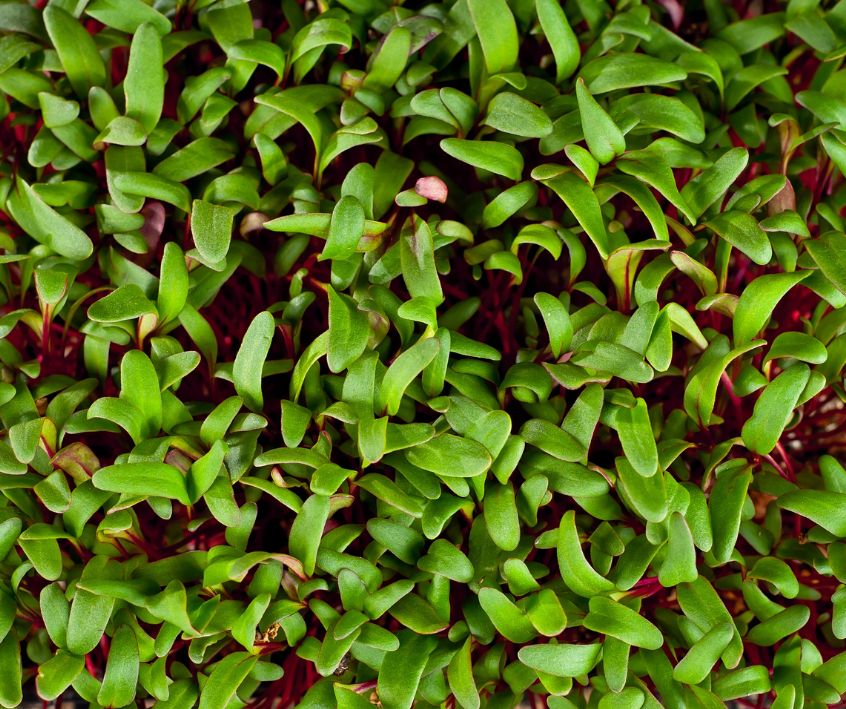
Beet microgreens possess a mild, earthy flavor with subtle sweet undertones, reminiscent of mature beets. Their taste is delicate and vibrant, making them an excellent addition to a variety of dishes.
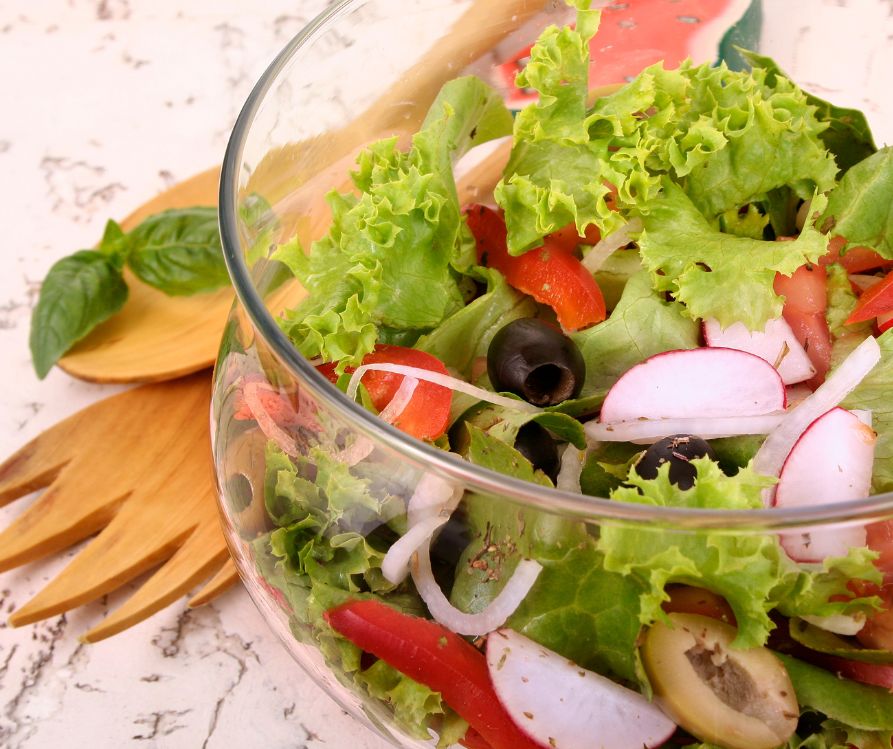
These microgreens can complement salads, sandwiches, and smoothies, adding both a pop of color and a burst of fresh flavor. I like topping creamy soups with a small amount of microgreens. They add flavor, nutrients, and make soups look fancy. Their slightly crisp texture pairs well with both robust and mild ingredients, making them a versatile choice for culinary creations.
Small Plate Ideas Featuring Beet Microgreens
These colorful greens are perfect for garnishing and building flavor. Here are two elegant ways to serve your homegrown harvest.
Beet Microgreen and Goat Cheese Crostini with Balsamic Glaze
The earthy flavor of the microgreens pairs beautifully with creamy goat cheese and sweet balsamic reduction. This makes a perfect appetizer for dinner parties.
Ingredients:
- 1 baguette, sliced diagonally into 1/2-inch pieces
- 4 oz soft goat cheese (chèvre)
- 1/2 cup fresh beet microgreens
- 2 tablespoons olive oil
- 1 clove garlic, halved
- 2 tablespoons balsamic glaze
- Sea salt and cracked black pepper to taste
Instructions:
- Preheat your oven to 375°F (190°C).
- Brush the baguette slices lightly with olive oil and place them on a baking sheet. Toast in the oven for 5 to 7 minutes until the edges are golden and crisp.
- Remove the crostini from the oven and immediately rub the cut side of the garlic clove over the warm bread.
- Spread a generous layer of goat cheese onto each toasted slice.
- Top the cheese evenly with a small mound of fresh beet microgreens.
- Drizzle the balsamic glaze over the top and finish with a pinch of sea salt and cracked black pepper. Serve immediately.
Roasted Golden Beet Salad Topped with Fresh Microgreens
This vibrant dish highlights the natural sweetness of roasted golden beets, contrasted by the peppery, earthy notes of the microgreens.
Ingredients:
- 3 medium golden beets, scrubbed and trimmed
- 1 cup fresh beet microgreens
- 1/4 cup toasted walnuts, roughly chopped
- 2 tablespoons extra-virgin olive oil
- 1 tablespoon freshly squeezed lemon juice
- 1 teaspoon Dijon mustard
- Flaky sea salt and fresh black pepper
Instructions:
- Preheat your oven to 400°F (200°C). Wrap each golden beet tightly in aluminum foil and place them on a baking sheet.
- Roast the beets for 45 to 60 minutes, or until they are easily pierced with a fork.
- Remove the beets from the oven and let them cool. Once cool enough to handle, peel the skins off using your fingers or a paring knife.
- Using a mandoline or a very sharp knife, slice the beets as thinly as possible. Arrange the slices on a serving platter, overlapping them slightly.
- In a small bowl, whisk together the olive oil, lemon juice, and Dijon mustard to create a simple dressing.
- Drizzle the dressing evenly over the sliced golden beets.
- Scatter the toasted walnuts over the platter and top generously with the fresh beet microgreens. Season with flaky sea salt and black pepper before serving.
Start Your Indoor Garden Today
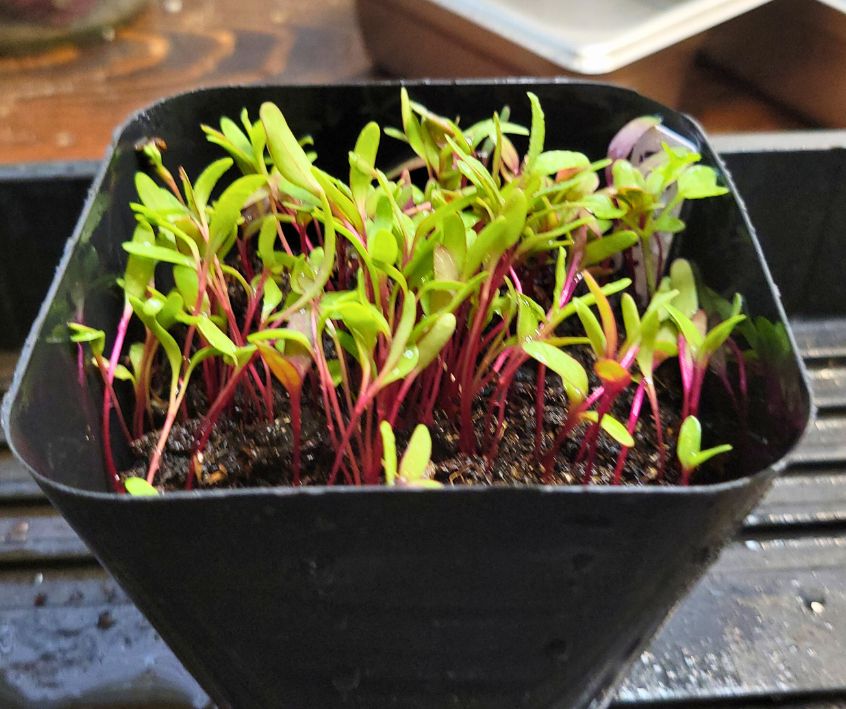
Cultivating your own food brings a deep sense of satisfaction, even if it happens on a small scale. Beet microgreens offer an incredibly rewarding entry point into indoor gardening.
They require very little space, provide a rapid turnaround from seed to plate, and deliver a massive upgrade to your home cooking.
Set up a growing tray this weekend and enjoy the process of watching those bright magenta stems emerge. You will soon have a fresh, highly nutritious ingredient right at your fingertips to elevate your salads, sandwiches, and small plates.
Visit the Garden Resources page for supplies and inspiration. Don’t forget to subscribe to the Calendula’s Garden Newsletter for more gardening tips.
Calendula’s Garden is reader supported. When you buy through links on our site, we may earn an affiliate commission. As an Amazon Associate, I earn from qualifying purchases. For more information, view our Disclaimer page. Thank you!