DIY Mini Forest Garden Projects for Beginners
Calendula's Garden is reader suported This post may contain affiliate links, more on our Disclaimer page. Thank you!
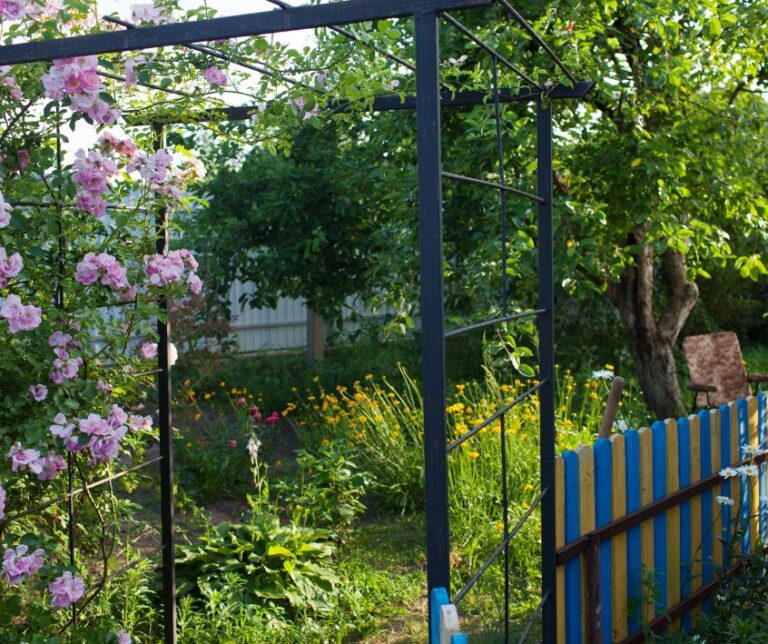
Have you ever looked at a lush, wild forest and wished you could bottle up that vitality and bring it home? The good news is, you can, and you don’t need acres of land to do it.
A “food forest” might sound intimidating, conjuring images of massive agricultural projects. But the concept is actually quite scalable.
A mini forest garden mimics the architecture of a natural woodland ecosystem but replaces wild species with fruit trees, berry bushes, herbs, and perennial vegetables.
It’s about working with nature rather than against it.
Instead of neat, high-maintenance rows of annual vegetables that require constant weeding and replanting, a forest garden is designed to be self-sustaining over time.
It’s a permaculture paradise that fits right in your backyard, offering a sanctuary for pollinators and a pantry for your kitchen.
Whether you have a suburban lawn or a small urban patch, you can create a thriving ecosystem that feeds both your family and the local wildlife.
Why Plant a Mini Forest Garden?
Before you grab your shovel, let’s talk about why this method is gaining so much traction among eco-conscious gardeners. It’s not just about the harvest; it’s about creating a living system.
Environmental Harmony
Traditional lawns and monoculture gardens often require significant water and chemical inputs.
A forest garden, however, builds soil health through natural mulch and deep root systems.
By planting diverse species, you create habitats for beneficial insects, birds, and pollinators. You’re essentially building a tiny nature reserve that sequesters carbon and cools the air around your home.
A Feast for the Senses
Walk into a forest garden, and you’re greeted by a tapestry of textures, colors, and scents.
It’s a beautiful, chaotic abundance compared to the rigid lines of a standard veggie patch.
You might have climbing vines of kiwi berries, ground cover of strawberries, and the sweet scent of flowering currant bushes all in one corner.
Less Work, More Resilience
This is the big one for busy families. Once established, perennials (plants that live for more than two years) require far less maintenance than annuals.
You won’t need to till the soil or replant every spring. The dense planting style naturally suppresses weeds, and the deep roots of trees and shrubs make the garden more drought-resistant.
Planning Your Patch of Paradise
Success lies in the preparation. Since these plants will be in the ground for years, taking a moment to plan saves you a headache later.
Site Selection
Observe your space. Most fruit-bearing plants crave sunlight, so look for a spot that gets at least 6-8 hours of direct sun daily.
However, one of the beauties of forest gardening is that it utilizes vertical space. As your taller trees grow, they will create shade, allowing you to plant shade-tolerant crops like currants or leafy greens underneath.
Soil Preparation
Healthy soil is non-negotiable. Before you plant, test your soil drainage. Dig a hole and fill it with water; if it drains within a few hours, you’re good to go.
If it sits for a day, you might need to amend the soil with organic matter or build raised beds.
We recommend the “sheet mulching” or “lasagna gardening” method to prep the ground without digging.
Lay down cardboard over the grass to suppress weeds, then pile on compost, leaves, and wood chips. It’s an easy, back-friendly way to build rich soil.
The Seven Layers: Selecting Your Plants
A forest garden is built in layers, just like a natural forest. You don’t need all seven layers to start, but thinking vertically helps you maximize your harvest in a small footprint.
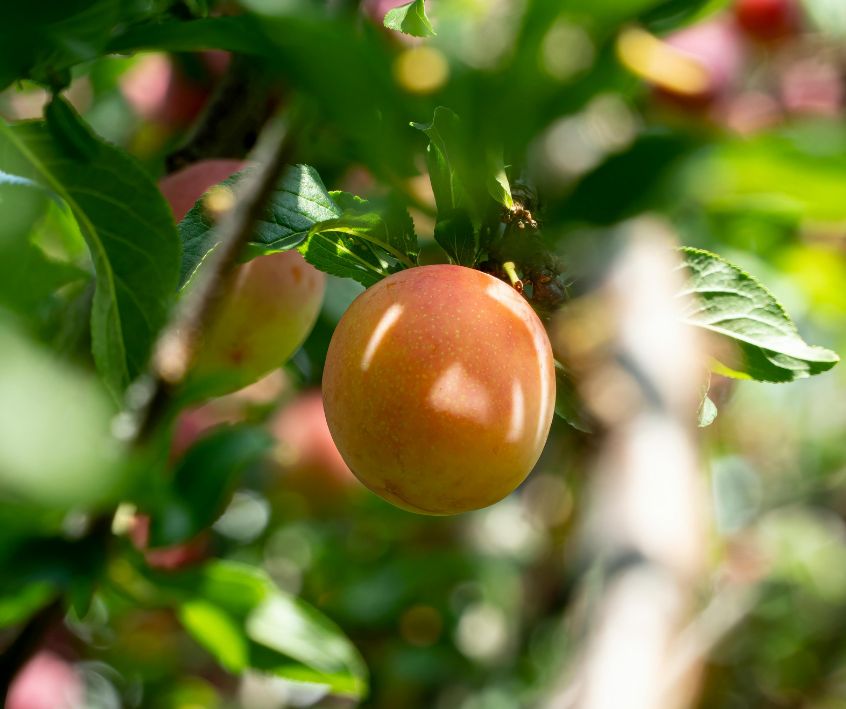
- Canopy Layer: This is your tallest tree. In a mini garden, this might be a semi-dwarf fruit tree like an apple, pear, or cherry.
- Low Tree Layer: Smaller nut trees or dwarf fruit trees fit here.
- Shrub Layer: Think berries! Blueberries, raspberries, currants, and gooseberries thrive here.
- Herbaceous Layer: Perennial vegetables and herbs like comfrey, rhubarb, asparagus, and bee balm.
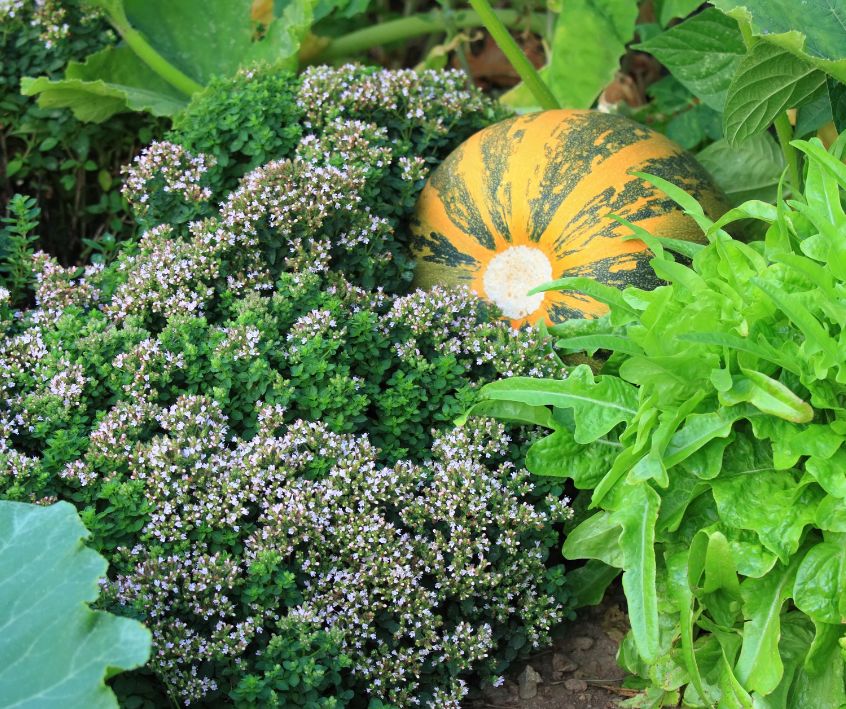
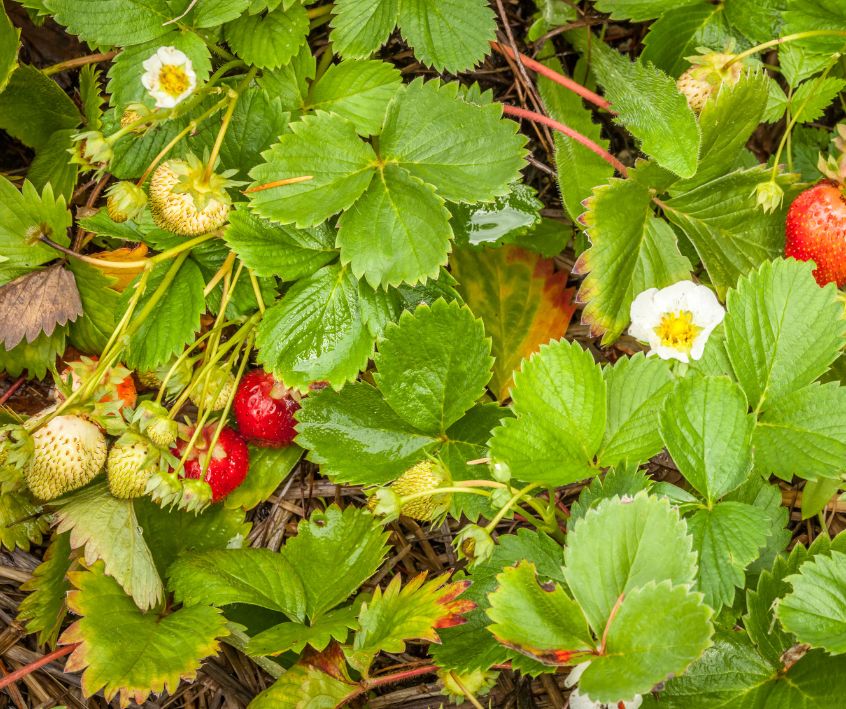
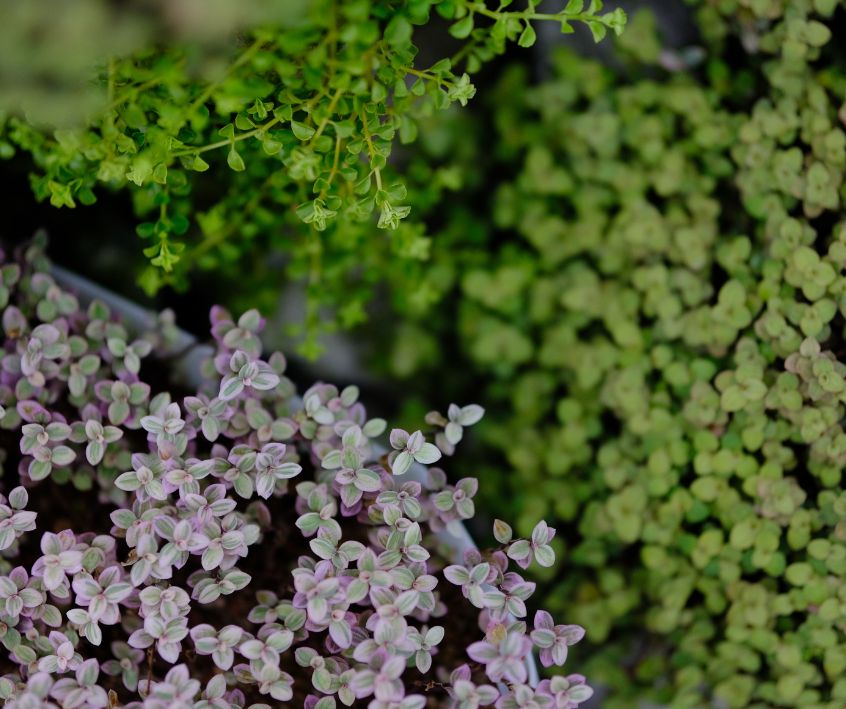
- Ground Cover: These plants act as a living mulch. Strawberries, clover, and creeping thyme protect the soil.
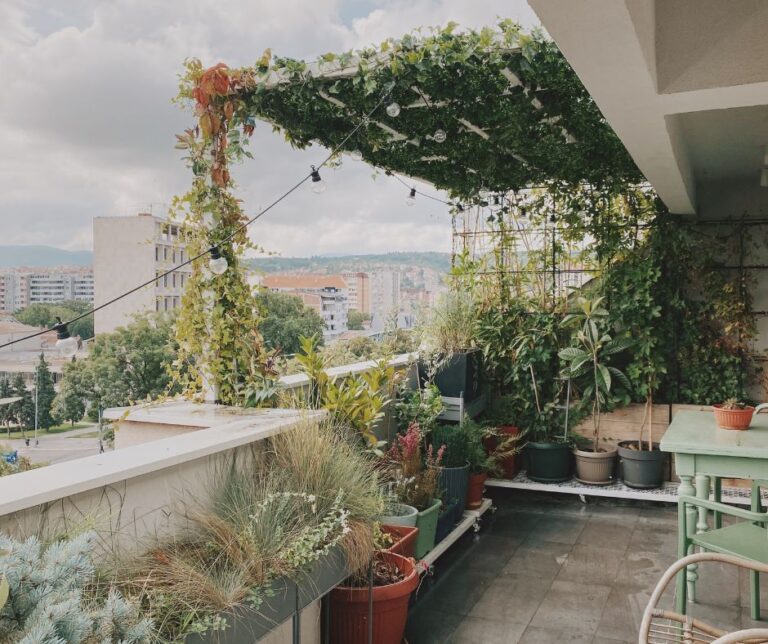
- Vine Layer: Climbers like grapes, kiwi, or nasturtiums that can grow up trellises or trees.
- Root Layer: Edible roots like garlic, onions, or Jerusalem artichokes.
Pro Tip for Beginners: Start with a “guild.” A guild is a central tree surrounded by supportive plants. For example, plant an apple tree (center), surround it with daffodils (to repel pests), comfrey (to mine nutrients from deep soil), and clover (to add nitrogen to the soil).
Step-by-Step Planting Guide
Ready to get your hands dirty? Here is a simple roadmap to getting your first guild in the ground.
- Mark Your Spots: Place your potted plants on the ground where you intend to plant them. visualize their mature size—don’t plant them too close together!
- Dig the Hole: Dig a hole twice as wide as the pot but no deeper. You want the top of the root ball to be level with the ground.
- Tease the Roots: Gently loosen the roots if they are circling the pot.
- Plant and Fill: Place the plant in the hole and backfill with native soil mixed with a little compost. Press down gently to remove air pockets.
- Water Deeply: Give everything a thorough soak immediately after planting.
- Mulch, Mulch, Mulch: Apply a thick layer (2-4 inches) of wood chips or straw around the base of the plants, keeping it a few inches away from the trunk to prevent rot. This retains moisture and feeds the soil.
Maintenance: The “Do Less” Approach
The beauty of this system is that nature does most of the heavy lifting, but you still need to steward the land, especially in the first year.
Watering
Young plants need consistent moisture. Check the soil weekly. Once established, deep watering occasionally is better than light sprinkling daily.
Chop and Drop
Instead of bagging up trimmings, cut back your herbaceous plants (like comfrey) and drop the leaves right on the soil surface. As they decompose, they release nutrients back to the roots.
Observation
Spend time in your garden. Look for pests, but don’t panic. In a balanced ecosystem, ladybugs and birds often show up to handle the aphids for you.
3 DIY Mini Projects to Start This Weekend
You don’t have to transform your whole yard overnight. Here are three bite-sized projects to dip your toes into forest gardening.
1. The Berry Patch Guild
Pick a sunny corner and plant a blueberry bush. Blueberries love acidic soil, so amend with peat moss or pine needles.
Surround the bush with strawberries (ground cover) and plant some thyme around the edges to repel pests. It’s a delicious, low-maintenance ecosystem perfect for smoothies.
2. Herbal Tea Spiral
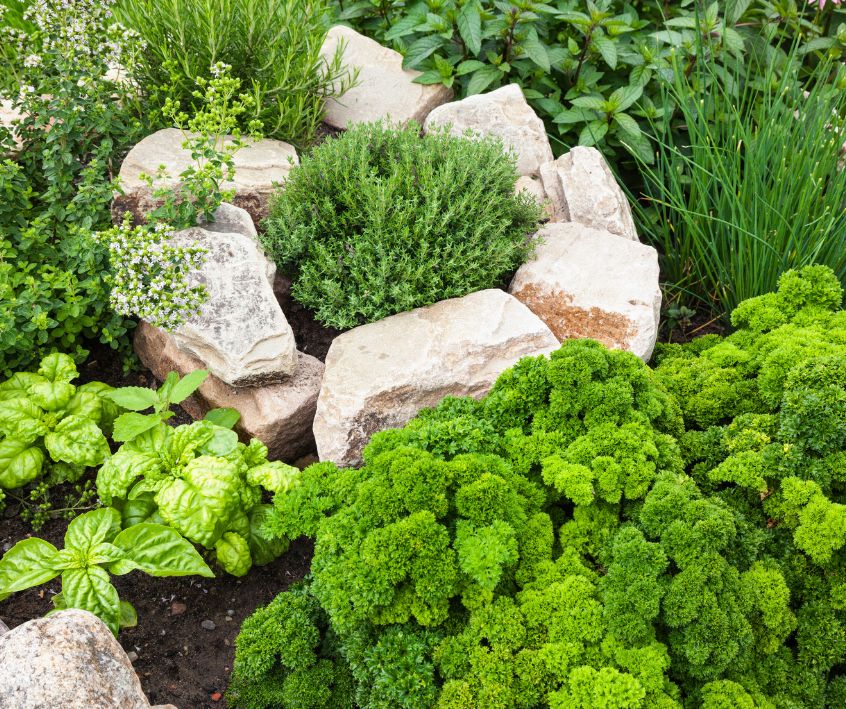
If you’re short on space, build a herb spiral. Pile stones or bricks in a spiral shape and fill with soil.
Plant sun-loving Mediterranean herbs like rosemary and sage at the top (where it’s drier) and moisture-loving mint or lemon balm at the bottom. It’s beautiful, functional, and smells amazing.
3. A “Three Sisters” Garden
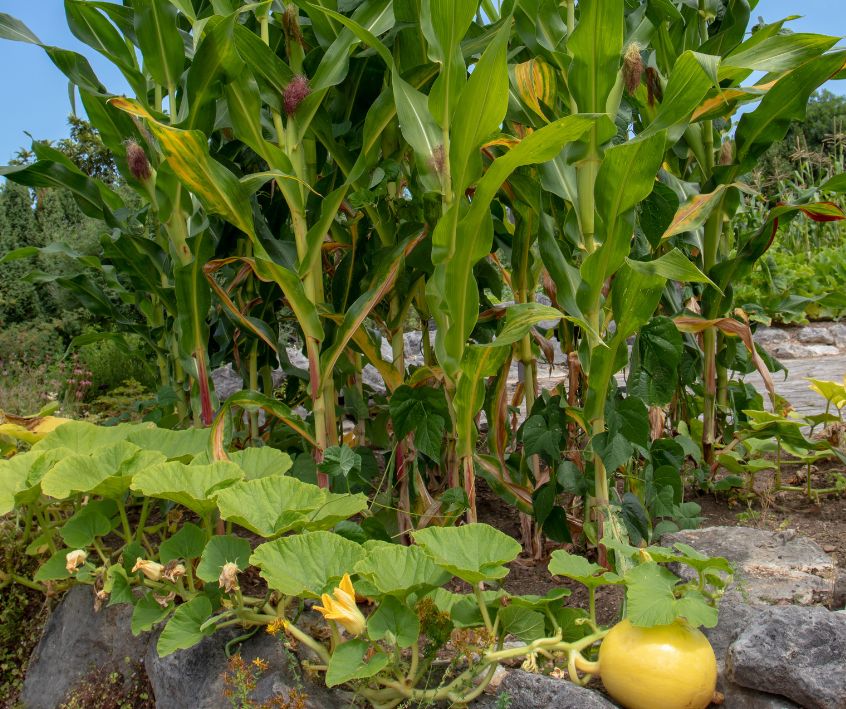
This is a classic companion planting method. Plant corn, pole beans, and squash together.
The corn provides a trellis for the beans; the beans fix nitrogen in the soil to feed the corn and squash; and the squash leaves act as a ground cover to keep the soil cool and weed-free.
There are a few books I refer to on a regular basis when planning my gardens with companion planting in mind. They are:
Carrots Love Tomatoes: Secrets of Companion Planting for Successful Gardening,
Roses Love Garlic: Companion Planting and Other Secrets of Flowers
Vegetables Love Flowers: Companion Planting for Beauty and Bounty.
Grow Your Health, Grow Your Community
Starting a mini forest garden is an act of hope. It’s a commitment to a healthier lifestyle for your family and a healthier planet. You aren’t just growing food; you are growing resilience.
Remember, every expert gardener started as a beginner who killed a few plants. Don’t be afraid to experiment. Connect with your local nursery, join a community garden workshop, or swap seeds with a neighbor.
Nature is forgiving, and the rewards, biting into a sun-warmed apple you grew yourself, are unmatched.
So, grab a shovel and plant that first tree. Your future self (and the local bees) will thank you.
Visit the Garden Resources page for supplies and inspiration. Don’t forget to subscribe to the Calendula’s Garden Newsletter for more gardening tips.
Calendula’s Garden is reader supported. When you buy through links on our site, we may earn an affiliate commission. As an Amazon Associate, I earn from qualifying purchases. For more information, view our Disclaimer page. Thank you!