DIY Garden Path Ideas That Won’t Break the Bank
Calendula's Garden is reader suported This post may contain affiliate links, more on our Disclaimer page. Thank you!
Dreaming of an easily accessible backyard oasis, but don’t want to spend a fortune? A thoughtfully crafted garden path can instantly lift your outdoor space, guide visitors, and highlight your favorite plants.
Fortunately, creating a charming walkway doesn’t mean shelling out for fancy stonework or hiring a landscape architect.
With some creativity, planning, and a willingness to get your hands dirty, you can install a beautiful DIY garden path at a fraction of the cost.
This guide will walk you through practical steps, affordable material options, easy-to-follow installation guides, style inspiration for every taste, and strategic tips to keep your paths picture perfect year-round.
Why DIY Garden Paths Are Worth the Effort

Garden paths are more than just functional walkways. They set the tone for your outdoor space, inviting you and your guests to slow down and explore. Well-placed paths can:
- Divide larger areas into cozy sections
- Prevent muddy shoes after rainy days
- Highlight favorite flower beds or trees
- Make mowing and watering much easier
And here’s a bonus for budget-conscious gardeners: DIY paths using reclaimed or readily available materials can cost as little as a few dollars per foot.
With a handful of tools and a free weekend, you’ll soon create a unique feature that feels like part of your garden’s story.
Planning Your Garden Path

Before grabbing a shovel, it’s worth taking some time to plan your project. A well-thought-out path looks better, lasts longer, and often saves you time in the long run.
Here are a few essential questions to ask yourself:
Where Should Your Path Go?
- Purpose: Is your path a shortcut to the shed, a gentle curve around the veggie patch, or a meandering trail for daydreaming?
- Traffic: Consider who’ll use the path most (kids, pets, garden carts) and what size they’ll need.
- Sunlight & Drainage: Avoid soggy or low spots that collect water, unless you’re prepared for extra ground prep.
What Width and Shape?
- Practical Width: For basic foot traffic, allow at least 18-24 inches. If it’s a main route or you’ll wheelbarrow along it, go up to 36 inches.
- Curves vs. Straight Lines: Sinuous, gently curving paths tend to look more inviting and natural. Use a garden hose or rope to outline the shape first and adjust until it feels just right.
How Long Will It Be?
Measure the full length before shopping for materials. Most paths extend somewhere between 6 and 30 feet, depending on your yard size.
Affordable Materials for DIY Garden Paths

One of the best things about DIY paths is the huge variety of low-cost materials available. Here are some all-star options, including ideas for getting them free or at minimal expense:
1. Gravel
- Cost: $1–$3 per square foot
- Pros: Drains well, easy to shape, looks polished with a border.
- Cons: Needs edging to keep tidy, occasional topping up.
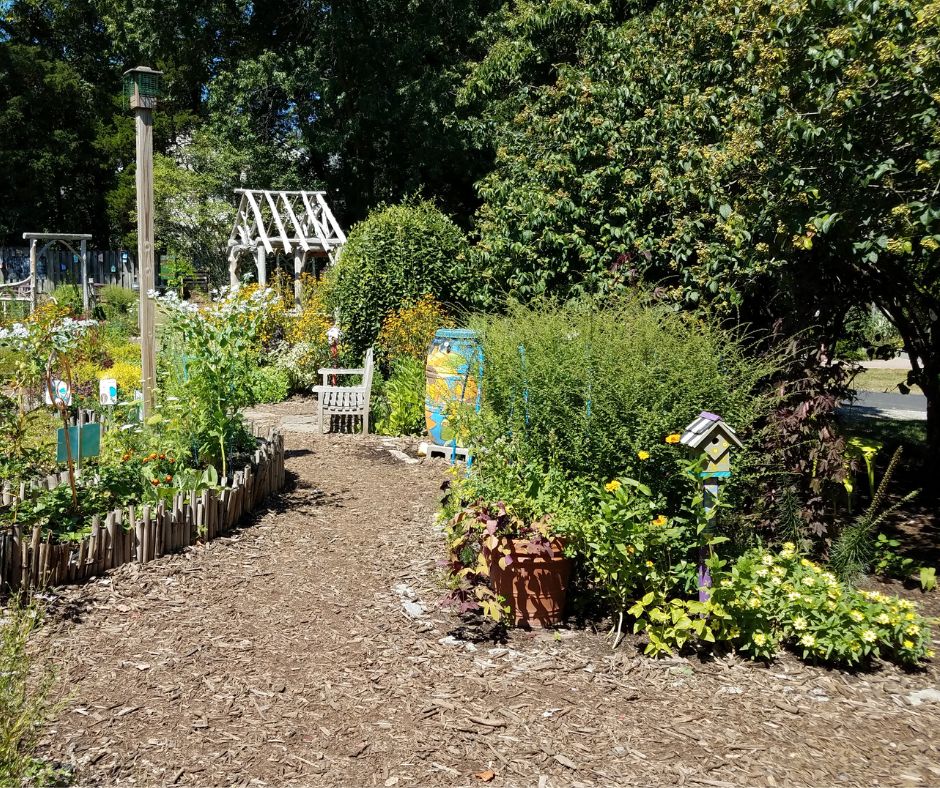
2. Mulch
- Cost: $0–$2 per square foot (often free from local arborists or recycling centers)
- Pros: Soft, natural look, great for informal gardens, suppresses weeds.
- Cons: Needs replenishing yearly.
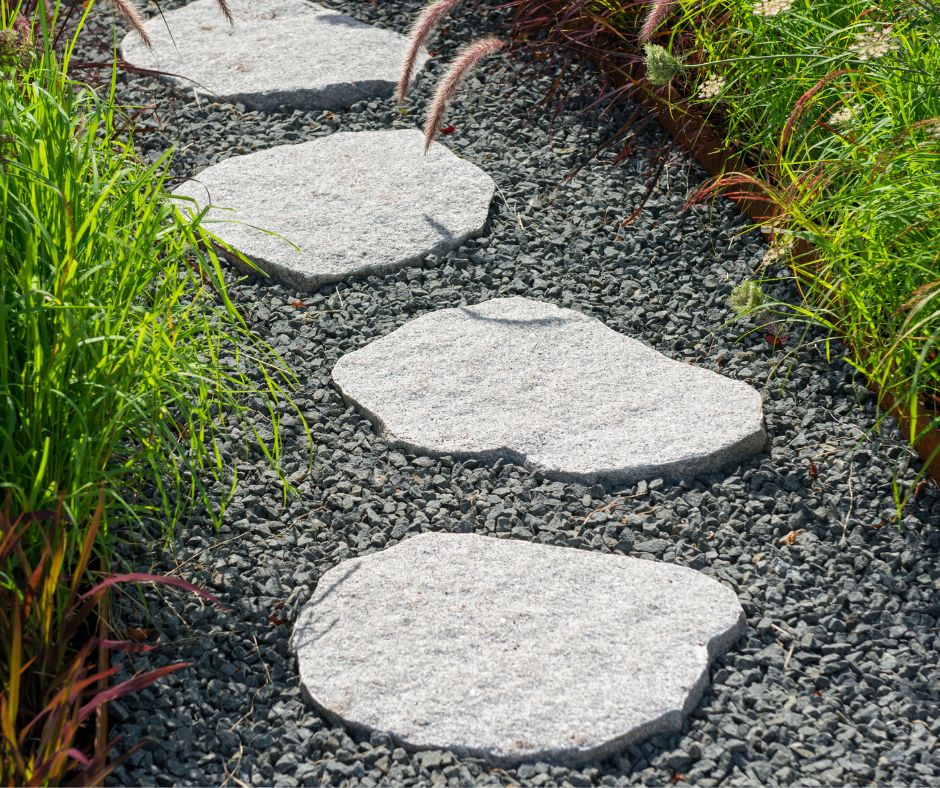
3. Stepping Stones
- Cost: $2–$10 per stone, cheaper if you make your own from molds or upcycle materials like old concrete.
- Pros: Easy to install, fits any style, fun for kids, can space widely to minimize material needs.
- Cons: Beware in shady spots since stones can get slippery.
4. Reclaimed Materials
- Bricks: Check classified sites, building material auctions, or neighbors for leftover bricks.
- Old Pallets: Dismantled and used as rustic pavers.
- Concrete Pavers: Sometimes free after local demolitions.
- Flagstones: Keep an eye out for Craigslist or Facebook Marketplace for offcuts and secondhand bargains.
Step-By-Step Installation Guides for Path Types

Curious how to actually turn all those materials into a path you love? Here’s your playbook for the most common DIY options.
A. Gravel Path
- Mark the path: Use string, a garden hose, or stakes.
- Dig down: Excavate the soil 3–4 inches deep along the way.
- Edging: Install timber, plastic, or stone edging to keep gravel tidy.
- Add Base: Layer 2 inches of crushed stone or landscape fabric.
- Pour Gravel: Fill to just below the edge, then rake flat and compact.
B. Mulch Path
- Mark and dig: Same as above, but 2–3 inches deep is enough.
- Weed barrier: Roll out landscape fabric to minimize future weeding.
- Edge (optional): For a more finished look, add a border of logs, bricks, or stones.
- Mulch: Spread your chosen mulch (wood chips, pine straw, bark) evenly.
C. Stepping Stone Path
- Lay out stones: Test different intervals. About one stride apart (18–24 inches) keeps walking comfortable.
- Cut spaces: Dig holes just deep enough for the stones to sit flush with the surface.
- Stabilize: Add sand or fine gravel underneath for drainage and adjust height.
- Set stones: Step on each to ensure they’re stable. Backfill around with soil or groundcover plants.
D. Reclaimed Brick/Stone Path
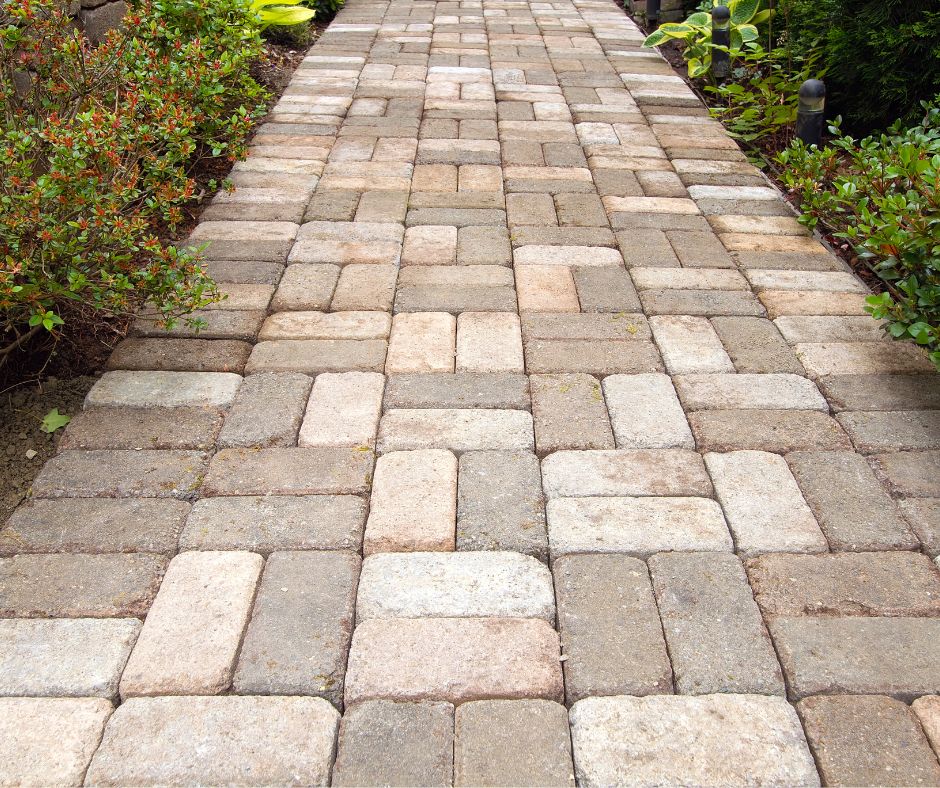
- Prep & layout: Clear and level the path, then arrange bricks or stones in your chosen pattern.
- Base: A 2-inch layer of sand or crushed rock helps with settling and prevents shifting.
- Set & finish: Fit bricks snugly, then sweep sand or fine gravel into gaps for stability.
Inspiring Garden Path Design Ideas
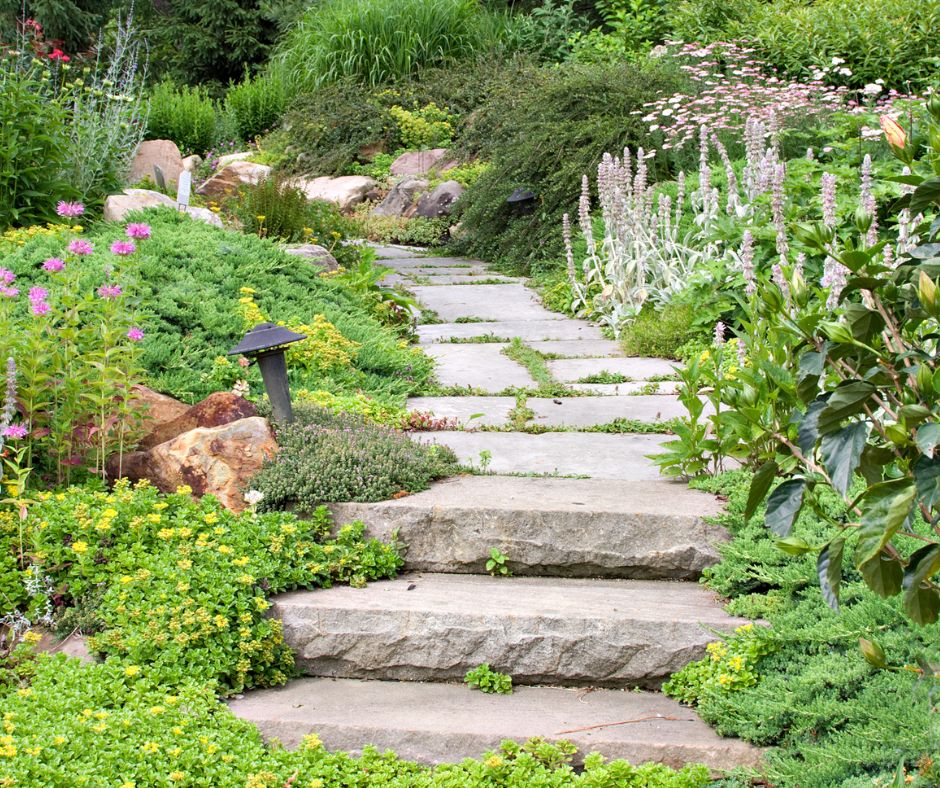
No two gardens are the same, so tailor your DIY walkway to suit your space and personality. Here are some fun ideas to inspire you:
- Cottage Gardens: Mix stepping stones with creeping thyme or sweet alyssum for a fairy-tale effect.
- Modern Minimalist: Linear concrete slabs with dark gravel in between add drama and order.
- Wildlife-Friendly: Meander a wood chip path through native plant beds to encourage bees, butterflies, and birds.
- Rustic Escape: Line a mulch path with logs or fieldstones, letting moss and shade plants fill in the gaps.
- Upcycled Charm: Arrange broken concrete (“urbanite”) or mismatched bricks into whimsical mosaic patterns.
Pro tip: Snap progress photos as you build. The before-and-after transformation is always satisfying!
Easy Maintenance Tips for Garden Paths
Even the sturdiest garden paths need a little love to keep looking their best. Here’s how to make yours last:
- Weed Watch: Inspect every couple of weeks and pull seedlings before they get established. Use a vinegar spray as a natural weed killer between stones or bricks.
- Top Up Materials: Gravel and mulch can thin out or wash away over time. Top them up each year as part of your spring garden routine.
- Sweep & Tidy: Clear leaves, twigs, and mud off stepping stones and pavers to keep the path safe and slip-free.
- Inspect Edging: Re-level or secure edges if gravel or mulch starts to wander.
Build Your Own Garden Path and Step Into Nature
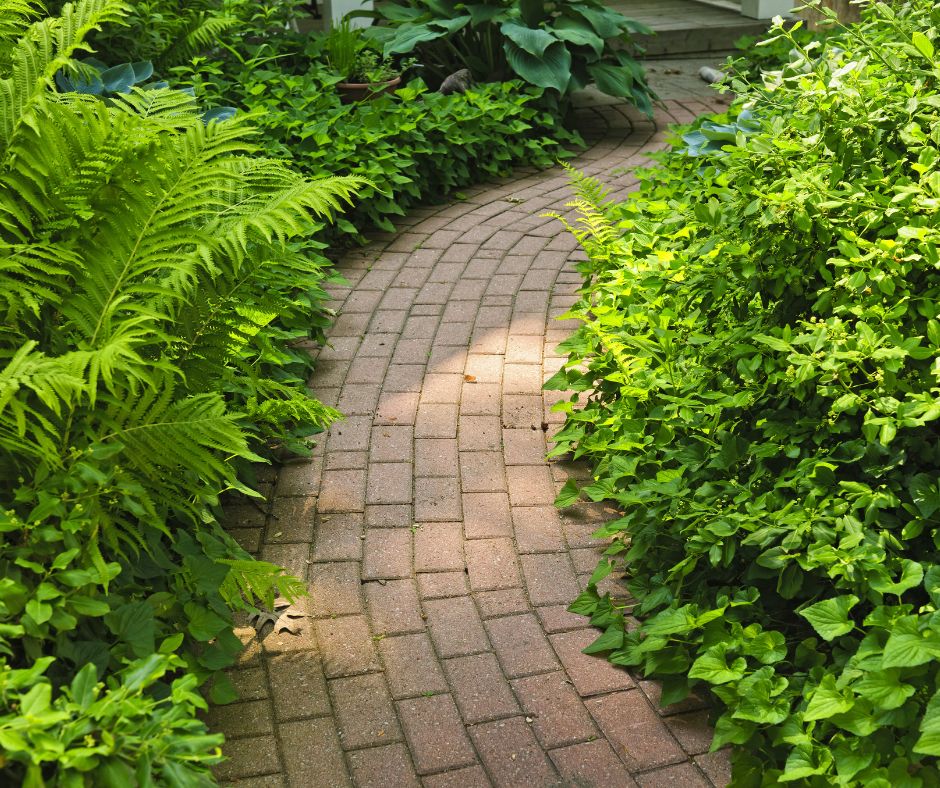
A garden path isn’t just a walkway; it’s an invitation to discover, to wander, to enjoy every hidden nook of your green space.
By choosing affordable, easy-to-install materials, you’ll cultivate both beauty and function, all while tapping into your own creativity.
Whether you’ve got a sprawling backyard or a petite patio, there’s a DIY path just waiting to borrow your footprint.
Plan thoughtfully, pick your favorite material, and don’t be afraid to put your own spin on the design. Gardening, after all, is all about making each project your own.
Have a garden path project in mind or a creative hack to share? We’d love to hear from you in the comments.
Need more inspiration or help getting started? Browse our guides for beginner gardeners, or sign up for a free backyard makeover checklist.
Happy building!
Visit the Garden Resources page for supplies and inspiration. Don’t forget to subscribe to the Calendula’s Garden Newsletter for more gardening tips.
Calendula’s Garden is reader supported. When you buy through links on our site, we may earn an affiliate commission. As an Amazon Associate, I earn from qualifying purchases. For more information, view our Disclaimer page. Thank you!