Creative Ways to Save and Display Autumn Leaves
Calendula's Garden is reader suported This post may contain affiliate links, more on our Disclaimer page. Thank you!

Autumn arrives with a painter’s palette of reds, oranges, and golds scattered across our yards and walking paths. All of those vibrant maple leaves and delicate oak specimens don’t have to end up in compost bins or burn piles.
With a few simple preservation techniques, you can capture fall’s fleeting beauty and transform those gorgeous leaves into lasting craft projects that brighten your home all year long.
Whether you’re planning seasonal decorations, looking for a fun family activity, or simply want to hold onto autumn’s magic a little longer, preserving fall leaves opens up a world of creative possibilities.
The best part? Most preservation methods use common household items you probably already have on hand.
This guide will walk you through everything from selecting the perfect specimens to trying a few different preservation techniques we use to prep leaves for craft projects.
You’ll discover which methods work best for specific types of leaves and get inspired with craft ideas that showcase your preserved collection beautifully.
Gathering Your Perfect Specimens
Not all leaves are created equal when it comes to preservation projects. The secret to stunning results starts with choosing the right materials from nature’s bounty.
Fresh is best when selecting leaves for preservation. Look for specimens that recently fell or are just beginning to change color while still attached to branches.
Avoid leaves that are already brown, brittle, or showing signs of decay. These won’t hold up well during the preservation process and may crumble in your hands.
Size and shape variety make your craft projects more visually interesting. Collect different leaf types, for example, broad maple leaves for bold statements, delicate fern fronds for intricate details, and sturdy oak leaves that hold their shape beautifully.
Don’t overlook smaller leaves like birch or cherry, which add lovely texture to arrangements.
When gathering leaves, practice sustainable collection habits that protect the trees and the environment around you.
Take only what you need, and avoid stripping branches bare. A good rule of thumb is to collect no more than one leaf per branch, and never take more than you can realistically use in your projects.
Consider timing your collection trips for optimal results. Early morning, after dew has evaporated but before the day gets too warm, tends to yield the freshest specimens.
Store your collected leaves in a basket or breathable bag rather than plastic, which can cause them to deteriorate quickly.
Preservation Supplies
Preparing Leaves for Preservation

Proper preparation sets the foundation for successful leaf preservation. Start by giving your collected leaves a gentle cleaning to remove dirt, debris, and any small insects that might have hitched a ride home with you.
Use a soft brush or cloth to gently wipe both sides of each leaf. Avoid using water unless absolutely necessary, as excess moisture can interfere with preservation methods.
If you must rinse particularly dirty specimens, pat them completely dry with paper towels and allow them to air dry thoroughly before proceeding.
Pressing Leaves: Timeless Elegance
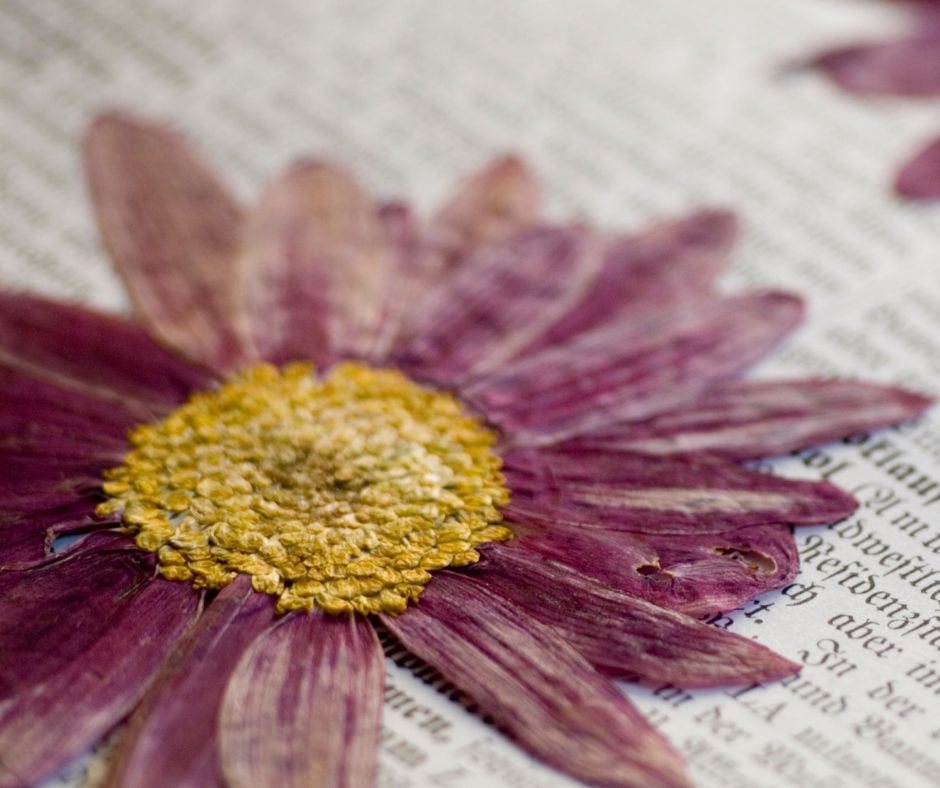
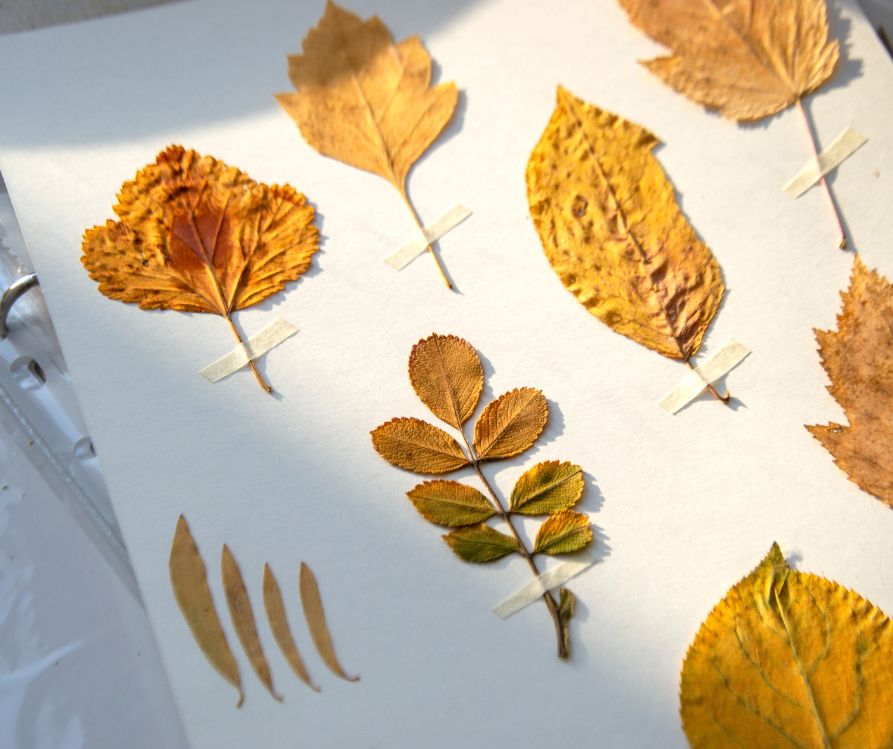
Pressing fall leaves is a simple and effective method for preservation, keeping their vibrant colors intact for a long time.
Begin by selecting fresh, flat leaves that aren’t brittle or excessively curled. Gently wipe them with a soft cloth to remove any dirt or debris.
Place each leaf between two sheets of parchment paper, specialized botanical pressing paper, or absorbent paper, ensuring leaves do not overlap.
Arrange the paper with the leaves inside a heavy book, such as a phone book or encyclopedia.
To enhance the pressing process, stack additional heavy books or weights on top of the book containing your leaves.
There are also flower press kits available that are made of wood and use screws to maintain pressure.
Leave the setup undisturbed in a dry, cool area for about one to two weeks. Check periodically to monitor the progress, ensuring the leaves are drying evenly.
Once the leaves are fully pressed and dry, they will be thin, flat, and ready for use in crafts, framing, or scrapbooking projects.
Pressed leaves retain their natural beauty and are ideal for projects that celebrate the rich hues of the season. Properly pressed leaves will feel papery and retain their shape when handled gently.
For those who prefer faster results, you can quick-press leaves using an iron on low heat. Place the leaf between two sheets of wax paper and iron gently for 10-15 seconds.
Allow to cool completely before handling. While this method works in a pinch, traditional pressing generally produces better long-term results.
Dehydrator Method: Quick and Efficient Preservation
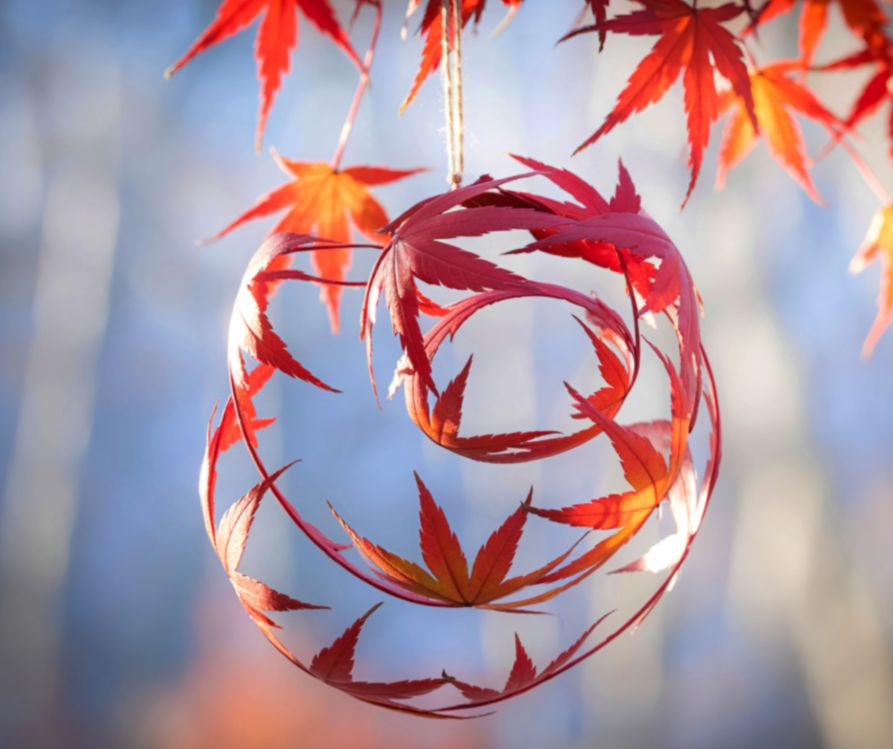
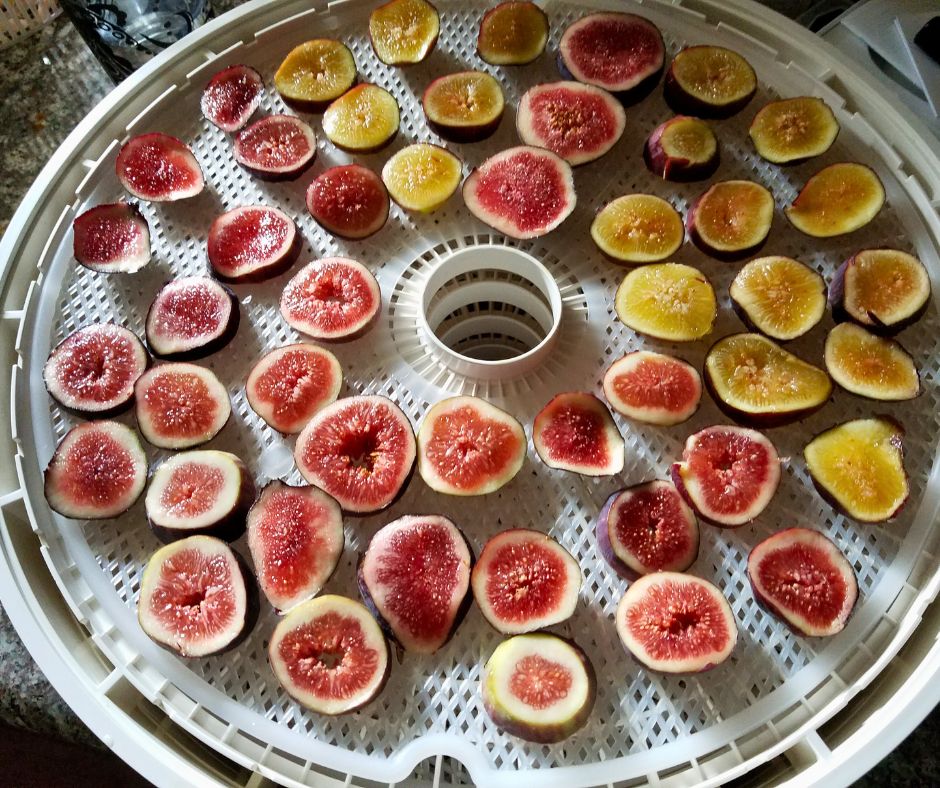
Preserving fall leaves using a dehydrator is an efficient way to ensure they stay flat and vibrant for craft projects.
Start by selecting freshly fallen leaves that are free of moisture and damage. Gently clean the leaves with a soft, damp cloth to remove any dirt or debris.
Lay the leaves flat in a single layer on the dehydrator trays, ensuring they do not overlap, as this could lead to uneven drying.
Set the dehydrator to a low temperature, ideally around 100°F to 110°F, to prevent the leaves from becoming brittle.
Allow them to dry for 2-4 hours, checking periodically to monitor progress. Once the leaves are completely dry and crisp but still retain their natural color, remove them from the dehydrator.
This method not only preserves the leaves’ vibrant shades but also ensures they remain flat, making them perfect for decorating cards, creating intricate art pieces, or embellishing seasonal crafts.
Stored properly in a dry, airtight container, dehydrator-preserved leaves can maintain their beauty for months.
Time-Tested Preservation Methods
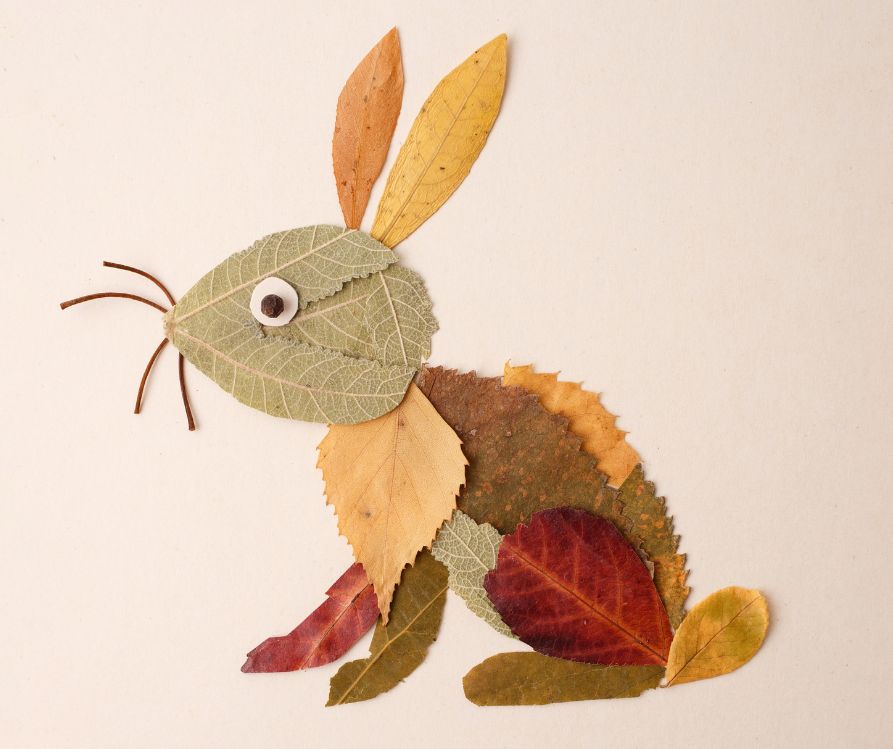
Different preservation techniques offer unique benefits and aesthetic results. Experimenting with various methods helps you discover which approaches work best for your specific craft goals.
Glycerin Method: Nature’s Own Preservation
Glycerin preservation maintains the leaf’s natural flexibility and creates a beautiful, slightly translucent appearance.
This method works particularly well with larger, thicker leaves like magnolia, oak, and maple.
Create a glycerin solution by mixing one part glycerin with two parts warm water in a shallow dish.
Submerge the leaves completely in the solution, weighing them down with a plate if necessary to keep them underwater. Allow the leaves to soak for 2-6 days, checking daily for progress.
You’ll know the process is complete when the leaves feel supple and have absorbed the glycerin solution throughout their structure.
The color may change slightly, often becoming richer and more saturated. Remove the leaves and pat them dry with paper towels before using them in craft projects.
Silica Gel: Museum-Quality Results
Silica gel preservation produces stunning results that maintain the leaf’s original color and texture better than almost any other method. You can find silica gel at craft stores, often sold for flower drying.
Layer silica gel crystals in the bottom of an airtight container, place your leaves on top without overlapping, then cover completely with more crystals.
Seal the container and wait 3-5 days for the preservation process to complete.
The silica gel draws moisture from the leaves while preserving their cellular structure.
Handle silica-preserved leaves with extra care, as they can be more fragile than those preserved with other methods. Store unused silica gel in a sealed container. It can be reused many times for future projects.
Wax Dipping: Glossy Protection
Waxing leaves creates a protective coating that gives them a beautiful, glossy finish while maintaining their natural shape and some flexibility.
This method works especially well for craft projects that will be handled frequently.
Melt paraffin wax or old candles in a double boiler, maintaining the temperature just above the melting point. Using tongs or tweezers, dip each leaf quickly into the wax, allowing excess to drip off before setting the leaf on wax paper to cool.
Work quickly but carefully. The wax should coat the leaf evenly without pooling in thick spots.
Waxed leaves develop a lovely sheen and resist moisture, making them perfect for outdoor decorations or high-humidity environments.
Creative Craft Ideas for Your Preserved Leaves
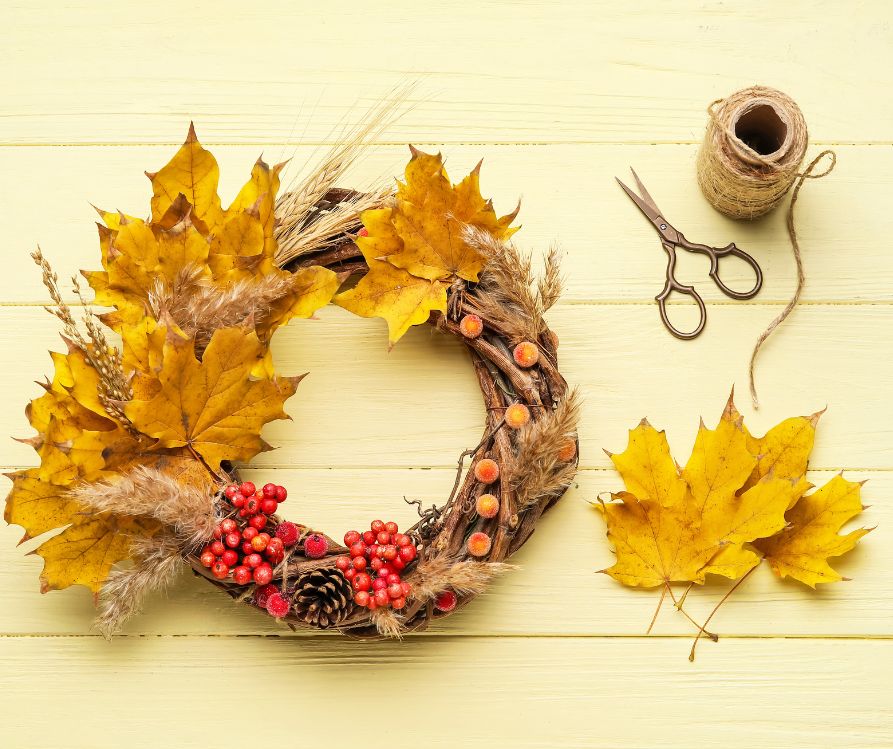
Your carefully preserved leaves are ready to star in beautiful craft projects that celebrate autumn’s splendor throughout the year.
Leaf collages and wreaths
Showcase the natural variety in your collection. Arrange different leaf types, sizes, and colors on canvas or heavy paper, securing them with craft glue designed for natural materials.
Create stunning wreaths by attaching preserved leaves to wire or foam forms, layering different varieties for depth and visual interest.
Leaf printing techniques
Transfer the intricate details of your specimens onto fabric or paper. Place a preserved leaf under paper and rub gently with the side of a crayon or pencil to create beautiful rubbings.
For fabric printing, use fabric paint and the leaf as a natural stamp, pressing it firmly onto cloth to transfer its shape and texture.
Leaf luminaries
Transform preserved specimens into magical lighting displays. Attach translucent preserved leaves to the outside of glass jars using Mod Podge, creating beautiful shadows when you place battery-operated tea lights inside.
The glycerin preservation method works particularly well for this application since it maintains the leaf’s translucent qualities.
Consider creating seasonal garlands by stringing preserved leaves on natural twine or pressing them into homemade paper for unique stationery.
Laminated preserved leaves make excellent bookmarks, while larger specimens can be framed as natural art pieces that bring outdoor beauty inside.
Celebrating Nature’s Artistry Year-Round

Preserving fall leaves connects us with nature’s cycles while creating lasting beauty for our homes. These simple techniques transform fleeting seasonal color into permanent reminders of autumn’s magic.
Each preserved leaf carries the memory of crisp fall days and the satisfaction of creating something beautiful with your own hands.
The skills you develop preserving leaves often inspire broader interest in natural crafts and seasonal decorating.
Many people find that working with preserved leaves becomes a cherished annual tradition, marking the passage of seasons and providing a mindful break from busy schedules.
Start small with just a few favorite specimens, then expand your preservation repertoire as you discover which methods you enjoy most.
Your preserved leaf collection will grow along with your confidence, providing materials for countless creative projects throughout the year
Visit the Garden Resources page for supplies and inspiration. Don’t forget to subscribe to the Calendula’s Garden Newsletter for more gardening tips.
Calendula’s Garden is reader supported. When you buy through links on our site, we may earn an affiliate commission. As an Amazon Associate, I earn from qualifying purchases. For more information, view our Disclaimer page. Thank you!