Creative Fall Wreath Designs Using Natural Materials
Calendula's Garden is reader suported This post may contain affiliate links, more on our Disclaimer page. Thank you!
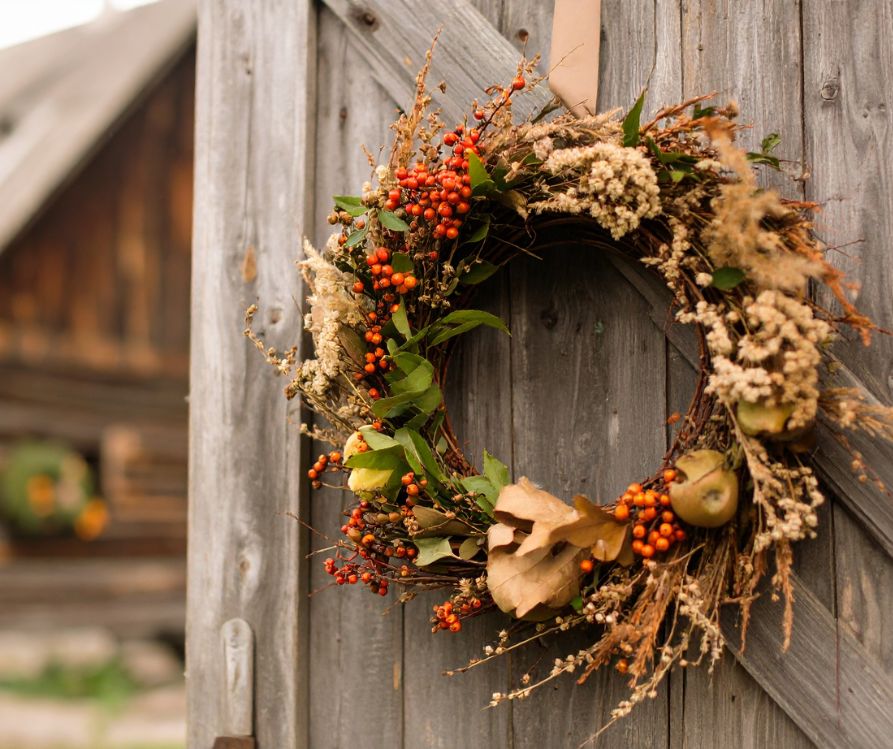
Fall brings a symphony of colors that transforms our world into a masterpiece of golds, crimsons, and burnt oranges. There’s something deeply satisfying about channeling this seasonal beauty into a handmade creation that welcomes guests to your home.
A DIY fall wreath isn’t just a decoration. It’s your personal interpretation of autumn’s splendor hanging right on your front door.
Creating your own fall wreath offers more than just cost savings. It gives you complete control over colors, textures, and style while providing a therapeutic escape from busy schedules.
Whether you’re a seasoned crafter or someone who usually avoids glue guns, this project adapts beautifully to any skill level. The best part? You probably already have many of the materials scattered around your home or yard.
Gathering Your Materials
Before diving into the creative process, let’s assemble everything you’ll need for your fall wreath masterpiece. Having materials organized beforehand makes the crafting experience much more enjoyable.
Essential Base Materials:
- Grapevine wreath base (12-18 inches works well for most doors)
- Wire wreath frame as an alternative
- Foam wreath base for a more structured look
Natural Elements:
- Artificial or dried fall foliage (maple leaves, oak leaves, eucalyptus)
- Small branches or twigs
- Pine cones in various sizes
- Acorns and nuts
- Dried berries or berry sprigs
- Mini pumpkins or gourds
Tools and Supplies:
- Hot glue gun and glue sticks
- Floral wire (24-gauge works best)
- Wire cutters
- Ribbon for hanging and decoration
- Burlap or fabric scraps for texture
Optional Embellishments:
- Seasonal signs or wooden letters
- Artificial sunflowers or mums
- Cinnamon sticks for fragrance
- Small battery-operated string lights
Don’t feel pressured to purchase everything new. A walk through your neighborhood might yield beautiful fallen leaves, interesting branches, and pine cones that add authentic local character to your wreath.
Step-by-Step Assembly Instructions

Creating your fall wreath becomes a delightful journey when broken into manageable steps. Take your time with each phase. This isn’t a race, and the meditative quality of crafting is part of the reward.
Step 1: Prepare Your Workspace and Base
Set up in a well-lit area with plenty of room to spread out materials. If using a grapevine base, gently reshape it into a perfect circle if needed. Foam bases require no preparation, while wire frames might need a light wrap of natural twine for better grip.
Step 2: Create Your Foundation Layer
Start by attaching your largest foliage pieces to establish the wreath’s overall shape and fullness. Secure each piece with hot glue or wire, depending on your base type. Work in sections around the wreath, stepping back occasionally to check for balance. This foundation layer doesn’t need to be perfect. Natural asymmetry adds character.
Step 3: Build Depth with Secondary Elements
Layer smaller leaves, branches, and sprigs over your foundation. Vary the directions and angles to create visual interest. Some elements should extend beyond the outer edge, while others tuck deeper into the base. This layering technique gives your wreath that professional, full appearance.
Step 4: Add Focal Points
Position your showstopper elements. Perhaps a cluster of pine cones, a small pumpkin, or a beautiful bow. These focal points should feel intentionally placed rather than scattered randomly. Odd numbers typically look more natural than even groupings.
Step 5: Fill Gaps and Fine-Tune
Step back and identify any sparse areas that need attention. Add smaller elements like berries, acorns, or individual leaves to fill these gaps. This is also when you can adjust or reposition elements that aren’t quite working.
Creative Design Variations
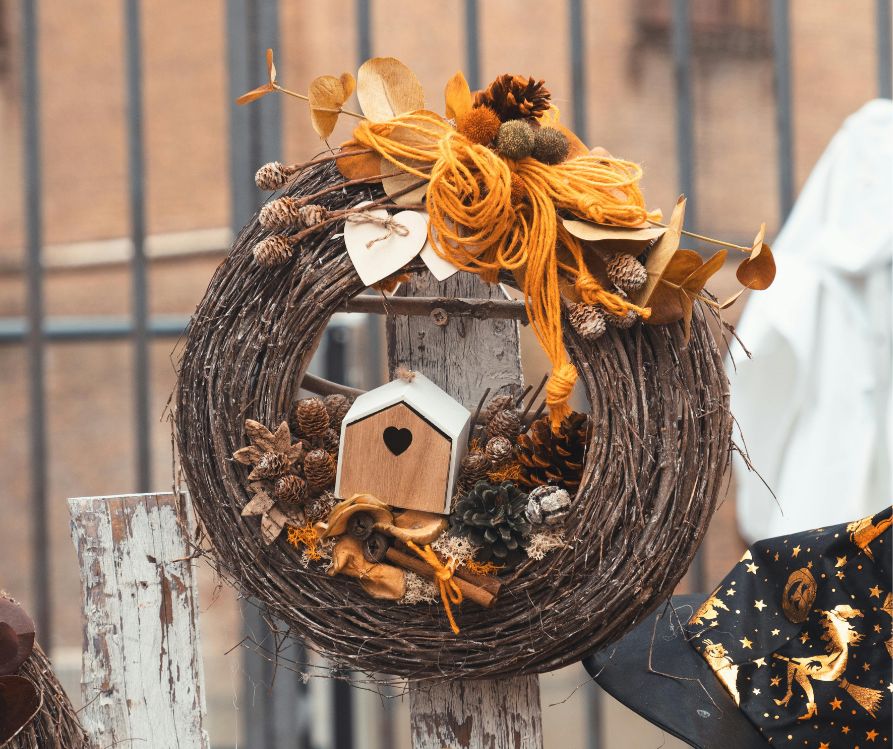
Your fall wreath should reflect your personal style and complement your home’s aesthetic. Consider these inspiring approaches to make your creation truly unique.
Rustic Farmhouse Style: Emphasize natural textures with burlap ribbon, mini cotton bolls, and weathered wooden elements. Stick to a muted color palette of creams, browns, and soft oranges. Add small mason jars filled with dried wheat or berries for authentic farmhouse charm.
Elegant Traditional: Choose deep, rich colors like burgundy, gold, and forest green. Incorporate silk flowers, velvet ribbons, and metallic accents. Artificial magnolia leaves provide beautiful structure, while gold-dusted pine cones add sophisticated sparkle.
Modern Minimalist: Focus on clean lines and limited color schemes. Perhaps use only three types of elements—say, eucalyptus, white pumpkins, and copper wire accents. The beauty lies in restraint and careful placement rather than abundance.
Harvest Abundance: Go bold with mini corn husks, small gourds, colorful leaves, and berry clusters. This style celebrates fall’s bounty with layers of texture and color. Don’t be afraid to let elements overlap and intertwine naturally.
Ensuring Your Wreath Lasts All Season
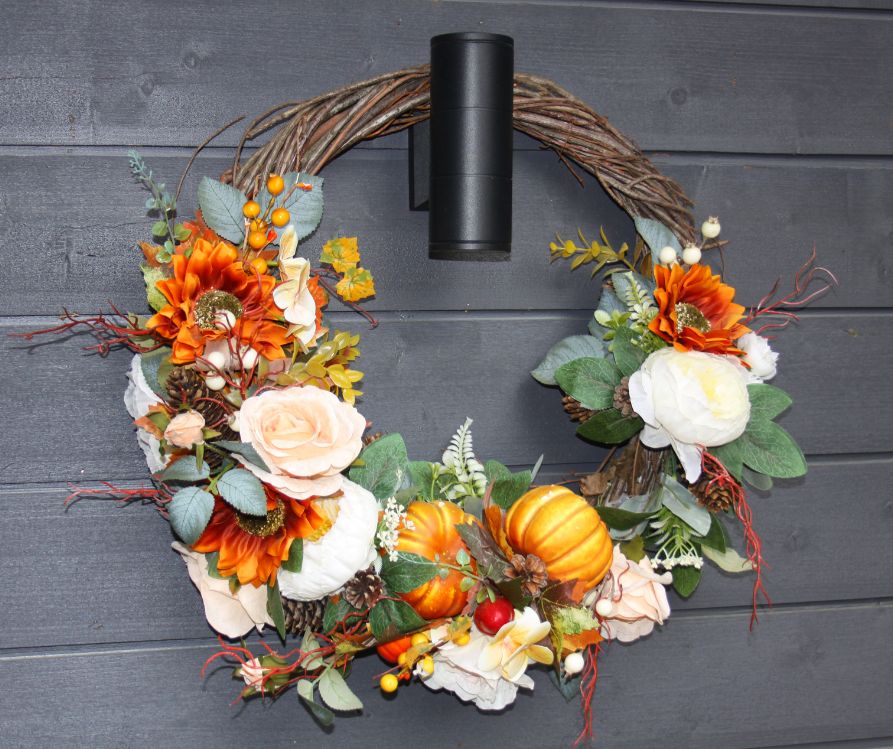
A well-constructed fall wreath can maintain its beauty from September through November with proper care and smart material choices.
Material Selection for Longevity: While fresh elements look gorgeous initially, they require more maintenance. Artificial foliage and preserved elements offer durability without sacrificing beauty. If using fresh materials, choose hardy options like magnolia leaves or pine branches that dry well naturally.
Weather Protection: Position your wreath where it receives some shelter from direct rain and strong winds. A covered porch or doorway extends life significantly. For completely exposed locations, consider bringing the wreath inside during severe weather.
Maintenance Tips: Gently dust your wreath weekly with a soft brush. Check attachment points periodically, as temperature changes can loosen glue or wire connections. Replace any elements that become damaged or fade significantly.
Seasonal Refreshing: Midway through fall, consider adding new elements or adjusting faded ones. Small touches like fresh berries or a new ribbon can rejuvenate your wreath’s appearance without starting over.
Storage and Future Seasons
Proper storage ensures you can enjoy your creation again or use elements in future projects. Wrap your wreath in tissue paper and store it in a cool, dry place. Label storage boxes clearly so you can find everything next year.
Consider photographing your finished wreath from multiple angles. These photos become valuable references for recreating successful designs or sharing inspiration with friends who admire your handiwork.
Make It Your Own This Fall
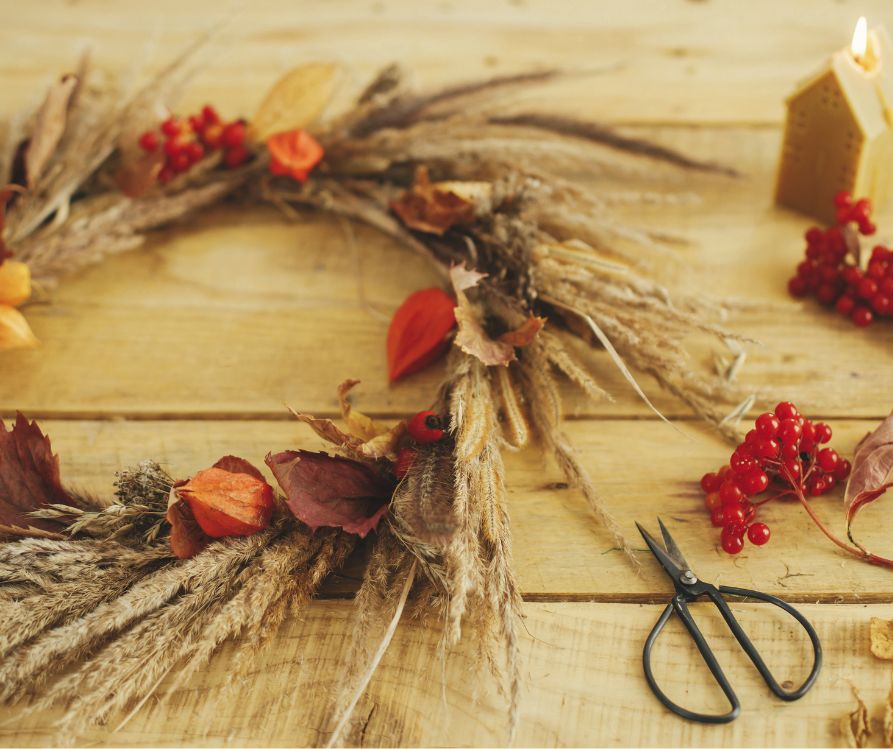
Creating a DIY fall wreath connects you with both the season and your own creativity in meaningful ways. Each element you choose and place tells part of your story. Your color preferences, your style, your interpretation of autumn’s beauty.
Remember that there are no mistakes in this project, only design opportunities. That slightly crooked bow or unexpectedly placed pine cone might become your wreath’s most charming feature. Trust your instincts, enjoy the process, and don’t be surprised if neighbors start asking for your crafting secrets.
Why not make this weekend your wreath-making adventure? Gather some materials, put on your favorite fall playlist, and let your creativity flow. Your front door, and everyone who passes by, will thank you for adding such personal, handmade beauty to the neighborhood.
Visit the Garden Resources page for supplies and inspiration. Don’t forget to subscribe to the Calendula’s Garden Newsletter for more gardening tips.
Calendula’s Garden is reader supported. When you buy through links on our site, we may earn an affiliate commission. As an Amazon Associate, I earn from qualifying purchases. For more information, view our Disclaimer page. Thank you!