Create a Stunning DIY Autumn Harvest Centerpiece in 30 Minutes
Calendula's Garden is reader suported This post may contain affiliate links, more on our Disclaimer page. Thank you!
Autumn arrives with a symphony of colors that transforms ordinary spaces into warm, inviting havens. There’s something deeply satisfying about bringing those rich oranges, deep reds, and golden yellows indoors.
Especially when you’ve crafted the display with your own hands using your garden harvest. Creating a DIY autumn harvest centerpiece not only saves money but also gives you the freedom to design something that perfectly reflects your personal style.
Whether you’re preparing for Thanksgiving dinner, a cozy fall gathering, or simply want to celebrate the season’s beauty, a homemade centerpiece adds that special touch that store-bought arrangements often lack.
The best part? You probably already have many of the materials sitting in your pantry or scattered around your yard.
This guide will walk you through creating a gorgeous autumn centerpiece that captures the essence of harvest season while being simple enough for crafting beginners. You’ll discover how to combine natural elements with a few store-bought items to create something truly spectacular for your dining table.

Gathering Your Materials for the Perfect Autumn Display
Before you begin crafting, it’s helpful to collect all your materials in one place. This prevents those mid-project trips to the store and helps you visualize your final creation.
Essential Base Materials:
- A shallow wooden box, wicker basket, or ceramic tray (12-18 inches long)
- Floral foam or a collection of small glass jars
- Burlap or autumn-themed fabric for lining
Natural Elements:
- Mini pumpkins and gourds in various sizes and colors
- Fresh or silk autumn leaves (maple, oak, or birch work beautifully)
- Pinecones, acorns, and small branches
- Seasonal flowers like mums, sunflowers, or marigolds
- Wheat stalks or dried corn husks
Finishing Touches:
- Battery-operated fairy lights or small pillar candles
- Twine or raffia for tying bundles
- Small decorative elements like berries or nuts
Don’t worry if you can’t find everything on this list. Half the charm of DIY projects comes from working with what you have and making creative substitutions. That old fruit bowl can become a rustic base, and even artificial leaves from the dollar store can look stunning when mixed with real elements.
Step-by-Step Assembly Instructions
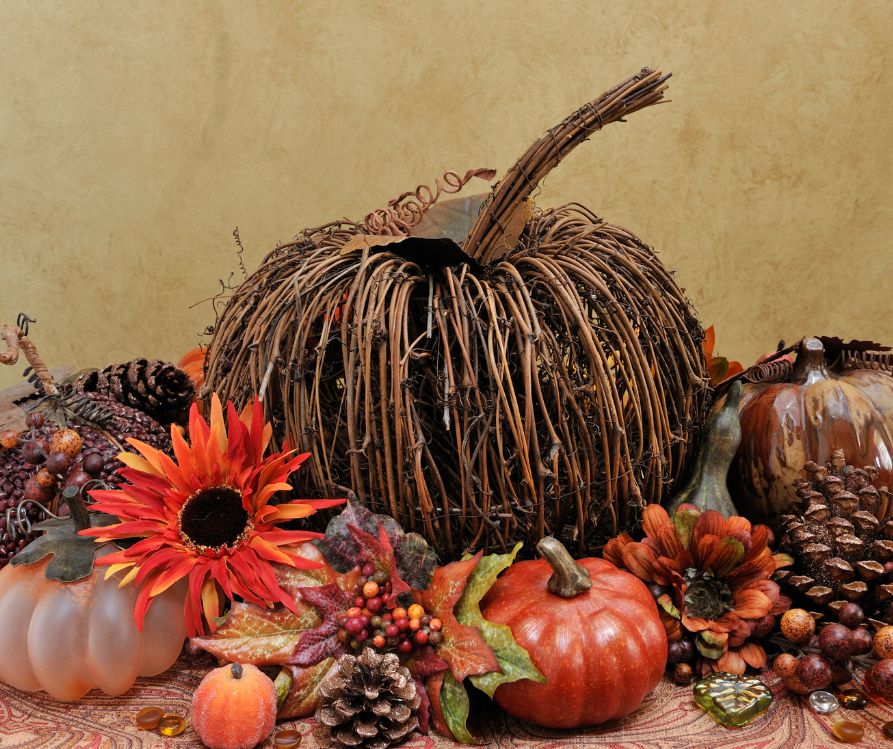
Step 1: Prepare Your Base
Start by cleaning your chosen container thoroughly. If you’re using a wooden box or basket, line it with burlap or autumn fabric to create texture and hide any floral foam you’ll use later. This lining also protects your furniture from moisture if you’re including fresh flowers.
Step 2: Create Your Foundation
Place floral foam in your container if you’re using fresh flowers, or arrange small glass jars filled with water throughout the base. These will serve as anchors for your taller elements and keep flowers hydrated. If you’re going completely dry with your arrangement, you can skip this step.
Step 3: Add Height and Structure
Begin with your tallest elements—wheat stalks, bare branches, or long-stemmed flowers. Place these toward the back and sides of your arrangement, creating a backdrop. Vary the heights to avoid a uniform, unnatural look. This is where you establish the overall shape and flow of your centerpiece.
Step 4: Layer in Medium-Height Elements
Add your seasonal flowers, shorter branches, and any decorative stems. These middle-layer items should fill in the gaps between your tall background pieces while creating visual interest. Cluster similar items in odd numbers (groups of three or five) for the most pleasing arrangement.
Step 5: Ground the Design
Now comes the fun part—adding your pumpkins, gourds, and other weighty elements. Nestle these around the base of your arrangement, allowing some to rest outside the container for a natural, overflowing effect. Mix sizes and colors to create visual rhythm throughout the display.
Step 6: Fill and Soften
Tuck autumn leaves, small branches, and delicate elements into any remaining gaps. These finishing touches soften hard edges and create the lush, abundant feeling that makes harvest centerpieces so appealing. Don’t be afraid to let some elements drape over the sides of your container.
Creative Variations to Match Your Style
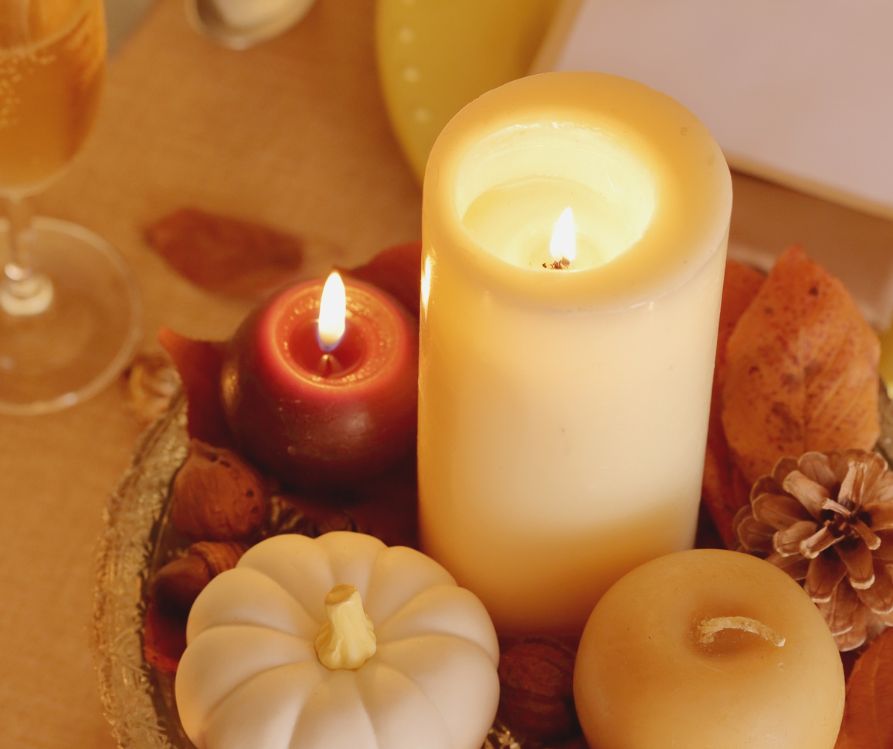
Your autumn centerpiece doesn’t have to follow a single formula. Consider these variations to match different occasions or personal preferences:
Rustic Farmhouse Style
Use a weathered wooden crate as your base, emphasizing natural textures with burlap, twine, and mason jars filled with wheat. Add vintage-inspired elements like old books or antique tools for extra character.
Elegant Traditional
Choose a sleek ceramic or metal tray, incorporate deep burgundy and gold tones, and add sophisticated touches like metallic spray-painted leaves or elegant taper candles in brass holders.
Modern Minimalist
Select a clean-lined container and limit your color palette to two or three hues. Focus on interesting shapes and textures rather than abundance, using elements like geometric pumpkins or architectural branches.
Kid-Friendly Version
Let little ones help by creating a centerpiece that celebrates their creativity. Use unbreakable containers, allow for imperfect placement, and include elements they can safely handle, like plastic pumpkins mixed with real leaves.
Each style celebrates autumn’s beauty while reflecting the personality of your space and the occasion you’re marking.
Keeping Your Centerpiece Fresh and Beautiful
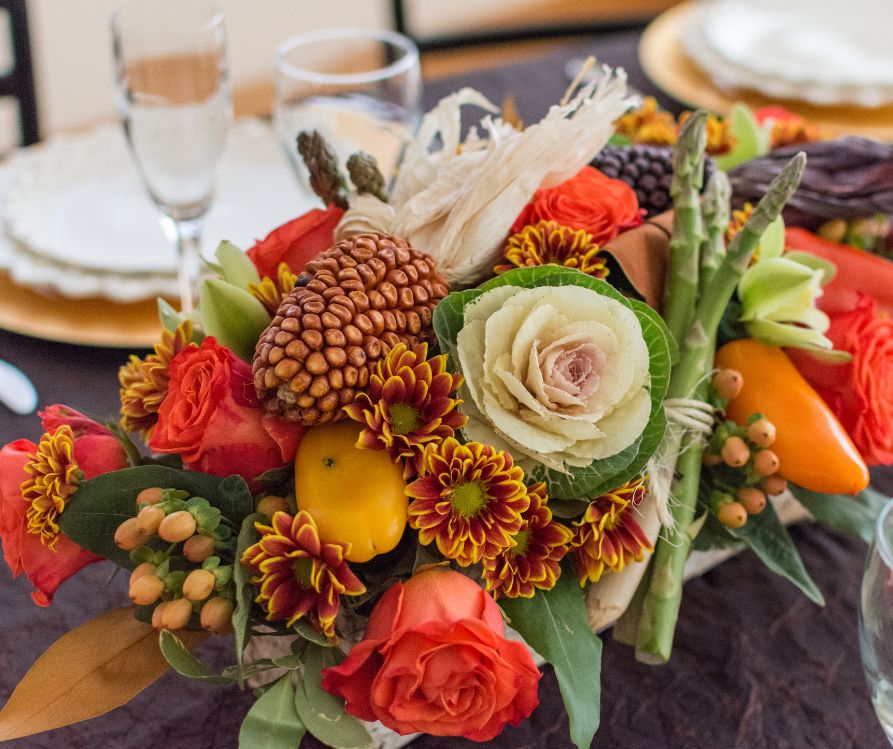
With proper care, your autumn harvest centerpiece can remain stunning throughout the entire fall season. Fresh flowers will need the most attention—check water levels every few days and trim stems as needed. Remove any wilted blooms promptly to keep the arrangement looking its best.
For elements like pumpkins and gourds, inspect them weekly for soft spots that might indicate spoilage. Small decorative pumpkins typically last 2-3 weeks indoors, while larger, harder varieties can remain fresh for months when kept in cool, dry conditions.
The natural leaves in your arrangement will gradually dry and change color, which actually adds to the seasonal appeal. However, if they become too brittle or start dropping excessively, you can replace them with fresh ones or transition to artificial alternatives.
Dust your centerpiece gently with a soft brush to keep artificial elements looking vibrant. If you’ve incorporated battery-operated lights, check them periodically and keep spare batteries on hand for special occasions.
Celebrating Your Creative Success
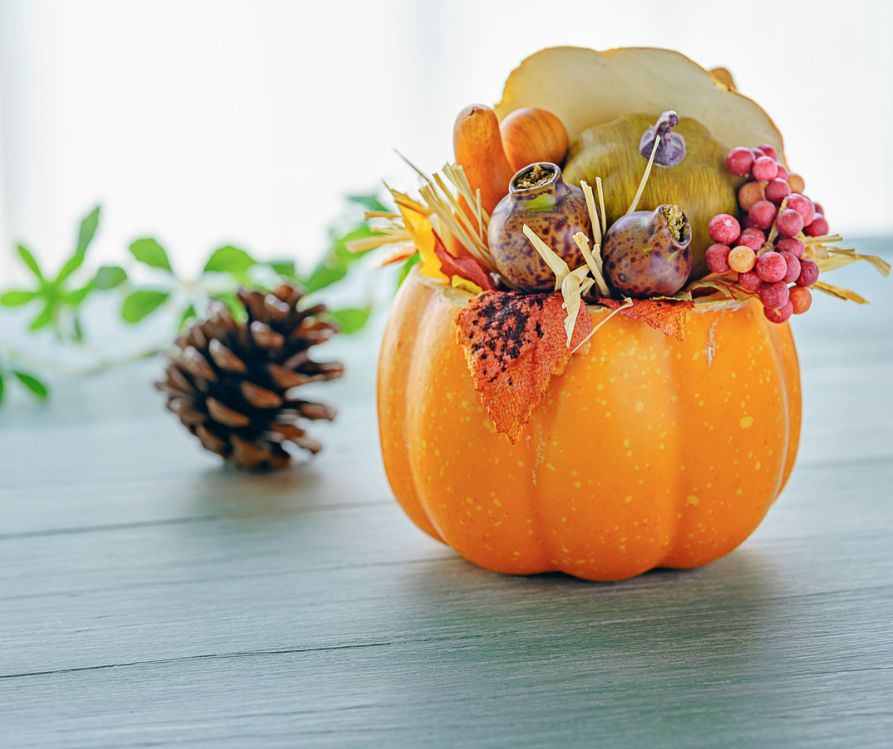
Creating your own autumn harvest centerpiece connects you with the timeless tradition of bringing nature’s bounty indoors. You’ve not only saved money and created something unique, but you’ve also crafted a conversation piece that reflects the warmth and abundance of the season.
Every time you glance at your handmade creation, you’ll remember the enjoyable process of selecting materials, arranging elements, and putting your personal touch on something beautiful. Consider documenting your creation with photos to inspire next year’s design or to share with friends who might want to try their own version.
Why not make this a yearly tradition? Each autumn, you could create a new centerpiece, experimenting with different styles, colors, or materials you discover. You might even involve family members or friends, making it a cherished seasonal activity that brings people together while celebrating the natural beauty around us.
Visit the Garden Resources page for supplies and inspiration. Don’t forget to subscribe to the Calendula’s Garden Newsletter for more gardening tips.
Calendula’s Garden is reader supported. When you buy through links on our site, we may earn an affiliate commission. As an Amazon Associate, I earn from qualifying purchases. For more information, view our Disclaimer page. Thank you!