Build Your Dream DIY Greenhouse: A Complete Beginner’s Guide
Calendula's Garden is reader suported This post may contain affiliate links, more on our Disclaimer page. Thank you!
Have you ever wished you could extend your growing season and protect your precious plants from unpredictable weather? A DIY greenhouse might be exactly what your garden needs.
When we lived in the Pacific Northwest, the dark, rainy fall, winter, and spring made gardening a struggle at times. Installing a greenhouse gave us a dry, warm spot to enjoy potting up some plants or just relax with a cup a tea.
Building your own greenhouse is not only a rewarding project that connects you more deeply with your gardening journey, but it’s also a cost-effective way to create the perfect growing environment for your plants year-round.
Whether you’re looking to start seedlings earlier in spring, grow fresh herbs through winter, or simply protect your tender plants from harsh weather, a homemade greenhouse opens up exciting possibilities for your sustainable gardening goals.
The best part? You don’t need to be a construction expert or break the bank to build one that works beautifully for your space and needs.
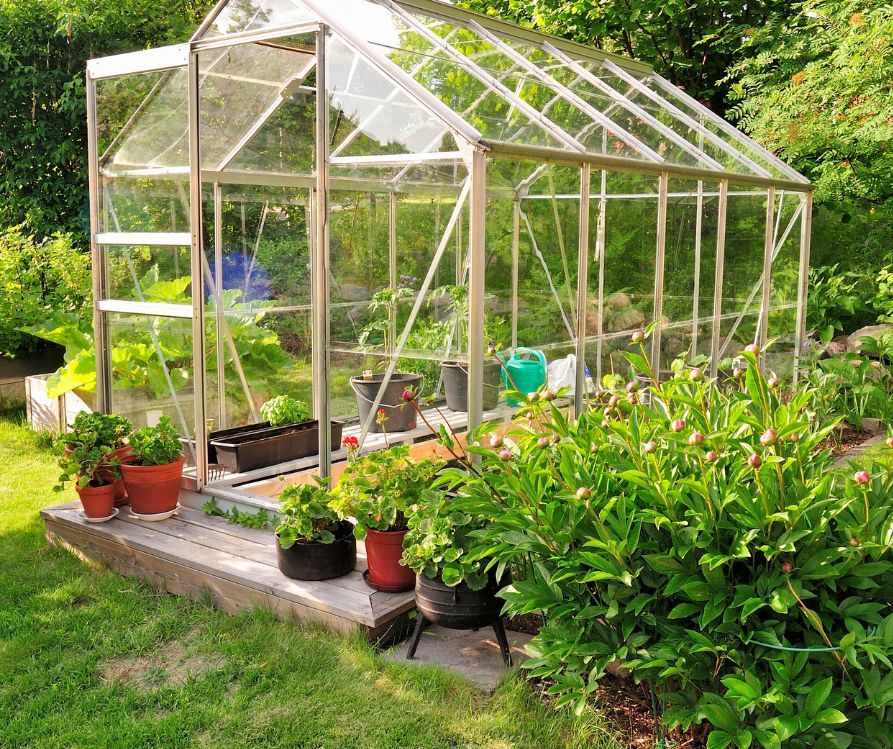
This comprehensive guide will walk you through every step of creating your own DIY greenhouse, from initial planning to ongoing maintenance. By the end, you’ll have all the knowledge needed to build a functional, attractive greenhouse that will serve your family’s gardening dreams for years to come.
Planning Your DIY Greenhouse: Setting Yourself Up for Success
Before you pick up a single tool, thoughtful planning will make the difference between a greenhouse that thrives and one that becomes a frustrating project. Let’s explore the key factors that will determine your greenhouse’s success.
Make sure to grab a copy of: Black & Decker The Complete Guide to DIY Greenhouses, Updated 2nd Edition: Build Your Own Greenhouses, Hoophouses, Cold Frames & Greenhouse Accessories
It is full of inspiration and practical tips that helped us finalize our backyard greenhouse plans.
Choosing the Perfect Location
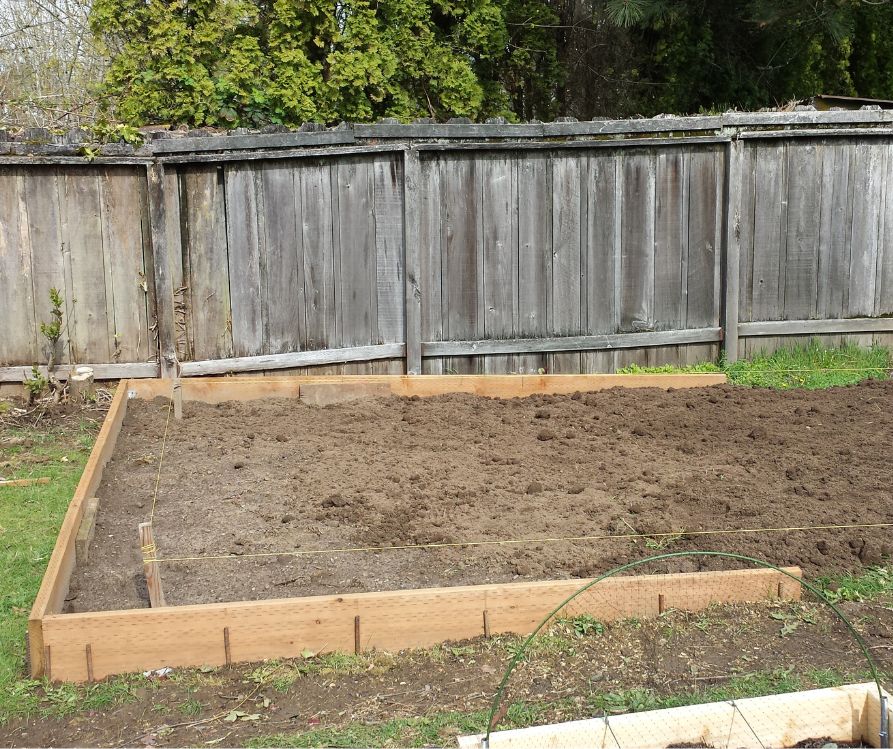
Your greenhouse location impacts everything from plant health to maintenance ease. Look for a spot that receives at least six hours of direct sunlight daily, with morning sun being especially valuable for plant growth.
Avoid areas under large trees or near structures that cast shadows throughout the day.
Consider accessibility, too. You’ll be visiting your greenhouse regularly for watering, harvesting, and maintenance, so choose a location that’s convenient to reach from your home and has reasonable proximity to a water and power source.
For maximum winter light and stable temperatures, an east-west orientation is recommended.
Determining Size and Style
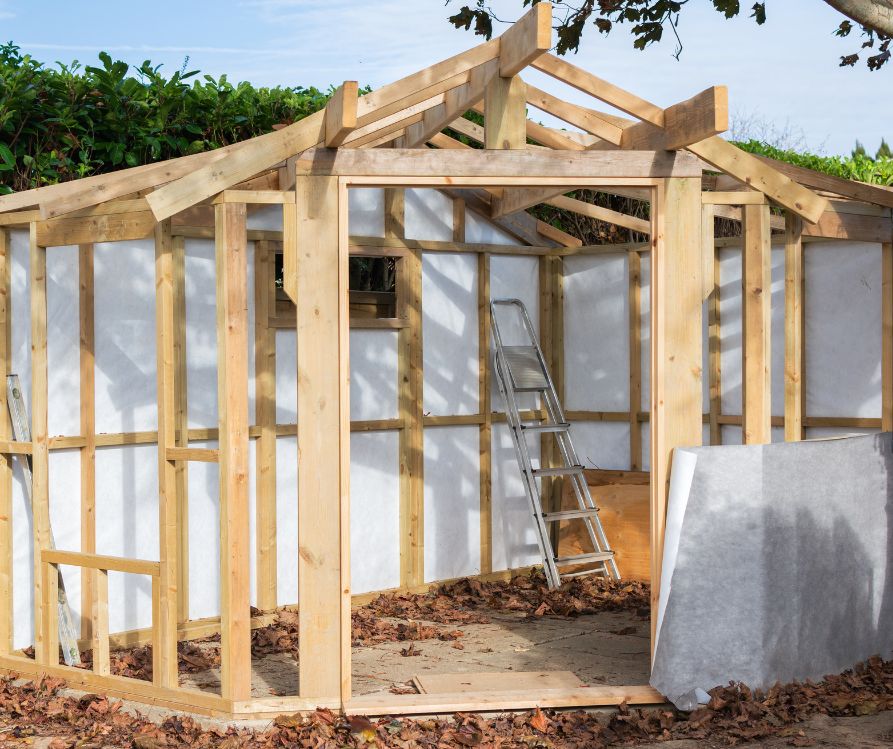
The size of your DIY greenhouse should match both your gardening goals and available space. A 6×8-foot greenhouse provides ample room for most beginner gardeners, offering space for seed starting, herb growing, and protecting several larger plants.
However, even a compact 4×6-foot structure can significantly extend your growing capabilities.
Think about your greenhouse’s intended use. Will you primarily start seeds in spring, or do you want year-round growing space? Are you focused on leafy greens and herbs, or do you dream of homegrown tomatoes in December? Your goals will influence the ideal size and features for your structure.
Selecting Materials: Building with Purpose and Budget in Mind
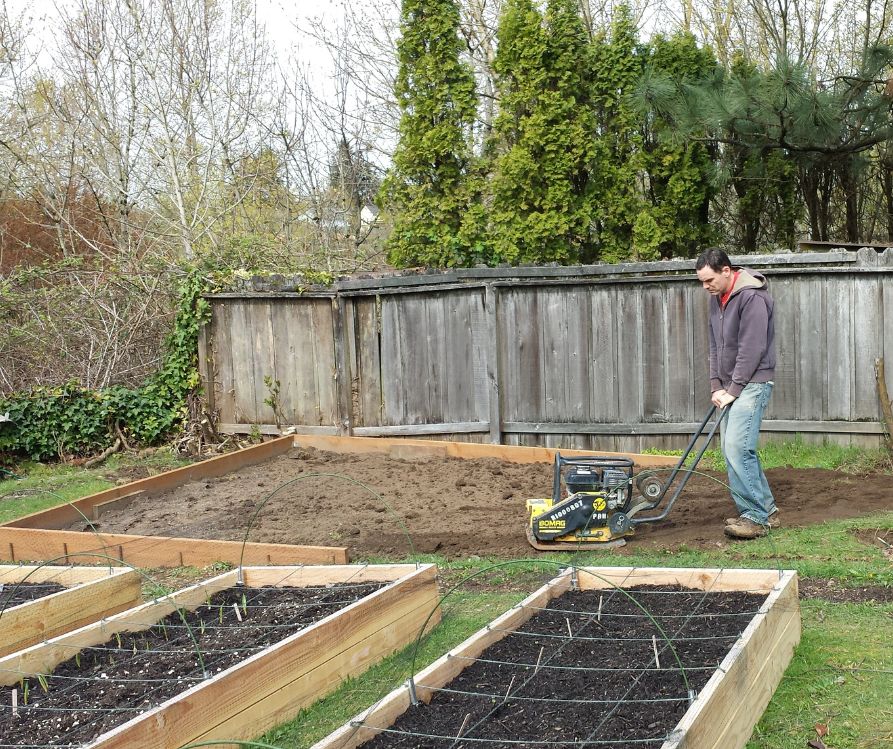
The materials you choose will determine your greenhouse’s durability, insulation properties, and overall cost. Here’s how to make smart choices that align with your needs and budget.
Frame Materials: Wood vs. PVC
Wood frames offer excellent durability and a classic appearance that complements most garden settings.
Cedar and redwood naturally resist rot and insects, making them ideal choices for greenhouse construction. While initially more expensive, quality wood frames can last decades with proper maintenance.
PVC pipes provide a budget friendly alternative that’s easy to work with and naturally resistant to moisture. They’re perfect for temporary or seasonal greenhouse structures, though they may not withstand heavy snow loads as well as wooden frames.
Covering Options: From Plastic to Glass
Plastic sheeting is the most economical covering option and works well for basic protection. Choose greenhouse-grade plastic (6-mil thickness minimum) that includes UV protection to prevent degradation.
While it typically needs replacement every few years, plastic sheeting keeps initial costs low and performs well for most gardening needs.
Polycarbonate panels offer superior insulation and durability compared to plastic, with excellent light transmission and weather resistance. Though more expensive upfront, they provide better long-term value and professional appearance.
Glass remains the premium choice for greenhouse covering, offering unmatched clarity and longevity. However, it requires stronger framing and careful installation, making it best suited for permanent structures and experienced builders.
Quick-Shop Supply List (8×10 Greenhouse)
Structure Materials
Choose one framing option:
- Option A: PVC/EMT Conduit Frame
- Purchase (5) 10-foot lengths of 1-inch Schedule 40 PVC or EMT conduit for hoops.
- Get (10) 4-way PVC fittings or conduit connectors.
- Buy (1) 10-foot length of 1-inch conduit for the center ridgepole.
- Option B: Lumber A-Frame
- Select (12-15) 8-foot 2×4 pressure-treated lumber boards for framing.
- Select (4-6) 10-foot 2×4 pressure-treated lumber boards.
- Fasteners & Connectors
- Acquire (1) box of 2.5-inch outdoor-rated deck screws.
- Obtain (10-12) metal framing connectors (e.g., hurricane ties).
Foundation & Anchoring
- Choose one anchoring method:
- Ground Anchoring: (10) 24-inch rebar stakes.
- Raised Base Anchoring: (10) concrete or masonry anchors appropriate for your foundation.
- Optional Raised Base: (6) 8-foot 4×4 or 2×6 pressure-treated boards.
Covering
- Choose one covering material:
- Plastic Sheeting: (1) roll of 20×25 ft, 6-mil, UV-resistant greenhouse plastic.
- Polycarbonate Panels: (7-8) 4×8 ft twin-wall polycarbonate panels.
- Choose one fastening system:
- Wiggle Wire: (40) feet of wiggle wire channel and corresponding wire.
- Batten Strips: (5-6) 8-foot wood or plastic batten strips and 1-inch galvanized screws.
Door & Ventilation
- Choose one door option:
- Pre-Hung Door: (1) 32-inch pre-hung exterior door.
- DIY Door: (2) 8-foot 2×2 boards and a section of your chosen covering material.
- Choose one vent option:
- Auto Vents: (1-2) greenhouse roof or side vent kits.
- DIY Vents: Scrap lumber, hinges, and covering material.
Flooring
- Acquire (1) roll of 10×12 ft landscape weed barrier fabric.
- Purchase (0.5) cubic yards of pea gravel or wood chips.
Climate Control
- Get (1) indoor/outdoor thermometer/hygrometer.
- Buy (1) 10×12 ft 40-60% shade cloth.
- Obtain (1-2) small, outdoor-rated circulation fans.
- Optional: (1) small greenhouse-safe electric or propane heater.
Irrigation
- Purchase (1) 50-foot soaker hose or a drip irrigation starter kit.
- Get (1) single-port or multi-port hose timer.
Hardware & Tools
- Obtain (1) box of 1-inch galvanized staples for a staple gun.
- Acquire (1) pack of 8-inch UV-rated zip ties.
- Get (10-15) 1-inch pipe straps (if using conduit).
- Buy (1) set of heavy-duty outdoor-rated hinges and a latch for the door.
Safety Gear
- Purchase (1) pair of durable work gloves.
- Acquire (1) pair of safety glasses or goggles.
Optional Upgrades
- Automatic Vent Openers: (1-2) solar-powered, temperature-activated openers.
- Gutter Kit: (1) small residential gutter kit for a 10-foot run.
- Shelving: (4-6) 8-foot 2×8 boards and brackets.
- Raised Beds: Lumber or kits for interior garden beds.
Note: Adjust all quantities based on your final design and local wind or snow load requirements.
Step-by-Step Construction: Building Your Greenhouse
Now comes the exciting part. Actually building your greenhouse! This straightforward approach will result in a functional 6×8-foot structure that’s perfect for beginning greenhouse gardeners.
Foundation and Frame Assembly
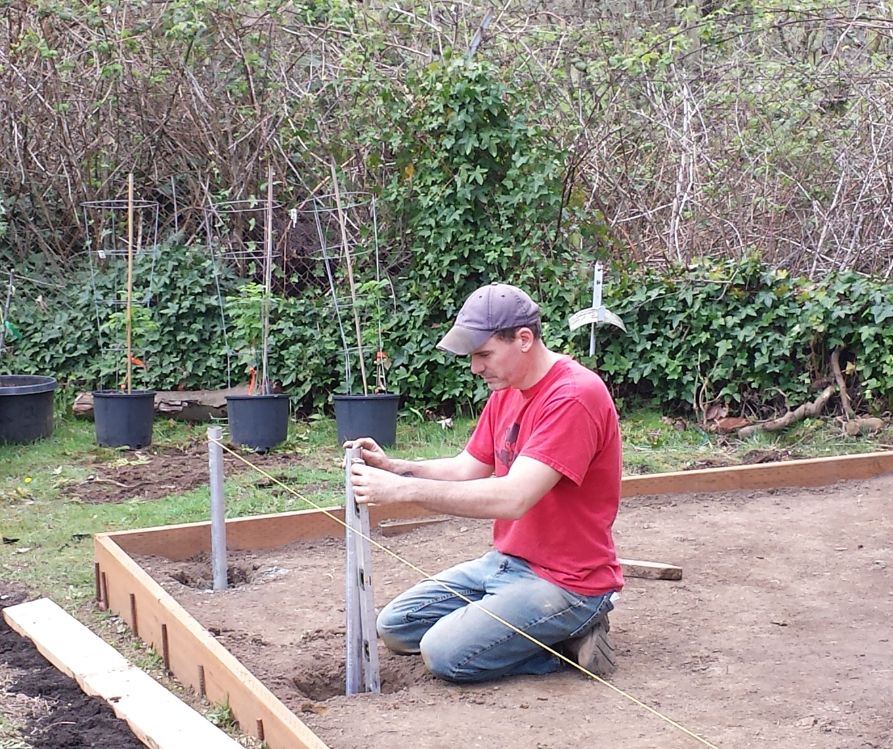
Start by marking and leveling your chosen location. A simple foundation of pressure-treated lumber or concrete blocks works well for most DIY greenhouses. This raises your structure slightly off the ground, improving drainage and preventing moisture issues.
Begin frame construction by assembling the base rectangle using 2×6-inch pressure-treated lumber. Square the corners carefully. This foundation accuracy affects everything that follows.
Next, construct the front and back wall frames, incorporating your planned door opening in the front wall.
For the roof, a simple gable design works well and sheds water effectively. Cut your rafters to create the desired roof pitch (typically 4/12 slope), then attach them to the wall frames. This creates the basic skeleton of your greenhouse.
Installing Covering and Ventilation
Once your frame is complete and secure, it’s time to add the covering. If using plastic sheeting, start at the bottom of one side and work systematically around the structure, pulling the material taut but not overly tight.
Secure it with wooden strips and screws for a professional, weatherproof seal.
Ventilation is crucial for plant health and temperature control. Install at least one roof vent and one side vent to create proper air circulation.
Many greenhouse supply companies offer automatic vent openers that respond to temperature changes, maintaining ideal growing conditions without your constant attention.
Adding Finishing Touches
Install shelving or benches to maximize your growing space and create an efficient workflow. Simple wooden benches work well and can be built to match your greenhouse style.
Add a thermometer to monitor internal temperatures and help you understand your greenhouse’s performance through different seasons.
Maintaining Your Greenhouse: Keeping It Productive Year-Round
A well-maintained greenhouse serves your gardening goals reliably for many years. Regular attention to a few key areas keeps everything running smoothly and your plants thriving.
Ventilation and Temperature Management
Proper ventilation prevents the extreme temperature swings that can stress or kill plants. During warm months, open vents during the day and close them before evening temperatures drop.
Installing a small fan is a great addition for air circulation on particularly hot days, and the air movement will create a healthier environment for your plants.
Monitor internal temperatures regularly, especially as seasons change. Most plants thrive in greenhouse temperatures between 65-75°F during the day and 60-65°F at night. Understanding your greenhouse’s temperature patterns helps you manage ventilation effectively.
Watering and Humidity Control
Greenhouse plants often need more frequent watering than outdoor plants, especially during warm weather when enclosed spaces can become quite dry.
However, be careful not to overwater. Good drainage and proper air circulation prevent moisture-related problems.
Consider installing a simple drip irrigation system or soaker hoses for consistent, efficient watering. This is especially helpful if you travel or have a busy schedule that makes daily watering challenging.
Pest Prevention and Management
The enclosed environment that protects your plants can also harbor pests if you’re not vigilant. Regularly inspect plants for signs of insects or disease, and address problems quickly before they spread.
Encourage beneficial insects by incorporating companion plants and avoiding harsh chemical treatments.
Sticky traps, beneficial predator insects, and organic treatments align with sustainable gardening principles while effectively managing most greenhouse pest issues.
Perfect Plants for Your DIY Greenhouse
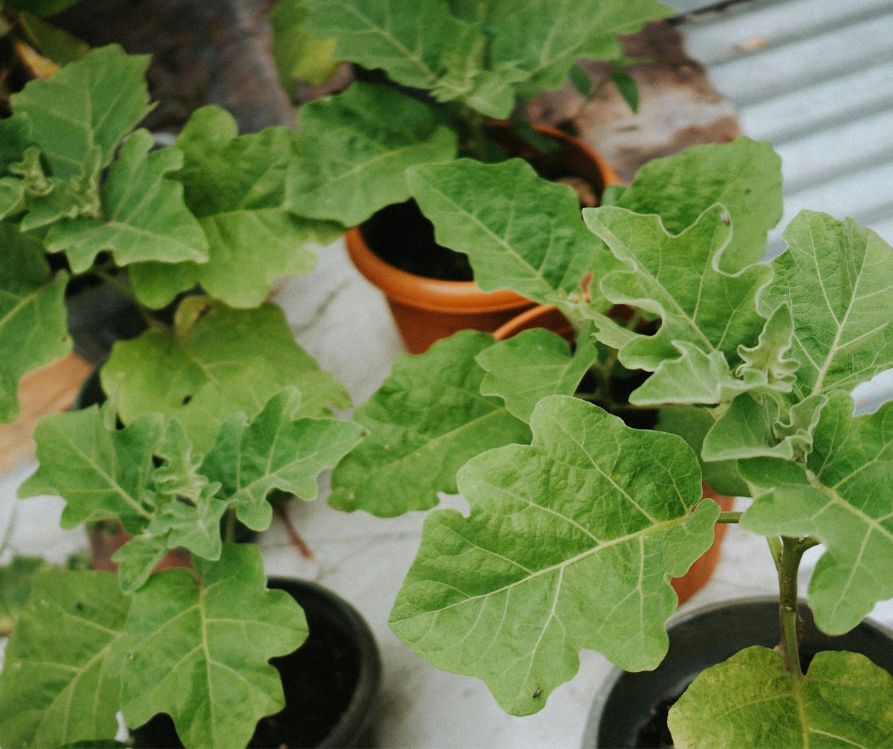
Your new greenhouse opens up exciting possibilities for extending growing seasons and trying new plants. Here are some excellent choices for greenhouse gardening success.
Year-Round Favorites
Leafy greens like lettuce, spinach, and kale thrive in greenhouse conditions and provide fresh, nutritious food throughout the winter months.
Herbs such as basil, parsley, and cilantro offer continuous harvests and complement your cooking year-round.
Cherry tomatoes and compact pepper varieties perform exceptionally well in greenhouse environments, often producing fruit well into winter when outdoor plants have long since finished.
Essential Winter Vegetables for Greenhouse Growing
Seasonal Specialties
Use your greenhouse for seed starting in late winter and early spring, giving your outdoor garden a significant head start.
Start warm-season crops like tomatoes, peppers, and eggplant 6-8 weeks before your last frost date.
During summer’s peak heat, your greenhouse can protect cool-season crops that would otherwise struggle in high temperatures.
Lettuce, peas, and other cool-weather vegetables appreciate the moderated environment.
Transform Your Garden with DIY Greenhouse Growing
Building your own greenhouse represents more than just a weekend project. It’s an investment in your family’s health, your connection to sustainable living, and your gardening success for years to come.
The satisfaction of enjoying fresh, homegrown produce in the depths of winter or getting a jump start on spring planting makes every hour spent on construction worthwhile.
Remember that your first greenhouse doesn’t need to be perfect or permanent. Many successful greenhouse gardeners start with simple structures and modify or upgrade them based on experience.
The most important step is getting started and learning what works best for your specific needs and growing goals.
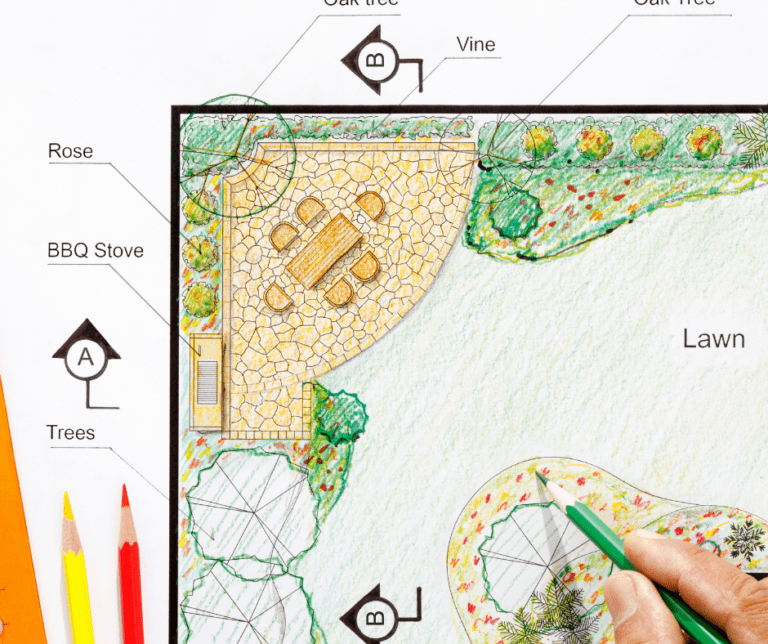
Ready to begin your greenhouse journey? Start by sketching your ideal design and making a materials list. Visit your local nursery or hardware store to see materials firsthand and get advice from experienced staff. Many gardening communities also have members who’ve built their own greenhouses and are happy to share tips and encouragement.
Your dream of year-round gardening is closer than you think. With careful planning, quality materials, and the step-by-step guidance provided here, you’ll soon be enjoying the rewards of your very own DIY greenhouse.
Visit the Garden Resources page for supplies and inspiration. Don’t forget to subscribe to the Calendula’s Garden Newsletter for more gardening tips.
Calendula’s Garden is reader supported. When you buy through links on our site, we may earn an affiliate commission. As an Amazon Associate, I earn from qualifying purchases. For more information, view our Disclaimer page. Thank you!