A Quick Guide to Soil Solarization: How to Rejuvenate Old Potting Soil
Calendula's Garden is reader suported This post may contain affiliate links, more on our Disclaimer page. Thank you!
Gardening is a rewarding hobby that allows you to connect with nature while producing beautiful and bountiful plants.
But it can also be costly, especially when it comes to maintaining healthy soil. One sustainable and cost effective method to rejuvenate old potting soil is solarization.
This technique utilizes the power of the sun to sterilize and revitalize your soil, making it pest-free and nutrient-rich for future use.
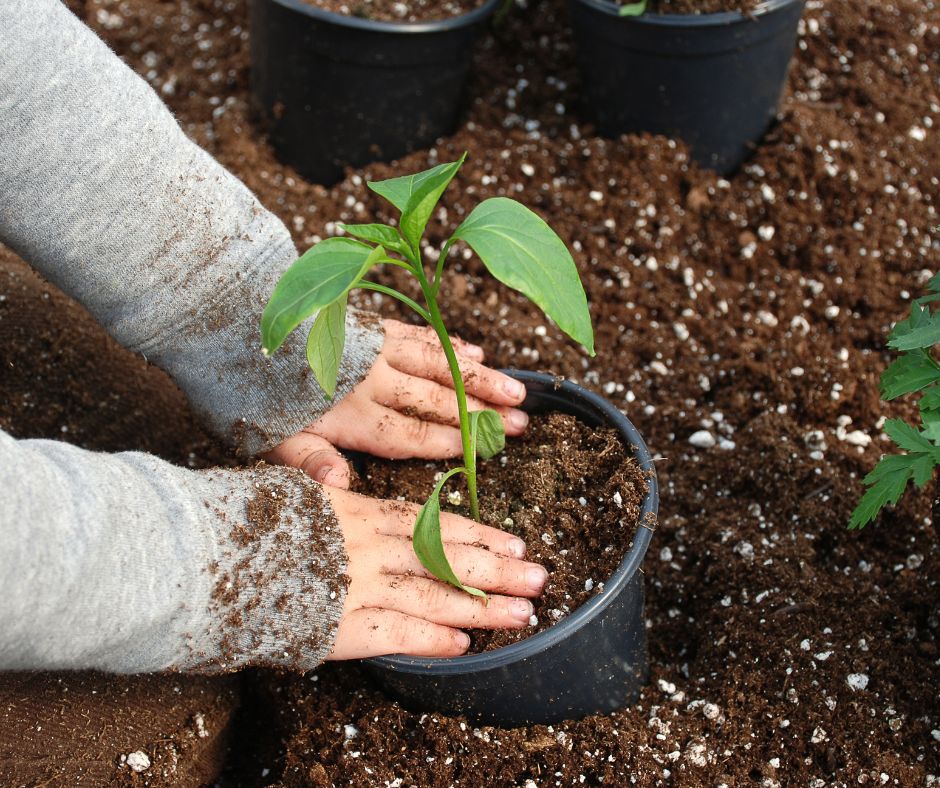
Introduction to Solarization and Its Benefits in Gardening
Solarization is a natural method of using solar energy to reduce soil-borne pests, diseases, and weeds.
By covering the soil with a transparent plastic sheet and exposing it to intense sunlight, the soil heats up to temperatures that kill harmful organisms.
Benefits include
Pest Reduction: Eliminates nematodes, fungi, and weed seeds.
Enhanced Soil Health: Promotes beneficial soil organisms.
Cost-Effective: Reduces the need for chemical pesticides and fresh potting soil.
Preparing the Old Potting Soil
Before starting the solarization process, gather the old potting soil from your containers.
Tools Needed:
Shovel or trowel
Rake
Transparent plastic sheeting (2-4 mil thick)
Watering can or garden hose
Set up:
Collect the Soil: Remove old potting soil from containers. Break up any clumps and remove plant debris.
Choose a Location: Select a sunny, flat area in your garden.
Spread the Soil: Spread the soil evenly over the chosen area, aiming for a thickness of about 6 inches.
The Solarizing Process

Seasonal Timing and Location
Best Time: Summer months when the sun is strongest.
Ideal Location: A spot that receives full sunlight for most of the day.
Maintainance:
Moisten the Soil: Water the soil thoroughly to a depth of 12 inches. Moist soil conducts heat better than dry soil.
Cover with Plastic: Lay the transparent plastic sheeting over the soil.
Bury the edges of the plastic with soil to trap the heat.
Secure the Covering: Use stones or weights to keep the plastic in place.
Monitoring and Care During SolarizationTips
Temperature Monitoring
Check soil temperatures periodically. The goal is to reach and maintain temperatures of 110-125°F (43-52°C) for several weeks.
Maintain Moisture
Ensure the soil remains moist throughout this period. Water as needed without disturbing the plastic cover.
Post-Solarization Steps
After 4-6 weeks, your soil should be properly solarized. Now it is time to complete the soil rejuvenation process:
1. Inspect the Soil: Remove the plastic and inspect the soil for pests and pathogens.
2. Recondition the Soil: Mix in compost, soil amendments, or new potting soil to replenish nutrients.
3. Return to Containers: Refill your containers with the solarized soil, ready for planting.
Benefits of Solarized Potting Soil and Future Practices

Reduced Pests and Pathogens: Healthier plants with fewer diseases
The benefits of using solarized potting soil are numerous and significant. One of the primary advantages is the reduction in pests and pathogens, which leads to healthier plants less susceptible to diseases.
By effectively eliminating harmful organisms, solarization creates an improved environment for plant growth.
Additionally, the enhanced soil structure achieved through this process fosters better root growth and overall resilience in plants.
Improved Soil Structure: Enhanced root growth and plant resilience
Incorporating solarized soil into your gardening practices not only supports immediate plant health but also contributes to long-term sustainability.
The method promotes the growth of beneficial microorganisms, contributing to a vibrant soil ecosystem.
Embrace the Cold: Easy Winter Container Garden Ideas
This, in turn, enriches the nutrient profile of the soil, allowing plants to thrive by accessing essential nutrients more efficiently.
By adopting solarization, gardeners can create a healthier growing environment while minimizing reliance on chemical interventions.
Why Organic Additives Post Solarization

To maintain soil fertility effectively after polarization, it is beneficial to incorporate organic additives such as compost and natural fertilizers.
Compost enriches the soil with essential nutrients and helps improve its structure, promoting better aeration and moisture retention.
7 Best Garden Soil Amendments and Fertilizers
Applying natural fertilizers, sourced from organic materials, provides a slow-release supply of nutrients that plants can absorb over time, supporting their growth without the risk of chemical buildup.
By regularly adding these organic amendments, gardeners can sustain a healthy soil ecosystem that not only nourishes plants but also enhances biodiversity in the garden.
This approach ensures long-term soil health and supports robust plant development.
Solarizing old potting soil is an effective and eco-friendly way to save money while ensuring your garden thrives.
By following these simple steps, you can maintain healthy soil that’s free of pests and rich in nutrients.
Give solarization a try and share your experiences with us! For more gardening tips and personalized advice, join our garden newsletter.
Visit the Garden Resources page for supplies and inspiration. Don’t forget to subscribe to the Calendula’s Garden Newsletter for more gardening tips.
Calendula’s Garden is reader supported. When you buy through links on our site, we may earn an affiliate commission. As an Amazon Associate, I earn from qualifying purchases. For more information, view our Disclaimer page. Thank you!