A Beginner’s Guide to Thinning Seedlings
Calendula's Garden is reader suported This post may contain affiliate links, more on our Disclaimer page. Thank you!
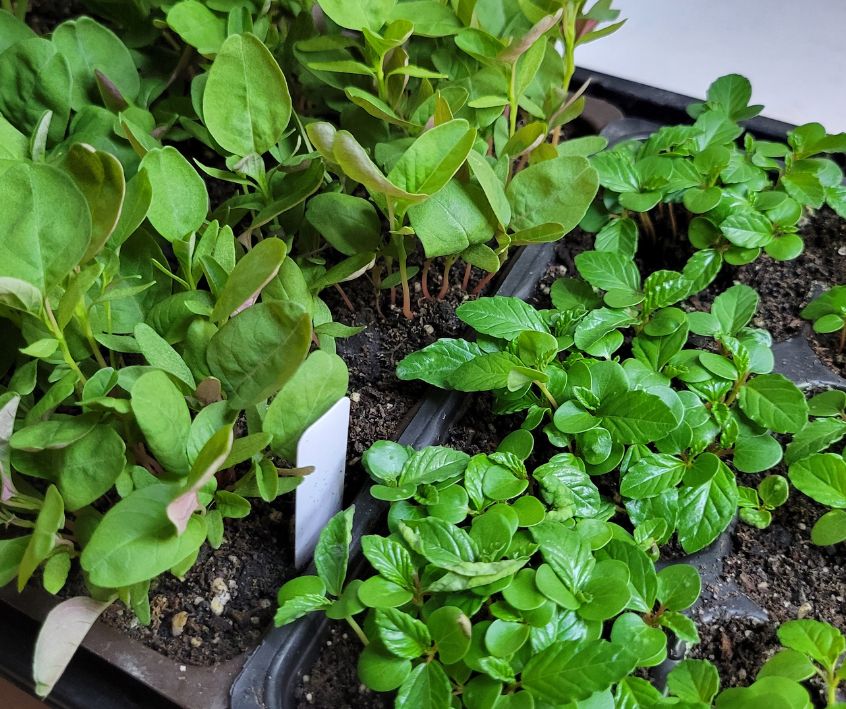
Seeing those very first green shoots push through the soil is one of the most exciting moments for any gardener. You carefully watered the soil, waited patiently, and now you have a dense, beautiful carpet of tiny plants.
It feels like a massive success. But shortly after that initial joy fades, you might notice that your little sprouts are looking a bit crowded.
This is where the practice of thinning comes in. Thinning means removing some of those baby plants so that the remaining ones have enough space, nutrients, and light to grow to their full potential.
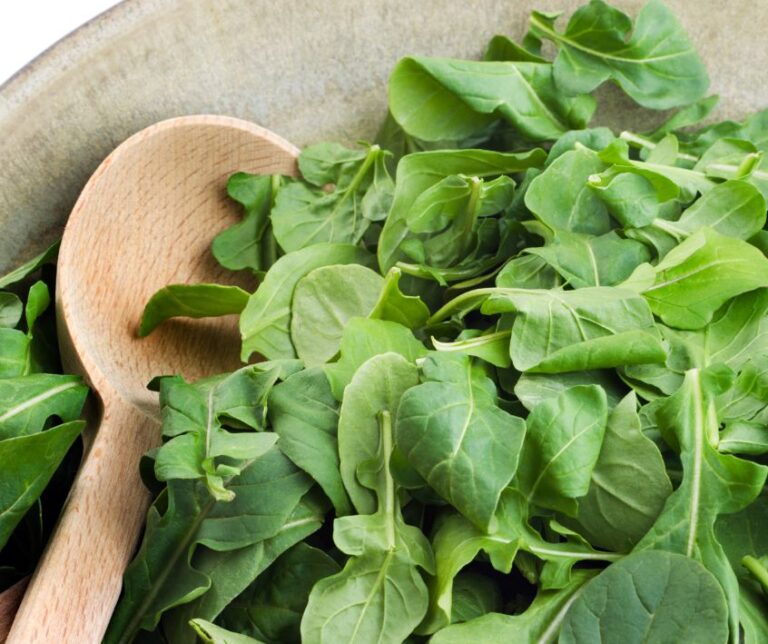
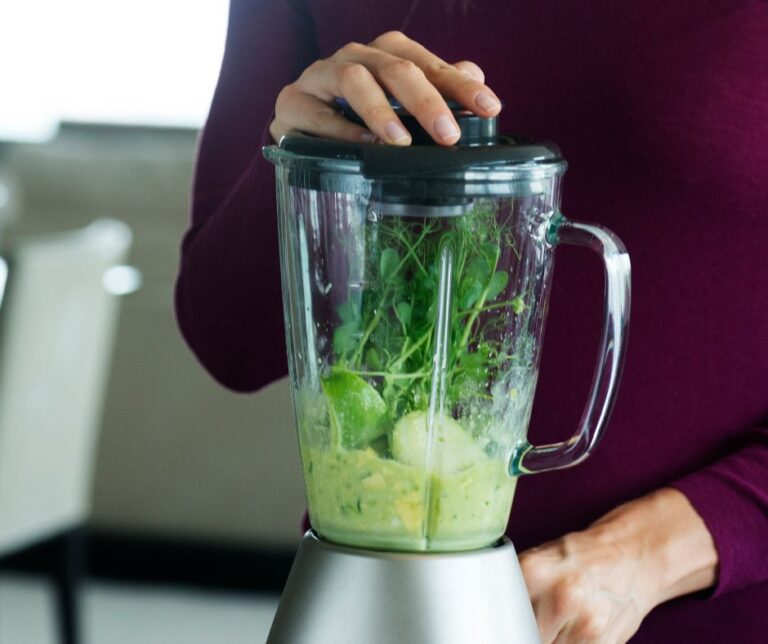
While it can feel heartbreaking to pull up the very plants you worked so hard to grow, it is an essential step in the gardening process. Plus, you can use your thinnings as microgreens in a salad or sandwich.
When seeds are planted closely together, they naturally compete for resources. If you leave them crowded, the plants will become stunted, stressed, and far less productive.
By stepping in and selectively removing the weaker sprouts, you are giving the strongest plants the room they desperately need to develop robust root systems and healthy foliage. Let’s walk through exactly how to tackle this crucial garden task.
When to Thin Your Seedlings
Timing is everything in the garden. If you thin too early, you might accidentally remove seedlings that would have turned out to be the strongest.
If you wait too long, the roots of the plants will become tangled, making it nearly impossible to remove one without damaging its neighbor.
Identifying the right stage of growth for thinning
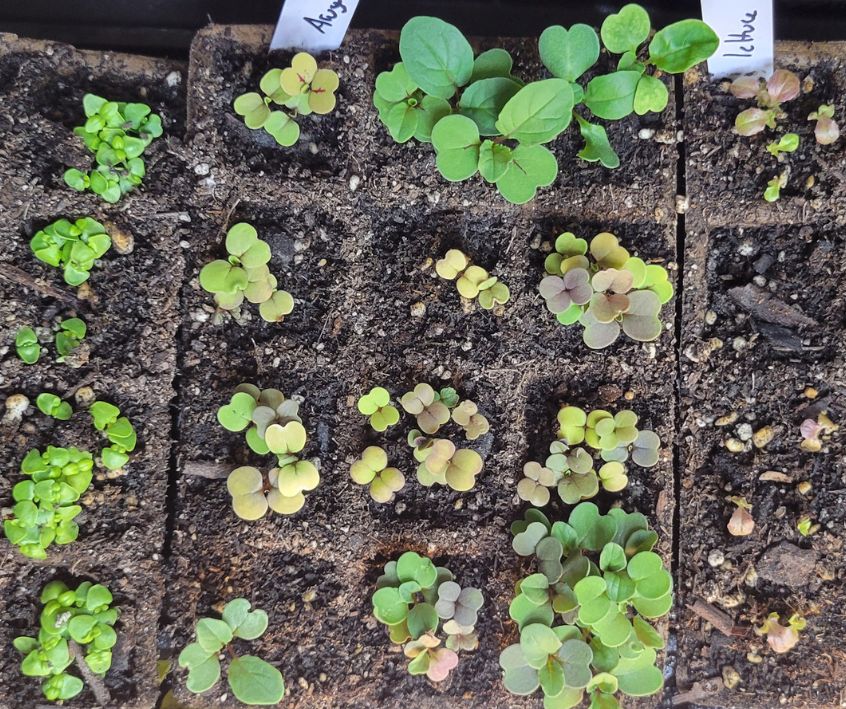
The general rule of thumb is to wait until your seedlings have developed their first set of “true leaves.”
When a seed first germinates, it pushes up cotyledons, or seed leaves. These look quite different from the plant’s mature foliage.
Once the plant grows its next set of leaves, the true leaves, it is usually strong enough to handle the thinning process. This typically happens when the seedlings are about one to two inches tall.
Factors influencing thinning timing
Different plants grow at different speeds, which means you will need to observe your garden carefully.
Radishes and lettuce sprout and grow incredibly quickly, often requiring thinning just a week or two after germination.
On the other hand, peppers and tomatoes might take a bit longer to reach the true leaf stage.
Always check the back of your seed packet for specific spacing guidelines, which will help you understand exactly how much room each specific plant type will ultimately need.
How to Thin Your Seedlings Effectively
The actual process of thinning is quite simple, but doing it carefully ensures you do not harm the plants you intend to keep. Here is how to do it without causing unnecessary stress to your garden.
Supply List
- Sharp scissors or garden snips
- Small trowel (optional)
- A container for discarded seedlings
- Gloves (optional for comfort)
- Watering can or spray bottle for light watering after thinning
Step-by-step guide to the thinning process
First, observe your patch of seedlings and identify the strongest, healthiest-looking plants. These are the ones with the thickest stems and the most vibrant leaves.
Next, determine the required spacing for that specific crop. If your carrots need to be two inches apart, visualize that spacing and prepare to remove the seedlings sitting in between your chosen “keepers.”
Tools and techniques for precise thinning
You might be tempted to just grab the unwanted seedlings and pull them out of the dirt. Try to resist that urge.
Pulling seedlings can disturb the soil and damage the delicate, shallow roots of the plants you want to save.
Instead, grab a small pair of clean scissors or botanical snips. Carefully cut the unwanted seedlings off right at the soil line.
Tips for minimizing damage to remaining seedlings
Working slowly is the best way to protect your remaining plants. If you find two sprouts growing incredibly close together, do not attempt to untangle them.
Snip the weaker of the two. If you accidentally disturb the soil around a keeper, gently press the dirt back into place and give the area a light watering to help settle the roots.
Common Mistakes to Avoid When Thinning
Even experienced gardeners make mistakes from time to time. Knowing what to watch out for will help you maintain a thriving, productive garden all season long.
Over-thinning vs. under-thinning
Under-thinning is the most common mistake beginners make, simply because it feels wrong to destroy healthy little plants.
However, leaving plants too close together leads to poor air circulation, which invites fungal diseases.
Over-thinning is less common but can happen if you get carried away with your scissors. Always keep your seed packet handy to remind yourself of the correct spacing distance.
Addressing leggy or weak seedlings during thinning
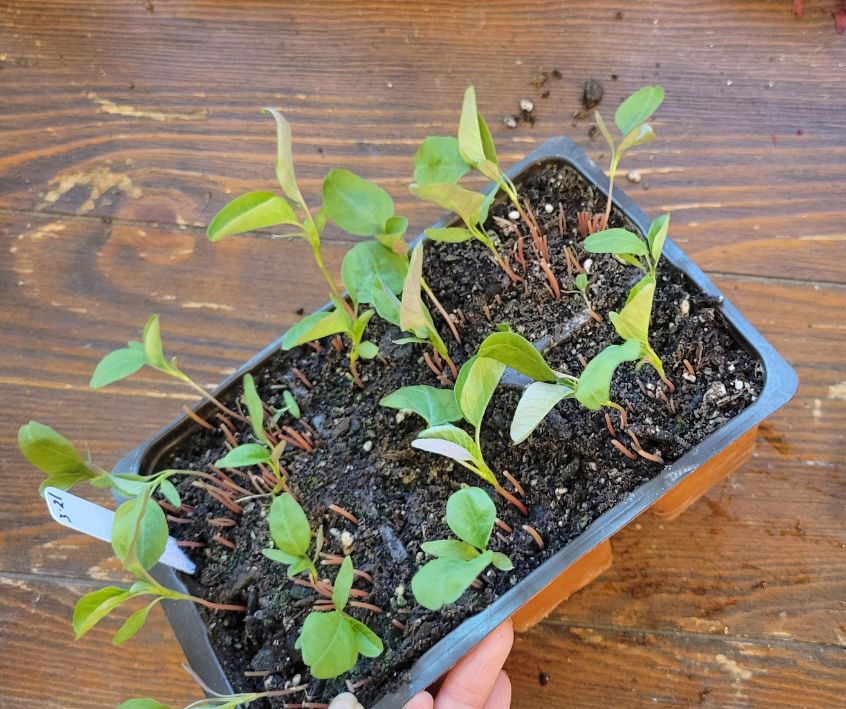
Sometimes, seedlings grow tall and thin, reaching desperately for light. These are known as “leggy” seedlings.
When you are deciding which plants to keep, always prioritize shorter, stockier seedlings over leggy ones.
Leggy plants often have weak stems that will struggle to support the plant as it matures.
Proper disposal of thinned seedlings
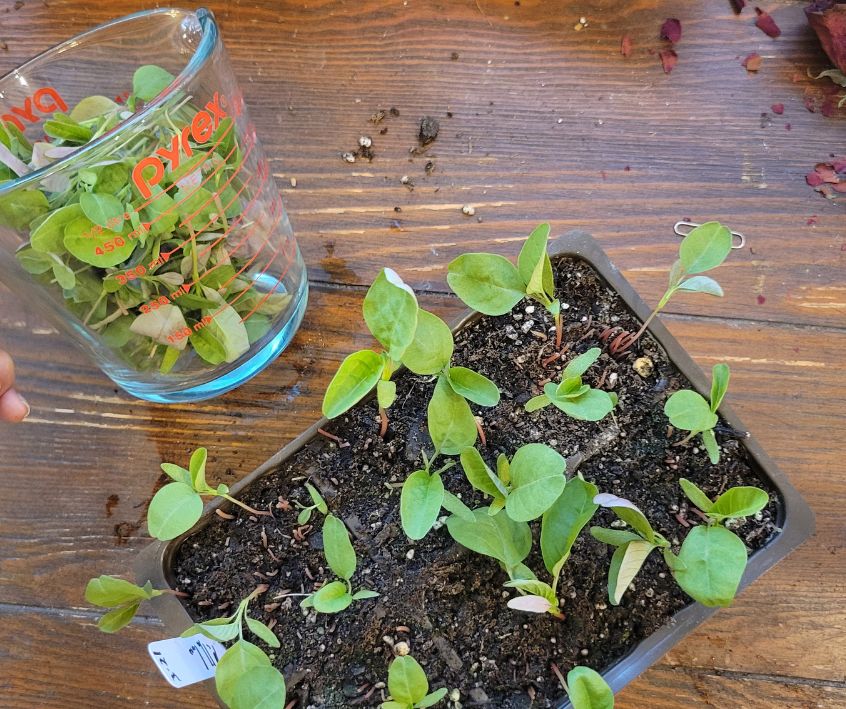
Do not just throw your snipped seedlings in the trash. Many thinned vegetable sprouts, such as radishes, beets, carrots, and lettuce, are essentially microgreens.
Wash them off and toss them into a salad or sandwich for a nutritious, homegrown snack. If they are not edible, simply toss them into your compost bin so they can eventually return their nutrients to the soil.
Post Thinning Care for Healthy Growth
Once you have finished snipping, your remaining plants will suddenly have access to an abundance of light, water, and soil nutrients.
A little extra care right after thinning will help them take full advantage of their new environment.
Watering and fertilizing after thinning
Give your garden a gentle but thorough watering immediately after you finish thinning. This helps settle the soil around the roots of the remaining plants.
If your plants have their true leaves and are actively growing, this is also a great time to apply a heavily diluted, balanced liquid fertilizer to encourage strong root and foliage development.
Protecting young seedlings from pests and diseases
With fewer plants in the bed, the remaining ones are highly valuable. Keep a close eye out for common garden pests like aphids or slugs, which love to snack on tender young foliage.
You might consider placing a protective row cover over your crops to keep insects away while the seedlings establish themselves.
10 Common Garden Pests and How to Get Rid of Them Naturally
Give Your Garden the Space It Needs to Thrive
Thinning seedlings is an act of tough love. While it requires snipping away perfectly good baby plants, the reward is a garden full of robust, healthy crops that have the space they need to breathe and grow.
By waiting for the first true leaves, using a pair of scissors instead of pulling, and maintaining proper spacing, you are setting your backyard garden up for incredible success.
Grab your snips, head out to your garden beds, and give your strongest plants the room they deserve.
Visit the Garden Resources page for supplies and inspiration. Don’t forget to subscribe to the Calendula’s Garden Newsletter for more gardening tips.
Calendula’s Garden is reader supported. When you buy through links on our site, we may earn an affiliate commission. As an Amazon Associate, I earn from qualifying purchases. For more information, view our Disclaimer page. Thank you!