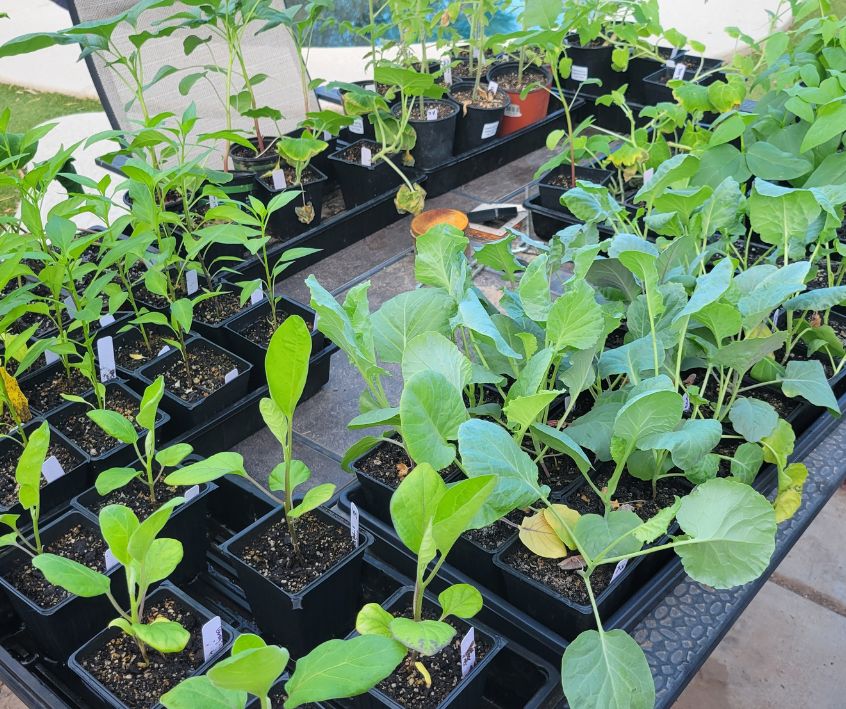
Why Hardening Off Seedlings Is the Step You Can’t Skip
Calendula's Garden is reader suported This post may contain affiliate links, more on our Disclaimer page. Thank you!
I’ll never forget the first time I moved my tomato seedlings straight from a cozy windowsill to my garden bed. Within a day, those poor plants looked like they’d been through a hurricane.
Leaves drooped, edges turned white, and a few just gave up entirely. That was my introduction to something every experienced gardener already knew: seedlings need time to adjust before they can handle the real world.
Hardening off is the process of gradually acclimating your indoor grown seedlings to outdoor conditions before you plant them in the garden for good. It sounds simple, and honestly, it is. But skipping it or rushing through it is one of the most common reasons new gardeners lose plants right when they seemed closest to success.
If you’ve spent weeks nurturing tiny seeds into sturdy little plants under grow lights or on a sunny windowsill, this final step is what protects that investment.
It prevents transplant shock and sets your seedlings up to thrive once they’re settled into their permanent home. Let me walk you through exactly how to do it right.
Understanding Hardening Off
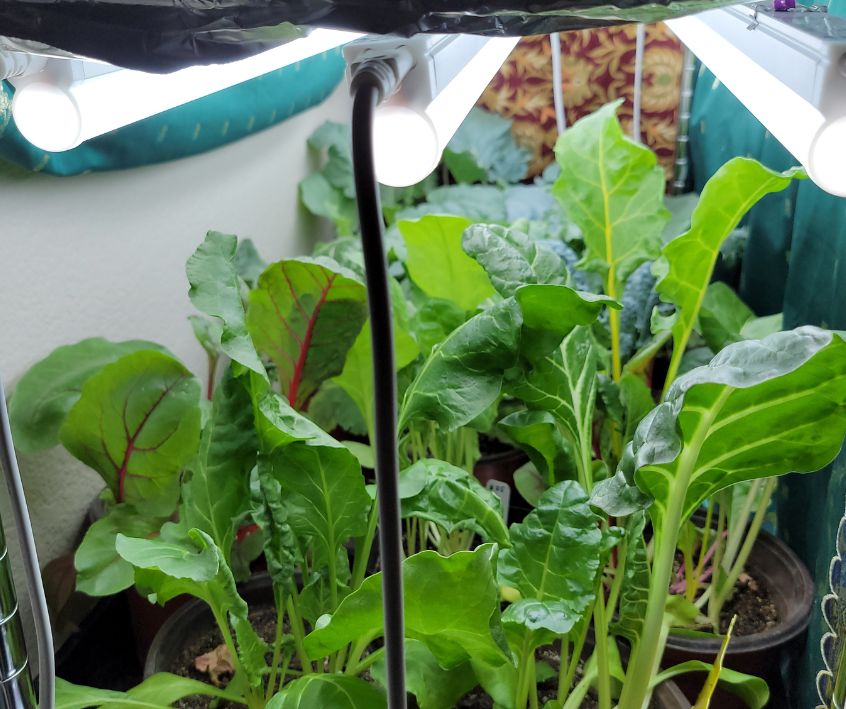
Think about it from the seedling’s perspective. Indoors, life is pretty comfortable. Steady temperatures, no wind, and filtered or artificial light.
Outside, everything changes at once. The sun is more intense, wind whips leaves around, temperatures swing between day and night, and humidity levels drop.
Hardening off simply means introducing your seedlings to these conditions bit by bit instead of all at once. This gives the plant’s cells time to adjust and toughen up, developing a slightly thicker cuticle (that waxy outer layer) that helps them retain moisture and resist sun damage.
This process typically takes seven to ten days. I know that might feel like a long time when you’re eager to get plants in the ground, but trust me, this patience pays off in healthier, more resilient plants.
Preparing Your Seedlings
Before you even think about bringing your seedlings outside, take a few preparatory steps.
Water them well the day before you start. Seedlings that are well hydrated handle stress much better than those that are already thirsty.
Give your seedlings a health check. Look for any weak, yellowing, or diseased plants and remove them from the batch. You want to focus your energy on the strongest candidates.
Also take a look at their overall shape. Seedlings should be stocky rather than tall and leggy. If yours are looking a bit floppy or stretched out, that’s usually a sign they didn’t get enough light indoors, but hardening off can still help strengthen their stems somewhat.
What You’ll Need: Your Hardening Off Supply List
Before you send your tender seedlings out into the big wide world, let’s gather a few helpful supplies. Good news: most of these are things you may already have tucked away in a shed or cupboard. Nothing fancy required, and no chemicals in sight.
Here’s what makes the hardening off process smoother for both you and your plants:
A tray or flat: This is your seedlings’ shuttle bus. Grouping your pots on a sturdy tray lets you carry everyone outside and back in each day without juggling individual containers (or dropping your prized tomato start). 5 Pack of Durable Black Plastic Growing Trays (Without Drain Holes) 21″ X 11″ X 2″
A cold frame or cloche: Think of these as cozy transition homes. A cold frame is like a mini greenhouse, while a cloche is a dome you pop over a single plant. Both shield seedlings from harsh wind and chilly nights while still letting them sample the great outdoors. Wood Cold Frame with Flip-Top Roof, Mini Greenhouse 37”×25”×16”
A thermometer: Seedlings are fussy about temperature, so a simple outdoor thermometer helps you decide when it’s warm enough to set them out. Aim to keep them above 45°F (7°C) at first, and you’ll avoid any cold-weather sulking. TempPro TempAir 500 FT Indoor Outdoor Thermometer Wireless with Sensor
A watering can: Wind and sun dry out little pots fast. A watering can with a gentle rose (the sprinkler-style spout) delivers a soft shower that won’t flatten your seedlings or wash away the soil. 1/2-Gallon Watering Can, Lightweight for Easy Watering
Shade cloth: Direct sun can scorch leaves that have only ever known a sunny windowsill. Draping lightweight shade cloth over your seedlings softens those first bright rays. In a pinch, an old sheet or some garden netting works too. 10x20FT Shade Cloth 70% UV Resistant
A timer: Hardening off is all about slow and steady, starting with an hour outside and building up from there. A phone timer is a lifesaver for busy days when it’s easy to forget your seedlings are basking outdoors. 2 Pack Digital Kitchen Timers
A sheltered spot: Not a purchase, but worth planning for! Pick a place against a wall or fence that’s protected from strong wind. It’s the perfect halfway house between windowsill and garden bed. A folding table is great for temporary set-ups. This 6 Foot Foldable Table with Built in Handle & Steel Legs has worked great for me over the years.
Once you’ve rounded up your kit, you’re all set to give your seedlings a gentle, confident start. Grab your tray, and let’s get them ready for the garden.
The Hardening Off Process Day by Day
Here’s the schedule I follow, and it works well for most vegetable and flower seedlings.
Days 1 and 2: Place your seedlings in a sheltered, shaded spot outdoors for just one to two hours. Somewhere protected from direct sun and wind, like next to your house or under a porch, works great.
Days 3 and 4: Increase their time outside to three or four hours. You can also start introducing some filtered sunlight, perhaps a spot with dappled shade from a tree.
Days 5 and 6: Extend outdoor time to five or six hours and move your seedlings to a brighter location where they’ll get a bit more direct sun.
Days 7 and 8: Let your seedlings stay outside for most of the day now, bringing them in before sunset.
Days 9 and 10: If nighttime temperatures are staying above 50 degrees Fahrenheit, you can leave your seedlings outdoors overnight. This is a great final test before transplanting them into the garden for good.
By the end of this process, your seedlings should look noticeably tougher. Their stems will feel firmer, and the leaves will have a slightly more leathery texture compared to when you started.
Managing Environmental Challenges
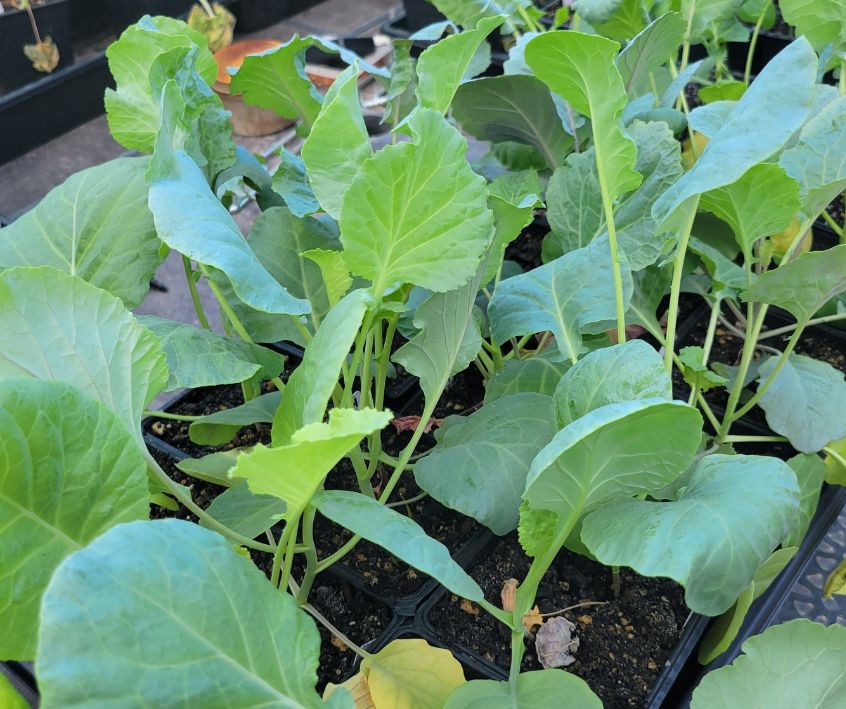
Even with a solid schedule, nature likes to throw curveballs. Here’s how I handle a few common challenges.
Wind can be surprisingly damaging to tender seedlings, snapping stems or drying them out quickly. If it’s a particularly gusty day, set up a simple windbreak using a piece of cardboard, a row cover, or even a stack of bricks positioned to block the worst of it.
Outdoor conditions dry out soil much faster than indoor environments, so check your seedlings’ moisture levels daily. Stick your finger into the soil, and if it feels dry an inch down, it’s time to water.
On especially hot or sunny days, keep an eye out for wilting or scorched leaves. If you notice this happening, move your seedlings to a shadier spot temporarily rather than pulling them back inside completely.
Common Mistakes to Avoid
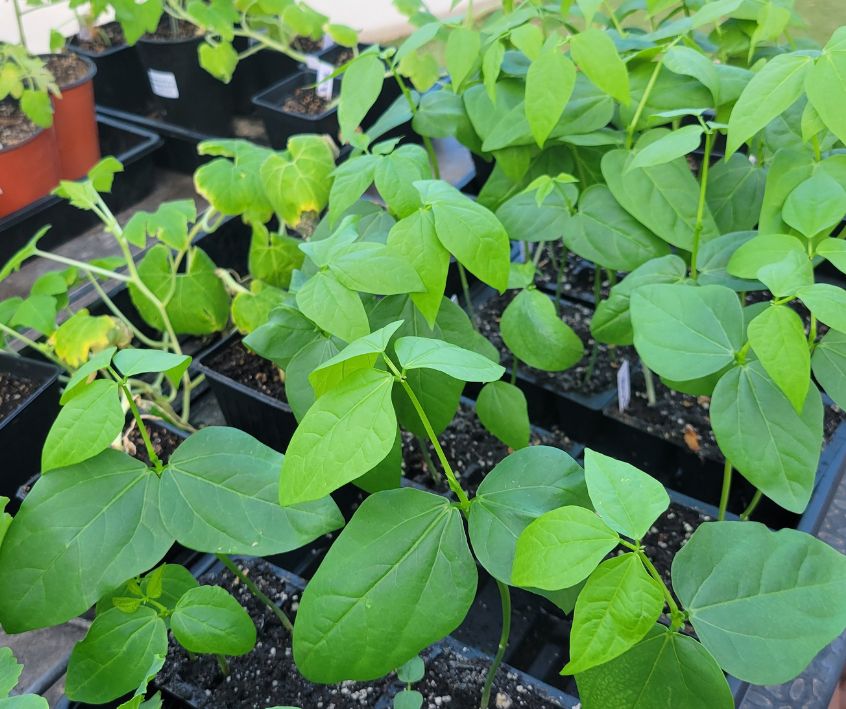
I’ve made a few of these mistakes myself, so consider this a friendly warning.
Rushing the process is probably the most common misstep. It’s tempting to skip ahead, especially if the weather looks nice, but sudden exposure to full sun and wind can undo weeks of careful growing in just a few hours.
Forgetting to water properly is another one. Since outdoor conditions dry seedlings out faster, they’ll need more frequent watering than they did indoors.
Ignoring the weather forecast can also spell disaster. A surprise frost or an unexpected heat wave can seriously damage or kill unhardened seedlings, so check your local forecast daily during this period.
And if your seedlings do show signs of stress, like wilting or leaf curl, resist the urge to bring them completely back indoors. Instead, simply slow down the process. Reduce their outdoor time for a day or two, then continue where you left off.
Give Your Seedlings the Time They Deserve
Hardening off might feel like an extra hurdle between you and a full garden, but it truly is one of the simplest ways to ensure your hard work pays off.
Those ten days of gradual exposure build resilience that will carry your plants through the rest of the growing season.
I still think about those sad, sunburned tomato seedlings from my early gardening days. These days, my plants transition outside looking strong and ready, and it makes all the difference come harvest time.
So be patient, keep an eye on the weather, and watch your seedlings closely. Before long, you’ll have sturdy little plants ready to put down roots in their forever home.
Visit the Garden Resources page for supplies and inspiration. Don’t forget to subscribe to the Calendula’s Garden Newsletter for more gardening tips.
Calendula’s Garden is reader supported. When you buy through links on our site, we may earn an affiliate commission. As an Amazon Associate, I earn from qualifying purchases. For more information, view our Disclaimer page. Thank you!