How to Make a Homemade Wood Polish (Nontoxic & Easy)
Calendula's Garden is reader suported This post may contain affiliate links, more on our Disclaimer page. Thank you!
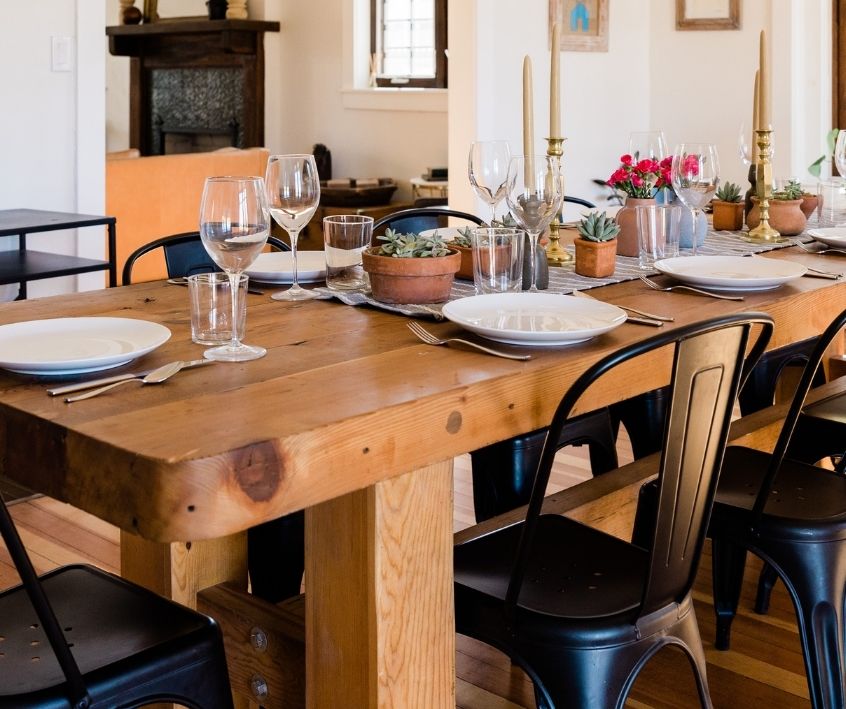
Every home has at least one piece of wood that deserves a little love. Maybe it’s the dining table that’s hosted a thousand dinners, or the old wooden bowl your grandmother handed down.
Over time, that wood starts to look thirsty. The color fades, little scratches show, and the warm glow you once loved goes flat. I felt it the first time I picked up my favorite cutting board and realized it had gone dry and gray.
Sound like a piece in your home too? You’re in good company, friend. Here’s the good news. You don’t need a can of mystery spray to bring that warmth back.
Here’s what you’ll learn:
- Why making your own wood polish beats the store-bought cans
- A budget friendly recipe with ingredients you already own
- Step by step instructions and tips for every wood piece in your home
Why Skip the Store-Bought Wood Polish?
Have you ever sprayed a commercial polish and felt your nose wrinkle at that heavy, perfumed cloud? Most of those cans are loaded with silicone, petroleum solvents, and synthetic fragrances.
They give a quick shine, sure, but that gloss often sits on top of the wood instead of feeding it. Over time, the buildup attracts dust and dulls the very surface you’re trying to protect.
Those aerosol fumes aren’t kind to your lungs either, and they leave behind a residue you’d rather not have near where your family eats and gathers. Some even contain ingredients you really don’t want touching a bowl or cutting board.
Making your own gives you genuine nourishment with none of the worry. This is nontoxic cleaning at its gentlest, and it’s wonderfully budget friendly too. The ingredients cost just pennies, and you likely have them tucked in your pantry already.
There’s also a quiet joy in mixing your own DIY cleaning products recipes. Much like tending a garden bed, it feels honest and grounding. You know exactly what’s touching your treasured pieces, because you put it there yourself.
The Recipe
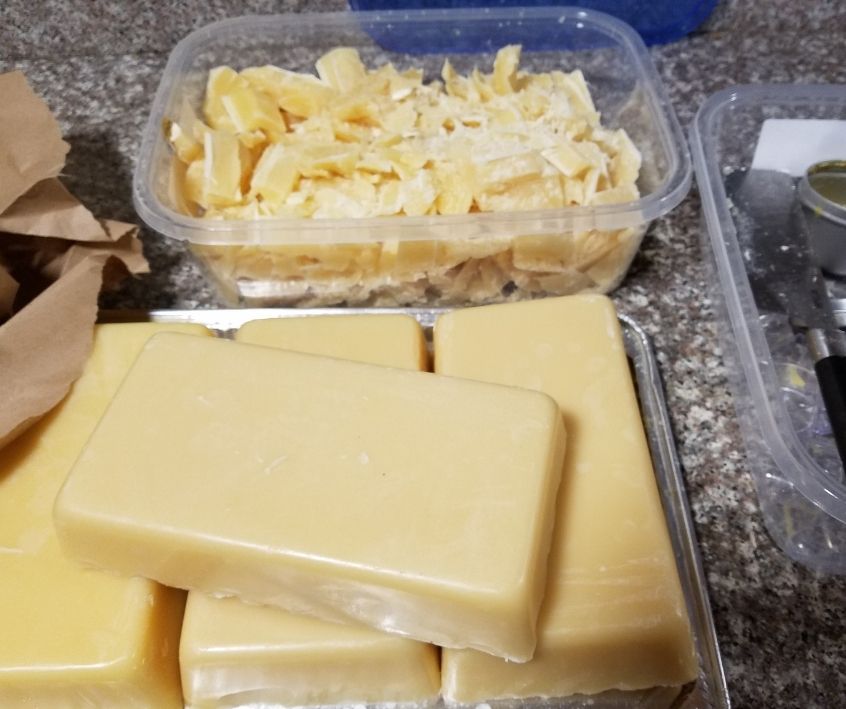
This homemade wood polish comes together in about two minutes. Beeswax seals and protects, oil feeds the wood deep down, and a little vinegar lifts away grime and old residue. Together, they leave a soft, lasting glow.
You’ll need:
- 1/4 cup olive oil, jojoba oil, or fractionated coconut oil
- 1 tablespoon beeswax pellets (or a small chunk of grated beeswax)
- 1 tablespoon white vinegar, optional, for extra cleaning power
- 10 drops essential oil, optional (lemon, orange, or cedar smell wonderful)
- A small heatproof jar or tin with a lid
That’s the whole list. No silicone, no solvents, no eye-watering fumes.
For a quick, pour-and-go liquid version, skip the beeswax and simply shake the oil and vinegar together in a small jar.
Step by Step Instructions
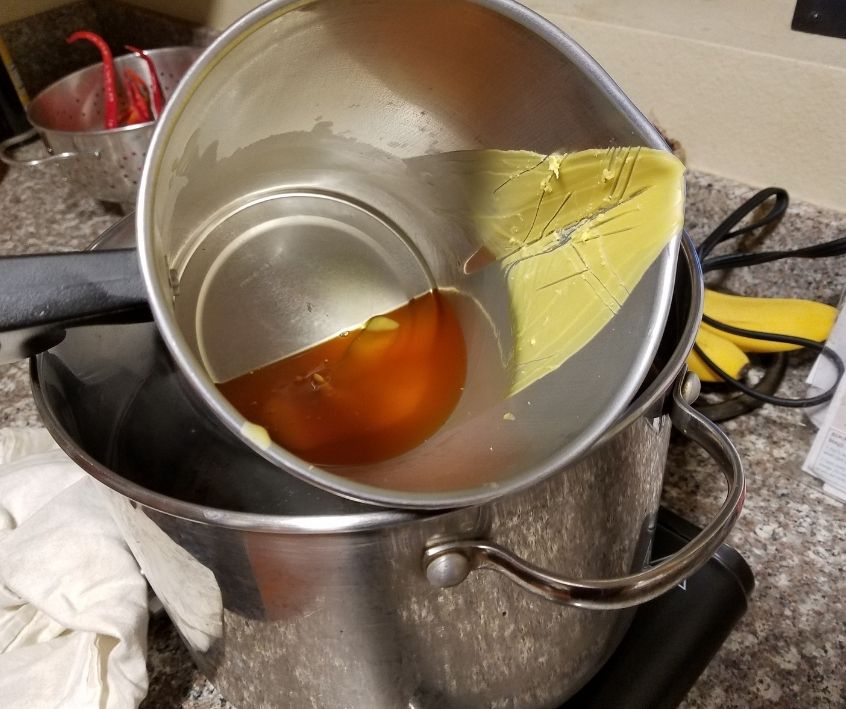
Here’s how to put it all together, step by step:
- Melt the beeswax and oil. Add both to a heatproof jar and set it in a small pot of simmering water, like a gentle double boiler. Stir now and then until the wax fully melts into the oil. Take your time here, since low and slow keeps everything smooth.
- Remove from the heat. Lift the jar out carefully and set it on a towel to cool for a minute. It’ll start to thicken as it sits.
- Stir in the vinegar and essential oils. Add them while the mixture is still a warm but not hot and liquid. For the best result the vinegar first then your essential oils. Stir well to blend. The vinegar lifts old grime, while the oils add a fresh, natural scent.
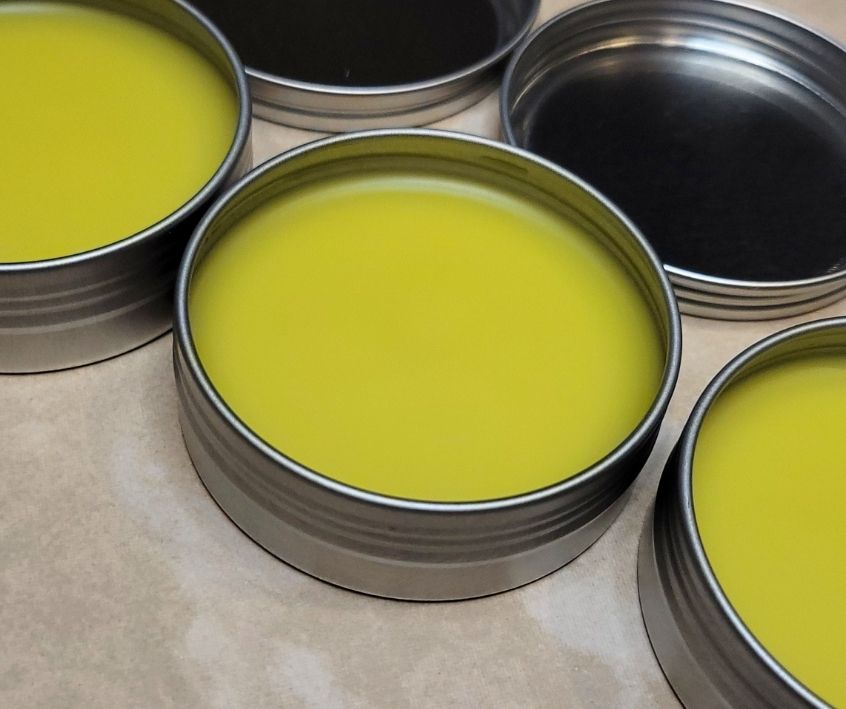
- Let it set. Cover the jar loosely and let the polish cool until it firms into a soft, spreadable paste. This usually takes an hour or so.
- Seal and label. Pop the lid on and label your jar clearly so everyone knows what’s inside. Trust me, future-you will be grateful.
To use, scoop a small amount onto a soft, lint-free cloth. Made fresh, this paste polish keeps for several months in a cool spot.
If you have left over beeswax and want to try a few more interesting crafts browse, Beeswax Alchemy: How to Make Your Own Soap, Candles, Balms, Creams, and Salves from the Hive and Beehive Alchemy: Projects and recipes using honey, beeswax, propolis, and pollen to make soap, candles, creams, salves, and more for more inspiration.
Tips for Using It on Different Surfaces
This polish is a true multitasker, and these tips will help you get a beautiful finish on every piece:
Tables, Dressers, and Cabinets
Dab a little polish onto your cloth, never directly onto the wood. Work it in along the grain, then buff with a dry cloth for a soft shine. A thin layer goes a long way and avoids that tacky feel.
Chairs, Trim, and Carved Details
Wonderful for reviving spindles and grooves. An old soft toothbrush helps you work polish into the carved bits, one of my favorite deep cleaning hacks for fussy antique pieces.
Cutting Boards and Wooden Bowls
Skip the vinegar and essential oils for anything that touches food. A simple beeswax-and-food-safe-oil blend conditions these pieces beautifully and keeps them from cracking.
Wood Floors and Larger Pieces
For big surfaces, the liquid version is easier to spread. Work in small sections and buff as you go so nothing dries unevenly.
One gentle word of caution: always test a small, hidden spot first, especially on antiques or unfinished wood. And go light. A little truly goes a long way, and too much polish can feel sticky rather than smooth.
In short: match the recipe to the piece, work along the grain, and buff well for a glow that lasts.
A Few Extra Ideas
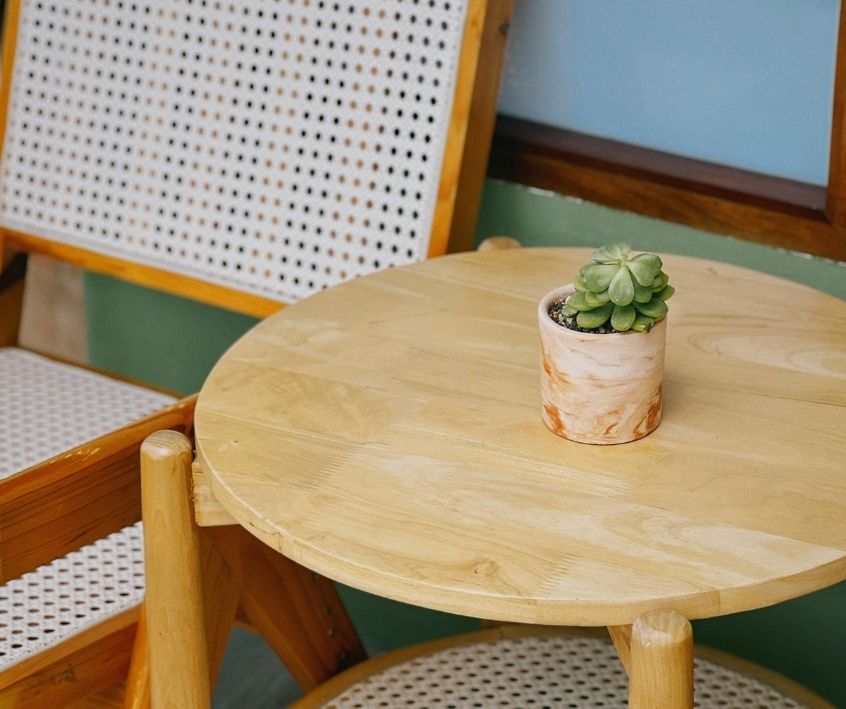
Once you’ve made your first batch, you’ll start finding your own rhythm. For very dry or thirsty wood, warm the paste slightly between your hands before applying. The gentle heat helps it sink in deeper and revive that parched grain.
You can also switch up your essential oils with the seasons. Crisp lemon feels bright in spring, while warm cedar and a whisper of clove bring cozy comfort in the cooler months.
Looking for more ideas? Keep a small tin tucked near your most-used pieces so a quick monthly touch-up becomes second nature.
For an inexpensive habit that protects wood between polishes, dust with a barely damp cloth rather than a dry one. It catches dust instead of scattering it, and your wood stays happier longer.
One of the best cleaning hacks I’ve leaned on for years is simply giving treasured pieces a little regular attention, much like watering a favorite plant.
Key Takeaways
- A homemade wood polish is nontoxic, budget friendly, and ready in about two minutes.
- Beeswax, oil, and a splash of vinegar nourish and protect without silicone or solvents.
- Apply to a cloth, work along the grain, and buff for a soft, lasting shine.
- Skip vinegar and oils on anything food-related, and test hidden spots on antiques first.
You’ve Got This
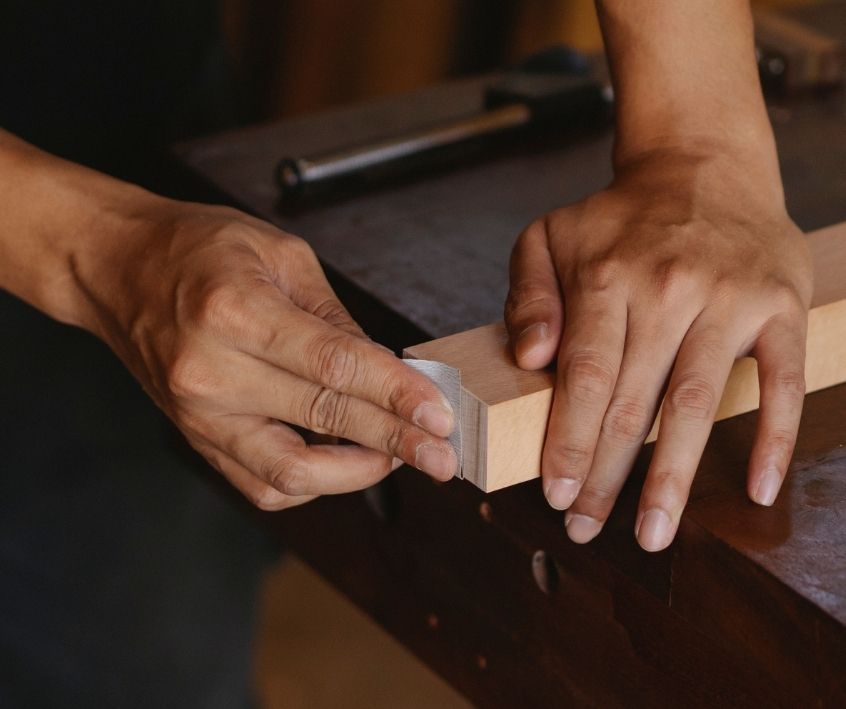
See? Making your own wood polish is far simpler than you imagined, and now you’ve got a nourishing, inexpensive helper ready to bring out the best in every wood piece you own.
Scoop, buff, and let these honest ingredients do their quiet work. Give it a try this week, and notice how good it feels to revive your favorite table without the harsh fumes.
Visit the Garden Resources page for supplies and inspiration. Don’t forget to subscribe to the Calendula’s Garden Newsletter for more gardening tips.
Calendula’s Garden is reader supported. When you buy through links on our site, we may earn an affiliate commission. As an Amazon Associate, I earn from qualifying purchases. For more information, view our Disclaimer page. Thank you!