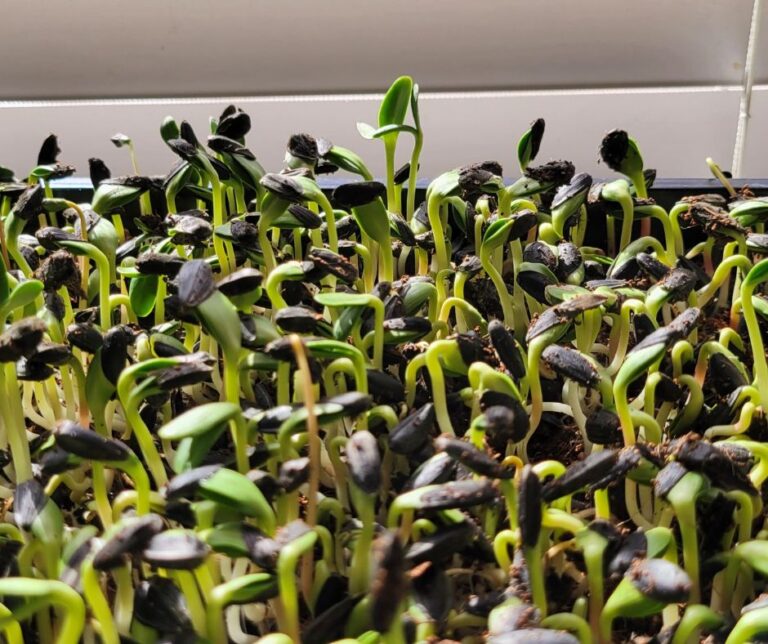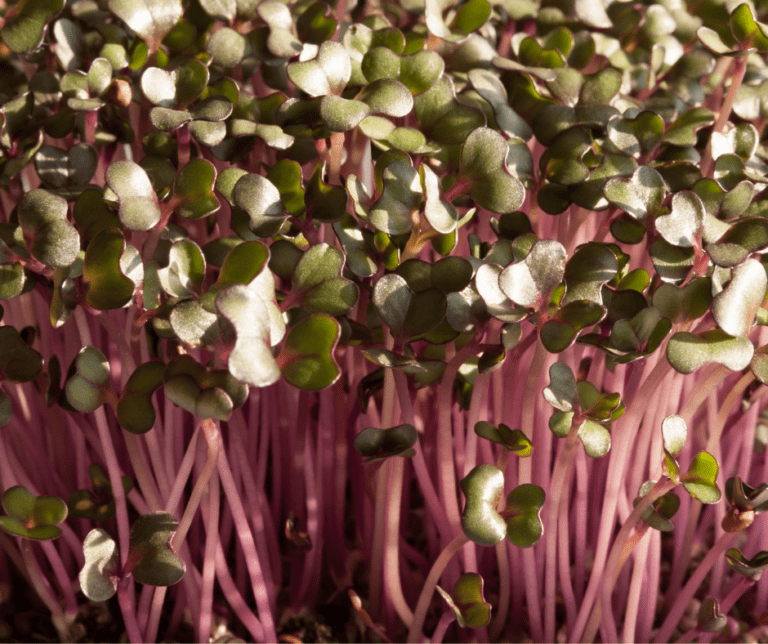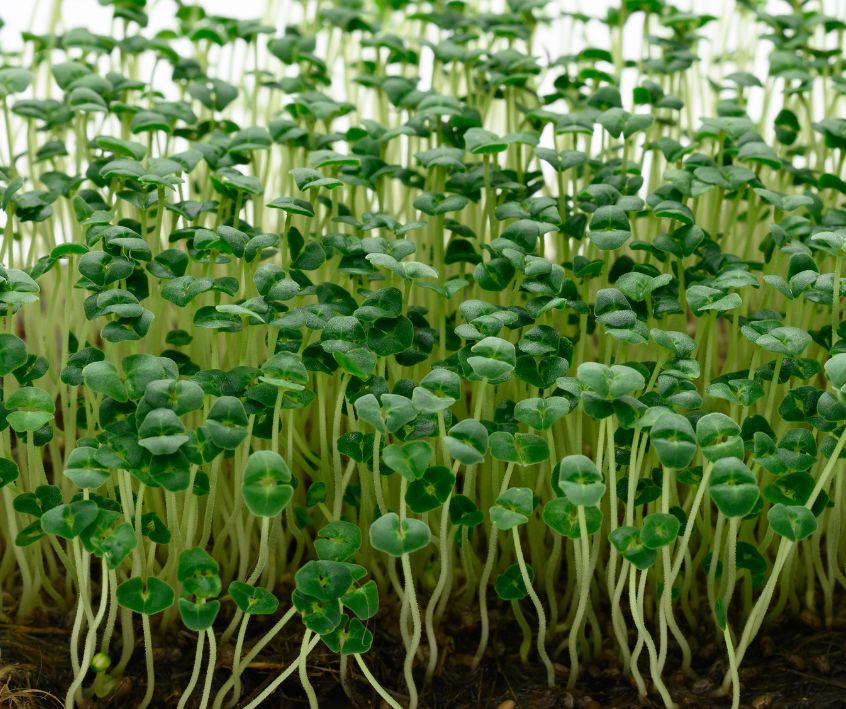
Grow Chia Microgreens in Your Indoor Garden
Calendula's Garden is reader suported This post may contain affiliate links, more on our Disclaimer page. Thank you!
You do not need a sprawling backyard or a greenhouse to cultivate a thriving garden. If you have a sunny windowsill and a few spare minutes a day, you possess everything necessary to grow fresh, nutritious food right inside your home.
Starting an indoor garden can feel a bit overwhelming, especially if you are working with limited space or have struggled to keep houseplants alive in the past.
That is exactly why microgreens are the perfect starting point. These tiny plants grow incredibly fast, require very little room, and forgive many common beginner mistakes.
Among all the options available, chia seeds stand out as a fantastic choice for your first indoor harvest. They are affordable, accessible, and pack a serious nutritional punch.
By the end of this guide, you will know exactly how to plant, tend, and harvest your own crop of chia microgreens, whether you prefer using traditional soil or a simple hydroponic setup.
What Are Microgreens, Anyway?
Microgreens are simply the young seedlings of edible vegetables and herbs. They fall somewhere between a sprout and a baby green.
While sprouts are germinated in water and eaten whole (seed, root, and stem), microgreens are grown in a medium, like soil or a fibrous mat, and harvested just above the root line once their first set of true leaves appears.
Because they are harvested so early in their growth cycle, microgreens are incredibly tender and bursting with concentrated flavor.
They also boast a much higher nutrient density than their fully mature counterparts. You get all the benefits of a full-grown plant packed into a vibrant, bite-sized stem.
Why Chia? The Nutritional Powerhouse in a Tiny Package
You might already know chia seeds from smoothie bowls or overnight oats, but allowing them to sprout into microgreens unlocks a whole new level of nutrition.
Chia microgreens are loaded with vitamins, minerals, and antioxidants.
They provide an excellent plant-based source of Omega-3 fatty acids, which support heart health and brain function. You will also find a healthy dose of calcium, magnesium, and protein in these tiny greens.
Beyond their nutritional profile, chia microgreens have a mild, slightly tangy flavor that pairs beautifully with almost any dish.
They grow quickly, often ready to harvest in just one to two weeks, making them a highly rewarding project for eager beginner gardeners.
Getting Started: What You’ll Need
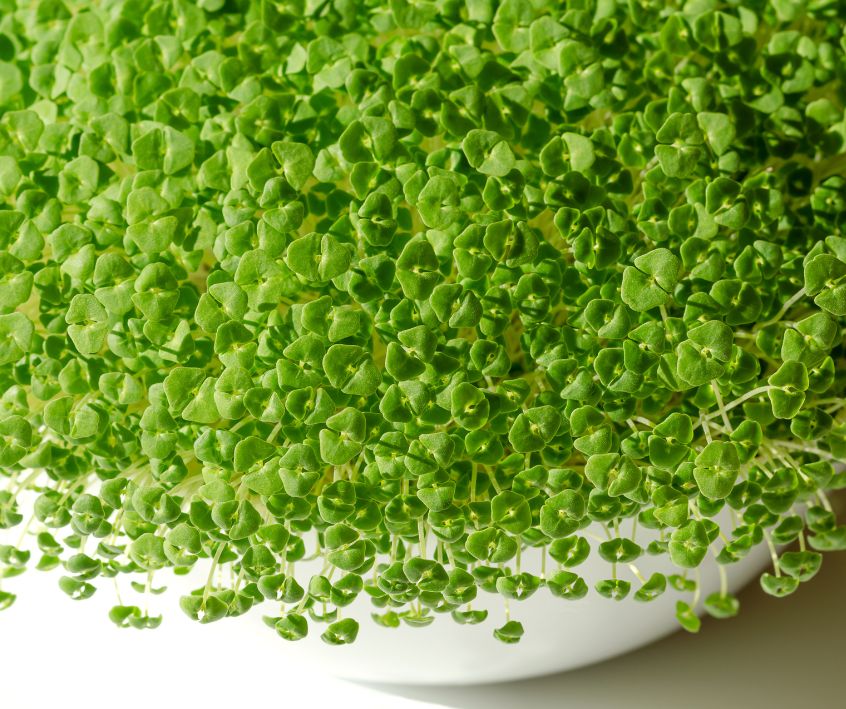
Setting up your indoor garden requires minimal investment. Here is a simple checklist of supplies to gather before you begin:
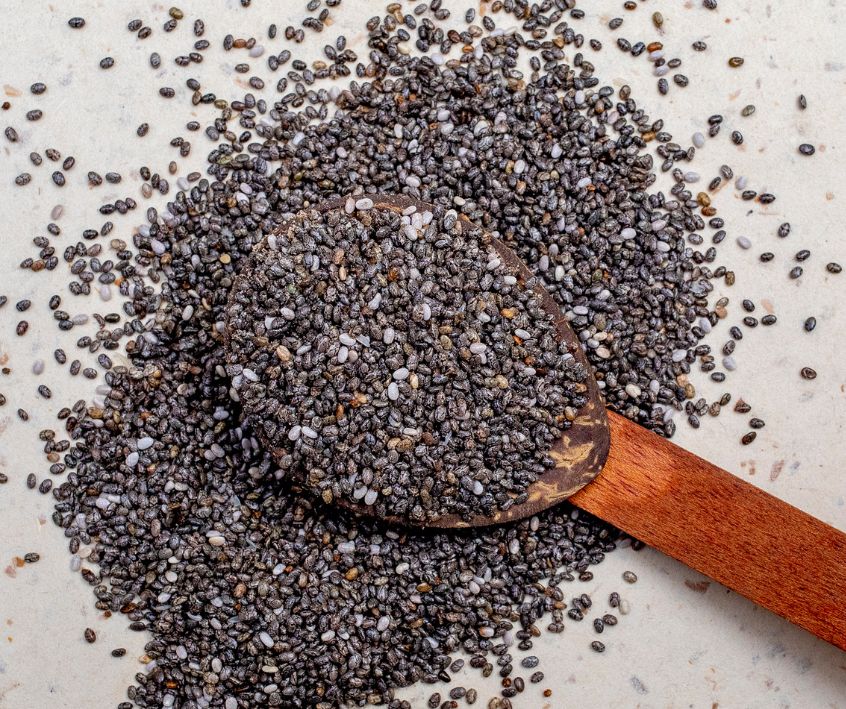
Chia seeds: Look for raw, organic, and untreated chia seeds. The ones from your local grocery store will usually work perfectly.
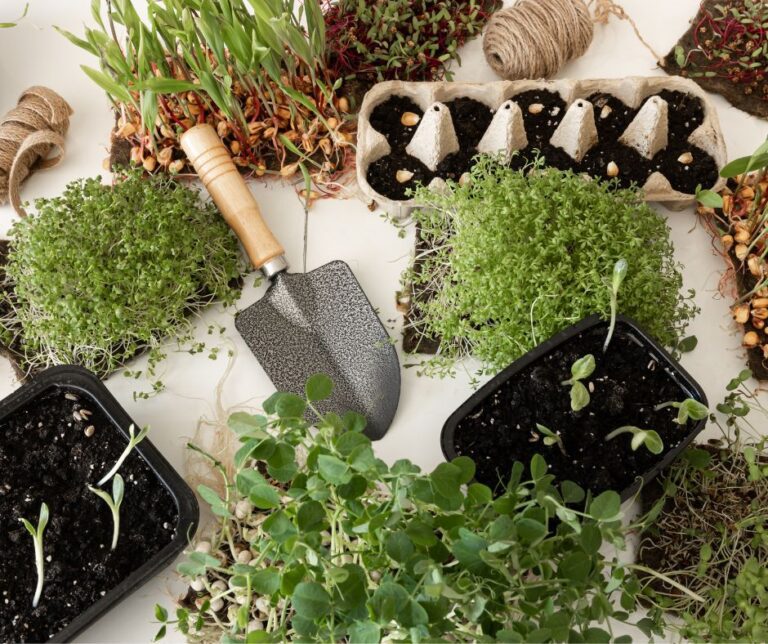
Growing trays: You need two shallow trays. One should have drainage holes for planting, and a solid tray will act as a drip pan underneath. Clean takeout containers with poked holes work wonderfully for small spaces!
Spray bottle: A gentle misting bottle is crucial. Pouring water directly onto fragile seeds can wash them away.
Light source: A bright, south-facing window is ideal. If natural light is limited, a small LED grow light will do the trick.
Growing medium: You will need either a high-quality potting soil or a hydroponic grow mat, depending on the method you choose.
Method 1: Growing Chia Microgreens in Soil
Growing in soil is a fantastic way to start because it provides a steady supply of nutrients and retains moisture well. It feels like traditional gardening on a miniature scale.
Step-by-Step Soil Guide
Prepare the tray
Fill your growing tray with about an inch of moistened potting soil. Gently pat it down to create a smooth, even surface. You want the soil to be damp to the touch, but not soaking wet or muddy.
Sow the seeds
Sprinkle your chia seeds evenly across the surface of the soil. Aim for a dense layer, but avoid overlapping the seeds too much. A good rule of thumb is about one tablespoon of seeds for a standard 5×5 inch tray.
Mist and cover
Lightly mist the seeds with your spray bottle. Place an empty, solid tray directly on top of the seeds.
This creates a “blackout period,” simulating the dark environment seeds experience underground. It encourages the seeds to germinate and stretch upwards looking for light.
Water daily
Check your seeds every day. Mist them lightly to keep the soil surface moist. After about three to four days, the seeds will sprout and push the top tray up.
Provide light
Once the seedlings are about an inch tall and pale yellow, remove the top tray. Move your setup to a sunny windowsill or under a grow light.
The leaves will quickly turn a vibrant, healthy green as they soak up the light. Bottom water the tray moving forward by pouring water into the bottom drip pan, allowing the soil to soak it up through the drainage holes.
Troubleshooting Common Soil-Based Issues
If you notice your microgreens falling over and looking mushy at the base, you might be dealing with “damping off.”
This is a fungal issue caused by overwatering and poor airflow. To prevent this, ensure you switch to bottom-watering once the seeds sprout, and keep a small fan nearby to keep the air circulating in your growing area.
Method 2: Growing Chia Microgreens Hydroponically (No Soil, No Problem!)
If you want to avoid the mess of soil entirely, hydroponics is a clean, efficient alternative. Chia seeds have a unique characteristic: they are mucilaginous.
When they get wet, they form a gel-like casing. This can make hydroponic growing slightly tricky if they sit in too much water, but using the right mat makes it simple.
Step-by-Step Hydroponic Guide
Prep the growing mat
Choose a hydroponic mat made of hemp, jute, or coconut coir. Cut it to fit your tray and soak it in water until completely saturated. Place it in the tray and pour off any excess pooling water.
Sow the seeds
Sprinkle the chia seeds evenly across the damp mat. Because chia forms a gel when wet, you do not need to mist them as heavily as you would with other seeds.
The blackout phase
Just like the soil method, cover the tray to block out the light for the first three to four days. The humidity trapped inside will be enough to germinate the mucilaginous seeds.
Introduce light
Once they have sprouted and stand about an inch tall, remove the cover. Place the tray in a well-lit area.
Water carefully
Lift the edge of the mat and pour a small amount of water directly into the bottom of the tray. The mat will wick the moisture up to the roots. Never pour water directly over the delicate leaves.
Troubleshooting Common Hydroponic Issues
Because chia seeds form that gelatinous layer, they are prone to rotting if completely submerged.
If your seeds smell sour or fail to sprout, your mat is likely too wet. Start over, making sure to drain all standing water from the tray before sprinkling your seeds on the damp mat.
Harvesting Your Chia Microgreens
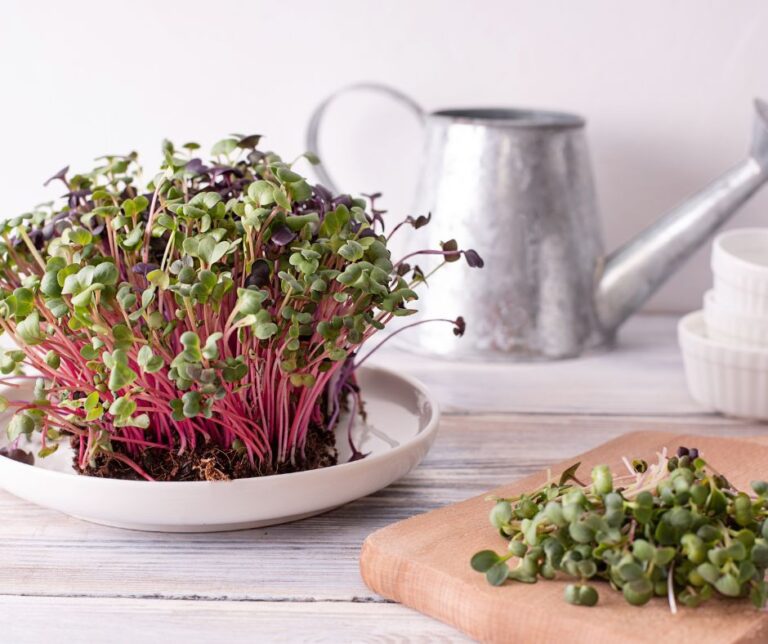
Around day 10 to 14, your chia microgreens will stand about two inches tall with a set of bright, open leaves. This is the perfect time to harvest.
Take a clean pair of kitchen scissors and snip the greens just above the soil line or growing mat. Try to harvest only what you plan to eat that day, as microgreens begin to lose their nutritional value shortly after cutting.
If you need to harvest the entire tray at once, do not wash the greens until right before you eat them, as excess moisture speeds up decay.
How to Enjoy Your Chia Microgreens: Beyond the Salad Bowl
You have successfully grown your first indoor crop! Now comes the best part: eating them. Chia microgreens have a subtle, slightly earthy flavor that complements a huge variety of meals.
Creative Recipes and Snack Ideas
Elevated avocado toast
Mash half an avocado onto a piece of whole-grain toast, sprinkle with sea salt and red pepper flakes. Squeeze half a lemon over the avocado mix. Pile a generous handful of chia microgreens on top for a satisfying crunch.
Smoothie boosters
Toss a small handful of greens into your morning fruit smoothie. They blend seamlessly, adding vitamins without altering the sweet taste of your drink.
Gourmet garnishes
Sprinkle them over warm bowls of soup, roasted vegetables, or scrambled eggs right before serving to add a pop of color and a fresh texture.
Storage Tips to Keep Them Fresh
If you harvest more than you can eat, place the unwashed greens loosely in a glass container or a reusable silicone bag.
Tuck a dry paper towel in with them to absorb any excess moisture, and store them in the crisper drawer of your refrigerator. They will usually stay crisp for up to a week.
Troubleshooting Your Microgreen Journey: Common Questions & Solutions
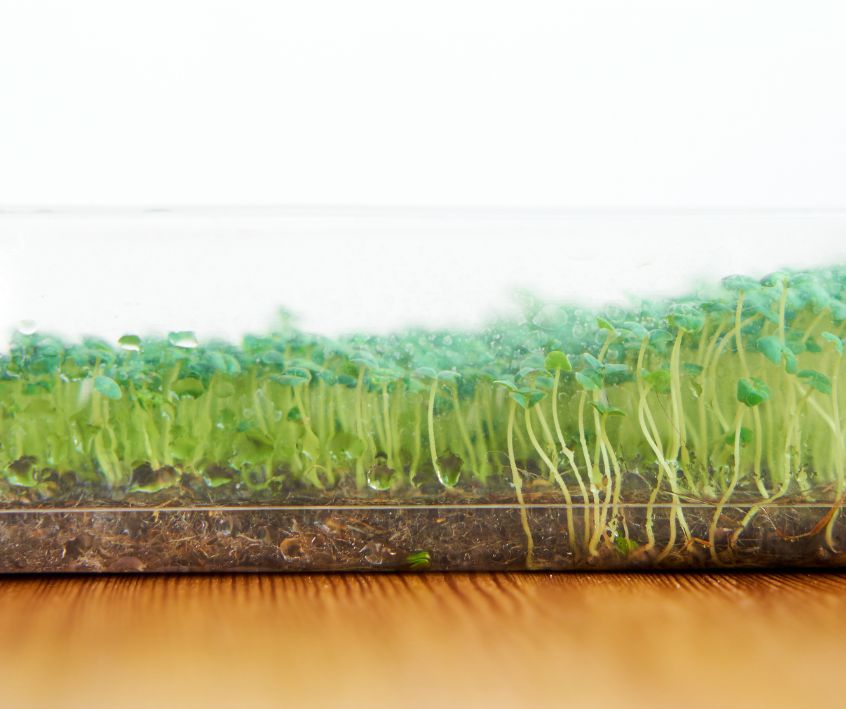
Why does white fuzz keep growing on my seeds?
Beginners often mistake root hairs for mold. Root hairs are tiny, white, fuzzy structures that shoot out from the main root to absorb water.
They are completely natural and healthy. Mold, on the other hand, looks like a web stretching between multiple seeds and often carries a musty odor.
If you suspect mold, decrease your watering frequency and improve the air circulation in the room.
Why are my microgreens growing unevenly?
If one side of your tray is tall and the other is short, your plants are likely leaning toward the light source.
Rotate your tray 180 degrees every day to ensure even, straight growth. Uneven growth can also result from scattering the seeds too heavily in one specific spot.
Can I regrow chia microgreens after harvesting?
Unlike some herbs that grow back after a trim, microgreens expend all their seed energy to produce that first shoot.
Once you cut them, the root will die. You will need to compost the leftover soil or mat and start fresh with a new batch of seeds.
Your Indoor Garden Adventure Begins!
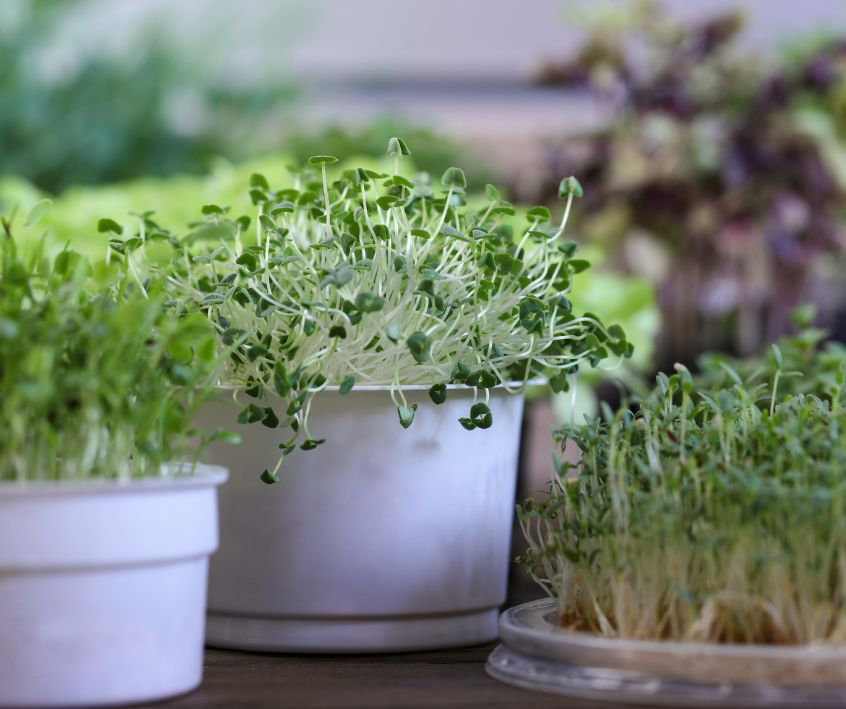
Growing chia microgreens at home is a highly rewarding way to dip your toes into the world of gardening.
It requires very little space, utilizes tools you likely already have around the house, and yields a delicious, nutrient-dense crop in a matter of days.
Take a moment to appreciate the small slice of nature you have cultivated on your countertop.
Once you experience the satisfaction of harvesting your own fresh greens, you will likely find yourself eyeing other seeds to try. Grab a tray, spread some soil, and enjoy the process of watching your indoor garden come to life!
Visit the Garden Resources page for supplies and inspiration. Don’t forget to subscribe to the Calendula’s Garden Newsletter for more gardening tips.
Calendula’s Garden is reader supported. When you buy through links on our site, we may earn an affiliate commission. As an Amazon Associate, I earn from qualifying purchases. For more information, view our Disclaimer page. Thank you!