Turning Vintage Treasures Into Custom Candles
Calendula's Garden is reader suported This post may contain affiliate links, more on our Disclaimer page. Thank you!
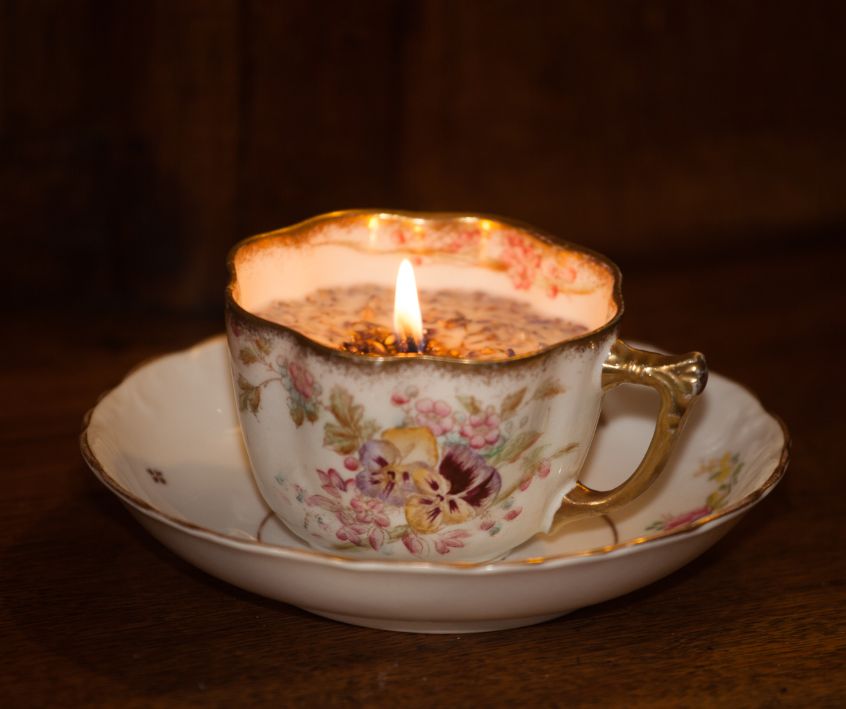
There is a specific thrill that comes from wandering the aisles of a thrift store or flea market. You spot a delicate floral teacup, a heavy amber glass tumbler, or a tarnished silver bowl.
It’s beautiful, but you don’t necessarily need another cup for your tea. You buy it anyway, knowing it has potential.
Turning these vintage finds into hand-poured candles is the perfect way to justify those impulse purchases. It breathes new life into forgotten objects, transforming them into functional pieces of art that add warmth and character to your home.
Beyond the aesthetic appeal, making your own candles gives you total control over the ingredients. You decide the wax blend, the wick type, and, most importantly, the fragrance profile.
This project merges sustainability with style. Instead of buying mass-produced glass jars that eventually end up in the recycling bin (or the trash), you are upcycling durable goods into something entirely new.
It is a satisfying creative process that results in bespoke decor or genuinely thoughtful gifts. If you are ready to turn that dusty collection of ceramic bowls into a glowing centerpiece, here is everything you need to know.
Gathering Your Candle Making Toolkit
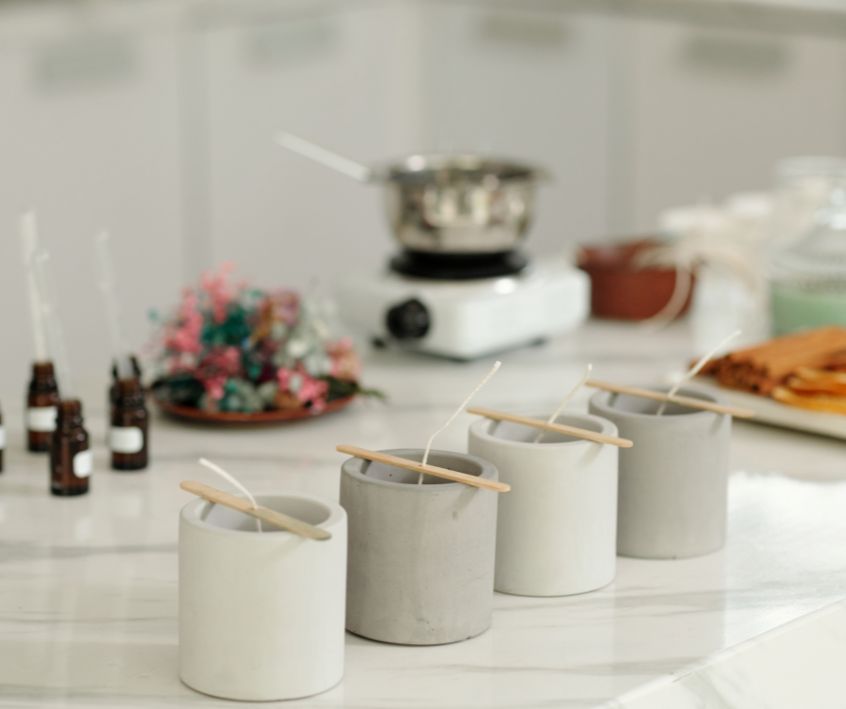
Before you start melting wax, you need the right tools. While professional candle makers have extensive setups, you can start with a basic kit and expand later. Here is what you need to get started.
The Essentials
Wax: Soy wax is the gold standard for beginners. It melts at a lower temperature, cleans up easily with soap and water, and burns slowly and cleanly. American Soy Organics Freedom Soy Wax Beads for Candle Making
Wicks: You have two main choices: cotton or wood. Cotton wicks are traditional and reliable. Wood wicks crackle softly like a fireplace, adding an auditory element to your candle. Ensure the wick size matches the diameter of your vessel to prevent tunneling.
Fragrance Oils: Look for oils specifically designed for candle making. Essential oils can be used, but they often have a lighter “hot throw” (the scent released when burning) compared to formulated fragrance oils. VINEVIDA [Set of 8] Clean Scents for Candle Making are vegan, free of phthalates, parabens, and other potentially dangerous chemicals.
Wick Stickers or Glue Dots: To secure the wick to the bottom of the vessel. 160 PCS Candle Wick Stickers, Double-Sided Heat Resistant
Melting Pot or Pouring Pitcher: I use both, a small slow cooker and a metal pitcher. I use a large ladle to transfer the melted wax to the metal pitcher. A melting pot with a spout is ideal, but can be expensive. Candle Wax Melting Pot with Spout
Double Boiler Setup: You don’t need a fancy machine. A large pot filled with an inch or two of water, with your pouring pitcher sitting inside, works perfectly. DINGPAI Candle Making Pouring Pot, 44oz
Kitchen Scale: Figuring out the wax to fragrance oil ratio is easier by weight, and you will see ounces or pounds used in many craft books. Amazon Basics Digital Kitchen Scale with LCD Display
Thermometer: Crucial for knowing when to add scent and when to pour. A digital meat thermometer or candy thermometer works fine. Digital Infrared Thermometer Gun
Stirring Utensil: A metal spoon or silicone spatula. Baosity Stainless Steel Long Handled Mixing Spoon
Wick Bar or Clothespin: To keep the wick centered while the wax hardens. 20pcs Metal Candle Wick Bars
The Vessel
This is where the upcycling comes in. Look for containers that are non-porous and heat-resistant. Good candidates include:
- Vintage teacups and saucers.
- Crystal candy dishes.
- Ceramic stoneware bowls.
- Enamel mugs.
- Heavy glass tumblers.
Safety Note: Avoid thin glass (like wine glasses) or unglazed pottery, as they may crack under heat or absorb the wax.
From Vintage Find to Finished Candle
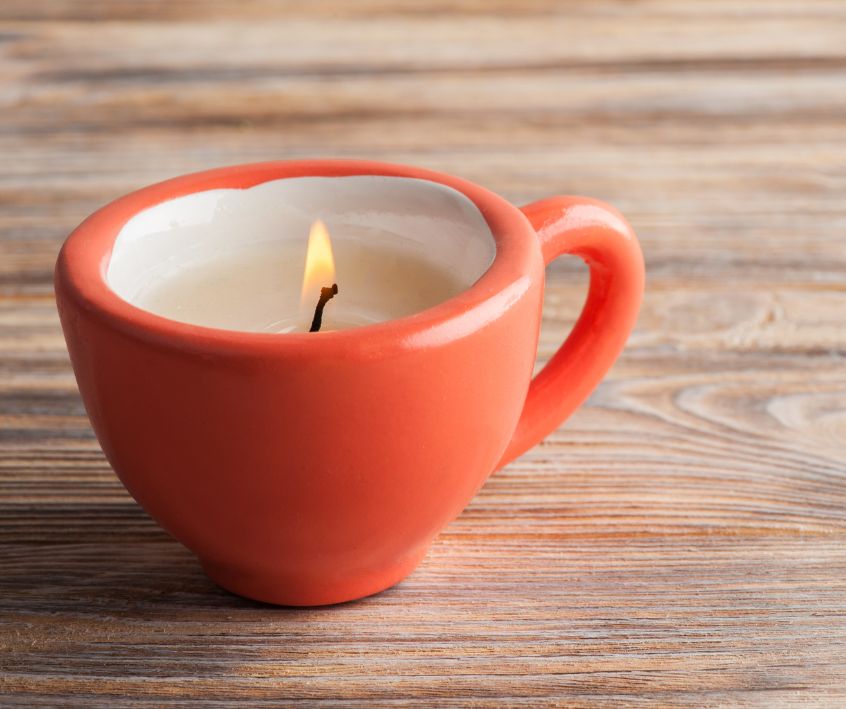
Once you have your materials, the process is straightforward. It requires patience and attention to temperature, but the steps are simple to master.
1. Prep Your Vessel
Clean your vintage container thoroughly with warm, soapy water. Ensure it is completely dry before proceeding. Any moisture can cause the wax to sputter while burning. Peel the backing off your wick sticker, attach it to the metal base of your wick, and press it firmly into the center of the container.
2. Measure and Melt
A good rule of thumb is that two cups of solid wax flakes will yield approximately one cup of melted wax.
Measure out the amount needed for your vessel. Place the wax in your pouring pitcher and set it into your double boiler pot on the stove. Heat the water to a gentle simmer.
Keep an eye on the thermometer. You want the soy wax to reach around 185°F (85°C). This ensures it is hot enough to bind with the fragrance oil but not so hot that it discolors.
3. Add the Scent
Once the wax hits 185°F, remove the pitcher from the heat. This is the critical moment for adding fragrance. Pour in your fragrance oil, usually about 1 ounce of oil per pound of wax, though check your specific wax’s instructions. Stir gently but thoroughly for two minutes. This ensures the oil is evenly distributed throughout the wax.
4. The Pour
Let the wax cool slightly to around 135°F (57°C). Pouring at a cooler temperature helps produce a smooth, flat top and reduces the chance of “frosting” (white crystal formations on the wax). Pour slowly into your prepared vessel, leaving about a half-inch of space at the top.
5. Secure and Cure
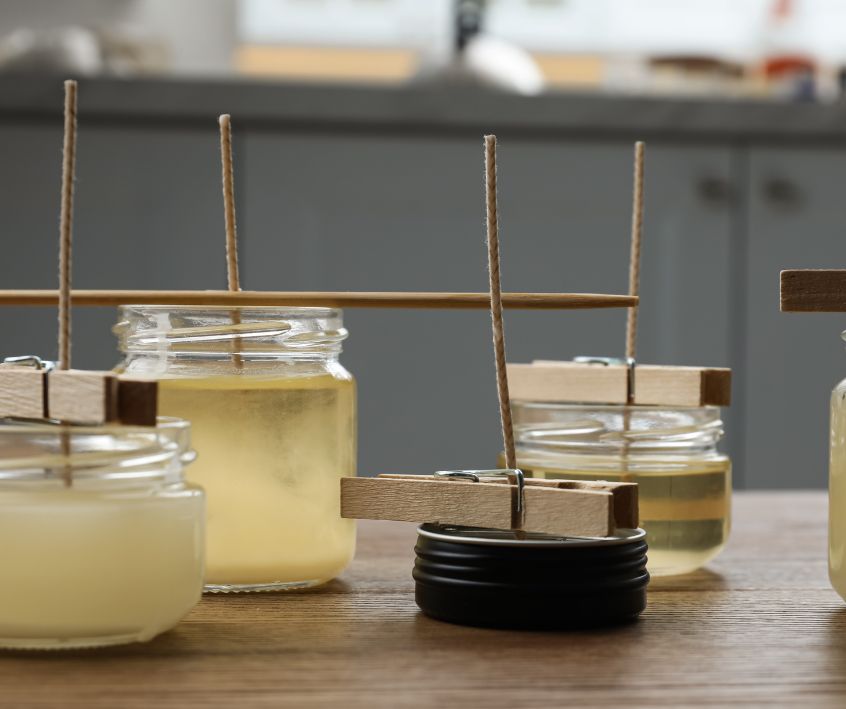
The wick will likely lean to one side after pouring. Straighten it out and secure it in place using a wick bar, a pencil, or a clothespin resting across the top of the container.
Now, the hardest part: waiting. Let the candle sit undisturbed for at least 24 hours to harden. For the best scent throw, let soy candles cure for one to two weeks before lighting them. Before the first burn, trim the wick to about 1/4 inch.
Styling Your Handmade Creations
You have poured beautiful candles into unique vessels. Now it is time to display them. Because your containers are vintage, they already have a built-in aesthetic appeal that standard glass jars lack.
Create a Centerpiece Vignette
Instead of placing a single candle in the middle of a table, group them. Use an odd number of items, such as three or five, to create visual interest. Pair a low, wide ceramic candle bowl with a taller brass candlestick and a small vase of dried flowers. The variation in height and texture keeps the eye moving.
Play with Trays
Corral your decor using a tray. A mirrored vanity tray works beautifully with crystal candle vessels, reflecting the flickering light and doubling the glow. For rustic stoneware candles, a wooden dough bowl or a slate cheeseboard makes an excellent base.
Book Stack
Stack two or three coffee table books and place your candle on top. This elevates the candle literally and figuratively, giving it more prominence in the room. Just ensure the candle is on a stable heat resistant surface and isn’t close to any overhanging shelves.
Scent Pairing: Setting the Mood for Every Room
The vessel creates the visual vibe, but the scent sets the atmosphere. When choosing fragrances for your DIY candles, consider the function of the room where they will live.
The Kitchen: Fresh and Zesty
Kitchens are full of competing smells, cooking garlic, brewing coffee, and leftover dinner. You want a scent that cuts through odors rather than adding a heavy layer on top.
- Go-to Scents: Lemon verbena, grapefruit, basil, rosemary, or crisp apple.
- Why: Citrus and herbal notes smell clean and bright. They neutralize heavy food odors and make the space feel sanitized and airy.
The Bedroom: Soft and Soothing
This is your sanctuary for rest. Avoid sharp or overly energetic scents that might keep you alert.
- Go-to Scents: Lavender, chamomile, vanilla bean, sandalwood, or jasmine.
- Why: Lavender is proven to lower heart rate and blood pressure. Warm, woody, and floral scents promote relaxation and prepare the brain for sleep.
The Living Room: Warm and Inviting
This is a communal space where you want guests to feel comfortable. The scent should be pleasant but not overwhelming.
- Go-to Scents: Cedarwood, amber, fig, cinnamon, or warm linen.
- Why: Earthy and spicy notes create a “cozy” feeling, often referred to as hygge. These scents are complex and sophisticated, perfect for evening relaxation or entertaining.
The Bathroom: Spa-Like Serenity
In the bathroom, the goal is usually to mimic the feeling of a high-end spa or to maintain a sense of cleanliness.
- Go-to Scents: Eucalyptus, peppermint, sea salt, or bamboo.
- Why: Eucalyptus and mint open the sinuses and pair well with steam from a hot shower. Aquatic and green scents feel fresh and restorative.
The Joy of Sustainable Decor
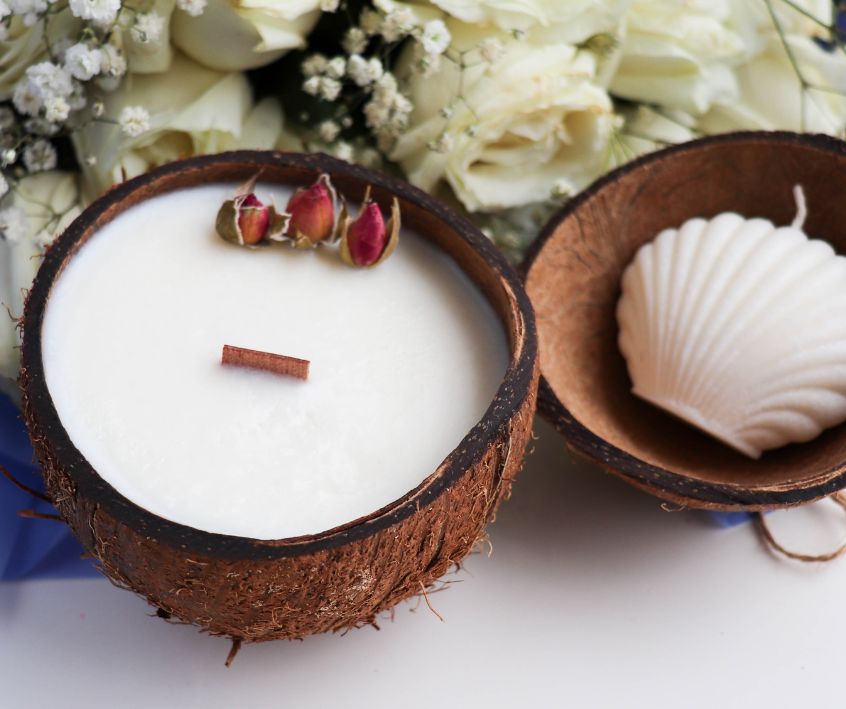
Creating your own candles is a small rebellion against the disposable nature of modern home goods. When your handmade candle eventually burns down, the process begins again.
You can clean out the residual wax and pour a new scent, or simply wash the vessel and return it to the cupboard for its original purpose.
By upcycling vintage finds, you create a home that feels curated and personal. The imperfections in a piece of hand-thrown pottery or the tarnish on a silver cup tell a story that a factory made jar never could.
So, head to your local thrift shop, find a vessel that speaks to you, and start pouring. You might just find that the process of making the light is just as satisfying as enjoying the glow.
Visit the Garden Resources page for supplies and inspiration. Don’t forget to subscribe to the Calendula’s Garden Newsletter for more gardening tips.
Calendula’s Garden is reader supported. When you buy through links on our site, we may earn an affiliate commission. As an Amazon Associate, I earn from qualifying purchases. For more information, view our Disclaimer page. Thank you!