Easy Forest Garden Design Ideas for Small Spaces and Big Dreams
Calendula's Garden is reader suported This post may contain affiliate links, more on our Disclaimer page. Thank you!
I’ll never forget the first time I stopped to really look at a wild forest near my home in the PNW. Tall trees formed a natural canopy overhead, berry bushes filled in the middle, and low-growing herbs wove along the ground beneath them.
It looked like beautiful, productive chaos, and honestly, it changed the way I think about growing food.
That forest got me thinking. What if I could recreate that same kind of system right in my own backyard? That’s essentially what forest gardening is all about.
Unlike a traditional vegetable patch, where I used to spend whole weekends battling weeds and replanting from scratch every spring, a forest garden mimics the structure of a young natural woodland. The big idea?
Work with nature, not against it. By designing your garden in layers, from the tallest canopy trees all the way down to the roots underground, you create a living ecosystem that produces fruits, nuts, herbs, and vegetables year after year, with far less effort on your part over time.
If you’re just starting out and want to grow food that’s good for your family and the planet, I honestly think forest gardening is one of the best places to begin.
It’s how I found a way to “grow my health” while also turning my backyard into a little pollinator paradise, and you can do the same.
I won’t pretend it happens overnight, but with a solid plan, it’s far more achievable than it looks. So let me walk you through how to design a layout that works for you, your family, and the world right outside your door.
Understanding Your Site: The Foundation of Success
Before you buy a single fruit tree or packet of seeds, you need to put on your detective hat. A forest garden isn’t just placed on the land; it’s designed with the land.
Observing your site is the single most important step in the process.
Think of your garden like a new house guest. You wouldn’t offer them a bed without knowing if they sleep hot or cold, or if they’re allergic to down feathers. Similarly, you need to know what your plants will need to thrive.
Assessing the Soil
Healthy soil is the engine of your garden. You don’t need a degree in chemistry, but a basic understanding helps. Is your soil sandy and quick-draining? Or is it heavy clay that holds water like a sponge?
Grab a handful of moist soil and squeeze it. If it crumbles apart instantly, it’s sandy. If it forms a tight, sticky ball, you’re dealing with clay.
Most forest garden plants prefer loam, a happy medium, but don’t worry if your soil isn’t perfect. The beauty of forest gardening is that the organic matter (leaves and mulch) you add over time will naturally improve the soil structure.
Mapping the Sun and Shade
Sunlight is the currency of the plant world. Spend a few days observing where the sun rises and sets relative to your garden space.
- Sun Traps: Identify the south-facing areas (in the Northern Hemisphere) that get heat all day. These are perfect for your sun-loving fruit trees and heat-seeking herbs.
- Shade Pockets: Note where buildings or existing trees cast long shadows. These aren’t “dead zones”; they are opportunities for shade-tolerant crops like currants, leafy greens, or mushrooms.
Water Flow
Watch your garden during a heavy rainstorm. Where does the water pool? Where does it run off quickly?
Placing thirsty plants (like elderberries or willows) in naturally wet areas saves you the hassle of constant watering later.
You may need to install drip irrigation to get your plants started. These components work well for us:
Orbit B-hyve XD 4-Port Smart Hose Watering Timer
Rain Bird Drip Irrigation Landscape/Garden Watering Kit with Drippers, Micro-Bubblers, Micro-Sprays
Rain Bird Drip Irrigation Pressure Compensating 1/4″ Emitter Tubing, 6″ Emitter Spacing, 50 Roll
The Seven Layers of a Forest Garden
This is where the magic happens. In a standard veggie garden, we usually grow on one plane, the ground.
In a forest garden, we grow in 3D. By stacking plants vertically, you can grow significantly more food in the same amount of space.
Here are the seven classic layers you should aim to incorporate:
1. The Canopy (Tall Trees)
These are the giants of your garden. In a large space, this might be a pecan or moringa tree. In a smaller suburban backyard, a standard apple, mulberry, or pear tree might serve as your canopy. They provide the ceiling, the shade, and the most significant biomass.
2. The Low Tree Layer (Dwarf Fruit Trees)
Directly beneath or beside the canopy, tuck in smaller trees. Dwarf fruit trees are fantastic here. Think cherries, peaches, or plums on dwarf rootstock. They are easier to harvest from and fit perfectly into smaller modern gardens.
3. The Shrub Layer (Berries)
This is often the tastiest layer! Currants, gooseberries, blueberries, and hazelnuts thrive here. Many of these plants are naturally adapted to grow in the dappled shade of trees, making them perfect companions for your fruit trees.
4. The Herbaceous Layer (Perennials)
Here, we plant non-woody plants that come back every year. This includes culinary herbs like rosemary and sage, but also dynamic accumulators like comfrey (which mines nutrients from deep in the soil) and rhubarb.
5. The Groundcover Layer (Living Mulch)
Nature abhors bare soil. If you don’t plant something, weeds will move in. Beat them to it by planting spreading crops like strawberries, clover, or creeping thyme. These act as a “living mulch,” retaining moisture and suppressing unwanted weeds.
6. The Underground Layer (Roots)
Don’t forget what’s happening below the surface. Root crops like Jerusalem artichokes, garlic, or onions utilize the soil space without competing heavily for light.
7. The Vertical Layer (Climbers)
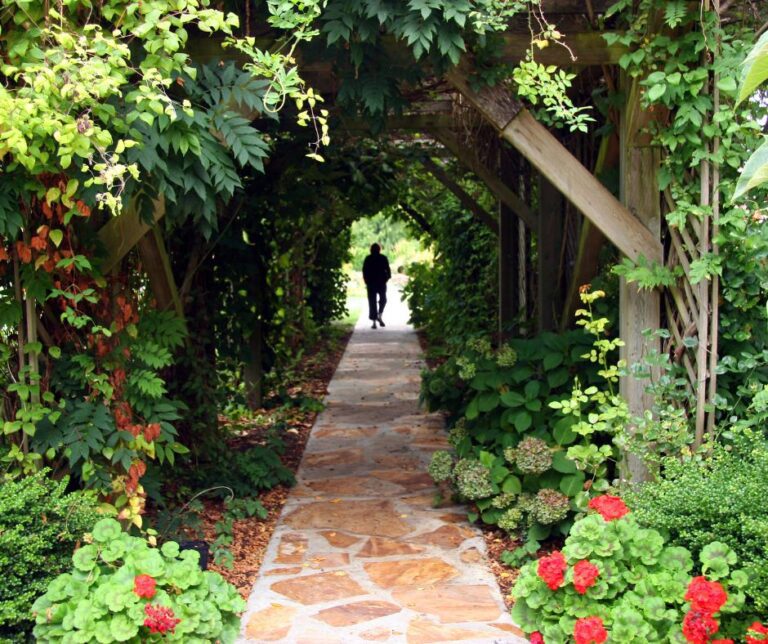
Finally, use the trees and fences as trellises! Vines like grapes, kiwi, or climbing beans can scramble up trunks and structures, adding yet another harvest to your space.
Plant Selection Guide: Choosing the Right Species
Walking into a nursery can be overwhelming. With thousands of options, how do you choose? For a sustainable, resilient garden, focus on plants that serve multiple functions.
Where to find seeds, plants, and supplies:
The “Guild” Concept
In permaculture (a design system for sustainable living), we often talk about “guilds.” A guild is a group of plants that help each other out. Think of it like a supportive friendship group.
For example, if you plant an apple tree (the centerpiece), don’t just leave it alone in a patch of grass.
- Add a Nitrogen Fixer: Plant clover or beans nearby. These plants pull nitrogen from the air and put it into the soil, feeding the tree naturally.
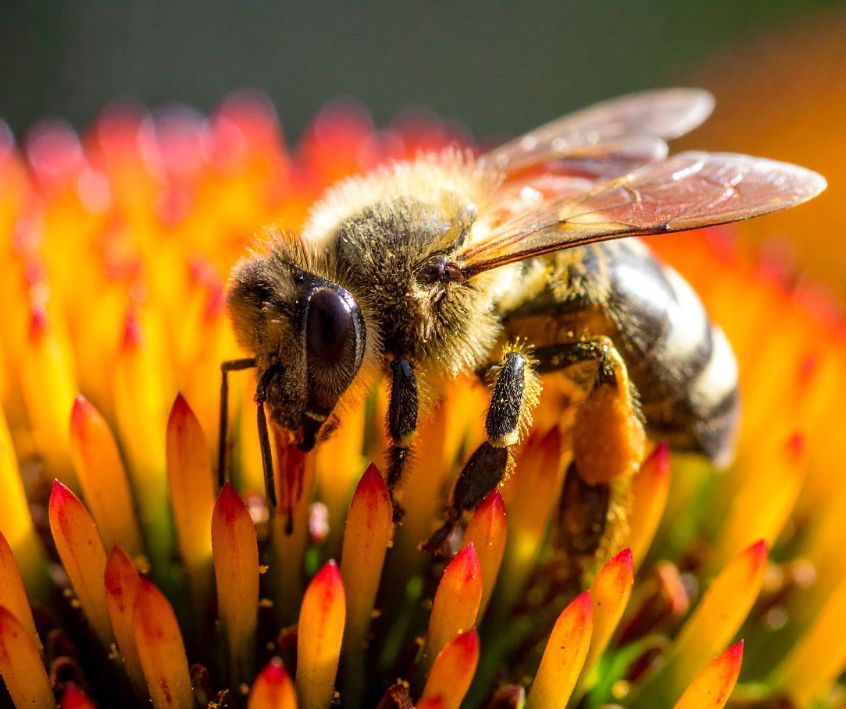
- Add a Pollinator Attractor: Flowers like bee balm or yarrow bring in the bees needed to pollinate your apples.
- Add a Pest Confuser: Aromatic herbs like chives or garlic can mask the scent of the apple tree, hiding it from pests.
Native vs. Exotic
While it’s tempting to grow exotic fruits, native plants are the backbone of an eco-friendly garden. They are adapted to your local climate and rainfall, meaning they need less babying.
Find plants native to your region: Xerces Society Pollinator Conservation Program Pollinator-Friendly Native Plant Lists
Plus, local birds and insects evolved alongside them. Try to aim for a 50/50 mix, half native plants to support biodiversity, and half productive exotics (like apples or peaches) for your family’s food supply.
Climate Zones
Always check your USDA Hardiness Zone before buying. A plant labeled “hardy” might survive a mild winter but perish in a deep freeze. Choosing varieties bred for your specific climate ensures you aren’t fighting a losing battle against the weather.
Designing for Succession: Planning for the Long Game
One of the biggest mistakes beginners make is planting for how the garden looks today, not how it will look in ten years.
That cute little sapling you just bought? It’s going to get big. Really big.
Space It Out
It requires a leap of faith, but you must space your trees according to their mature size. If the tag says the tree spreads 15 feet, give it 15 feet.
If you plant them too close, they will eventually shade each other out, leading to poor fruit production and fungal diseases due to lack of airflow.
Filling the Gaps
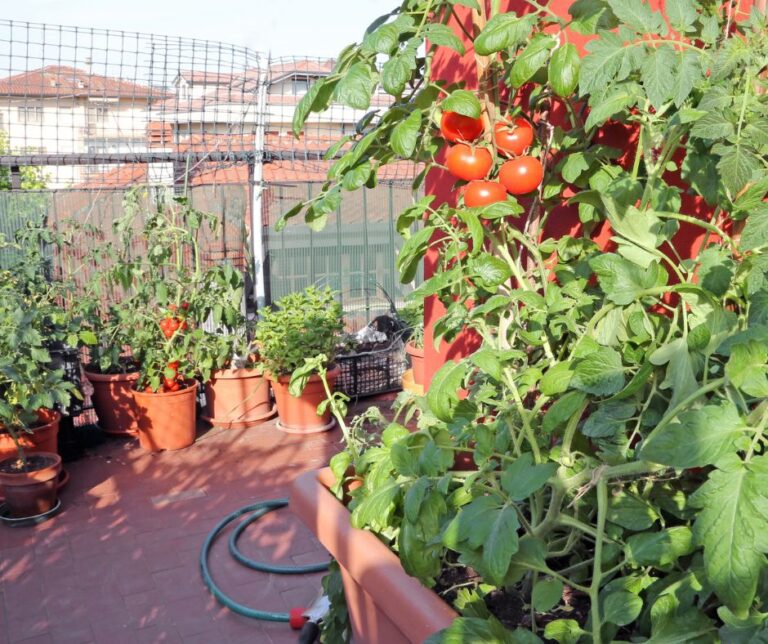
So, what do you do with all that empty space while the trees grow? This is where “succession planting” comes in. While your trees are small, the area between them is full of sun. Use this space to grow annual vegetables like squash, tomatoes, or potatoes.
🌱Create a custom garden calendar with our Succession Planting Schedule Calculator
As the trees grow and the canopy closes, the sunny spots will disappear. Over the years, you will gradually shift from sun-loving annuals to shade-tolerant perennials and shrubs.
It’s a slow-motion dance, and watching it evolve is one of the joys of forest gardening.
Maintaining Your Forest Garden
The common myth about forest gardening is that it’s “zero maintenance.” While it is certainly lower maintenance than a traditional row garden, it isn’t “no maintenance.” It’s more like “different maintenance.”
Mulching: The Forest Floor
In a natural forest, leaves fall and decompose, feeding the soil. In your garden, you want to replicate this. Keep the soil covered with organic matter, wood chips, straw, or leaves.
This mimics the forest floor, keeping moisture in and suppressing weeds. Eventually, your groundcover plants will take over this job, but in the early years, mulch is your best friend.
Pruning: Let the Light In
Because we are stacking layers, light management is crucial. You may need to prune your canopy trees to ensure enough light reaches the berry bushes below.
Winter is usually the best time for structural pruning, while summer pruning can help control size.
Chop and Drop
When you prune your plants or cut back herbs like comfrey, don’t throw the cuttings in the bin! Drop them right there on the ground around the base of the plants.
As they decompose, they release their nutrients back into the soil exactly where they are needed. It’s the ultimate lazy gardening hack that keeps your soil rich and chemical-free.
Troubleshooting Common Issues and Challenges
Even the most carefully planned garden will face hiccups. Here is how to handle a few common ones without reaching for harsh chemicals.
“The Weeds are Taking Over!”
In the first two years, weeds are the biggest challenge. Your forest garden isn’t established enough to outcompete them yet.
- Solution: Mulch heavily. Use cardboard sheets covered in wood chips around your trees to smother grass and weeds. Be persistent; once your groundcover layer establishes, the weeding workload drops dramatically.
“Something is Eating My Leaves!”
Seeing holes in your leaves can be panic-inducing. But remember, a sterile garden is a dead garden. If nothing is eating your plants, you aren’t part of the ecosystem!
- Solution: encourage biodiversity. Ladybugs eat aphids; birds eat caterpillars. By planting a diverse range of flowers and providing habitat (like a small water source or a pile of logs), you invite the predators that keep pests in check. If a specific plant is getting decimated, it might be stressed—check its water and soil conditions.
“My Fruit Trees aren’t Producing.”
- Solution: Patience is key. Perennial systems take time. An apple tree might take 3-5 years to bear fruit. Also, check pollination. Do you have a second variety for cross-pollination? Are there enough flowers nearby to attract bees? Sometimes, you just need to wait for nature to find its rhythm.
Enjoying the Bounty
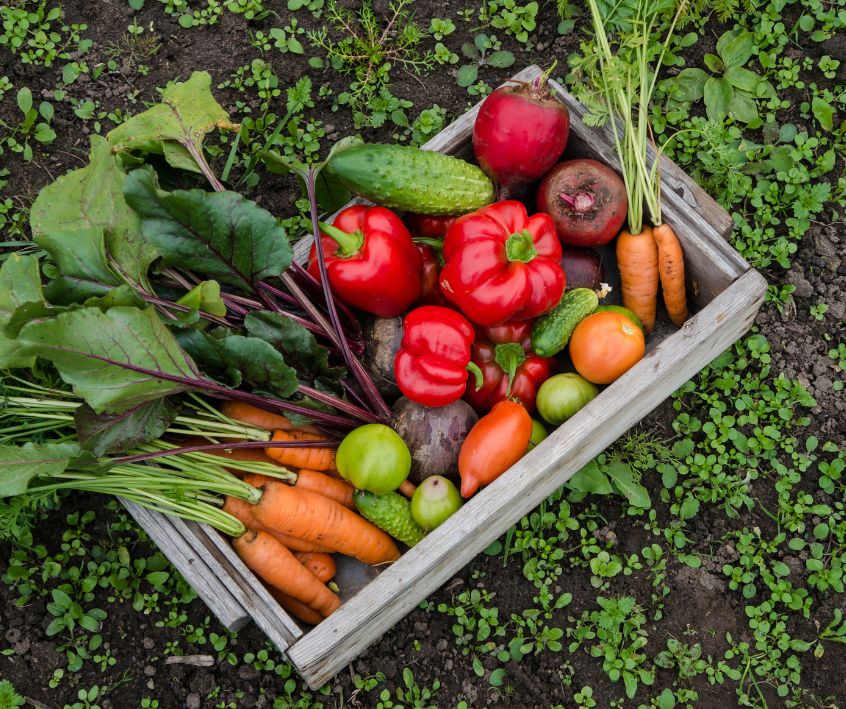
Creating a forest garden is an act of hope and a commitment to the future. It’s about building a space that heals the soil, supports wildlife, and feeds your family with nutrient-dense, chemical-free food.
It won’t happen overnight. The first year involves a lot of digging and planning. The second year requires weeding and watering.
But by the third or fourth year, you will find yourself standing in a lush, green sanctuary. You’ll be able to walk out your back door, pick a handful of berries, grab some fresh herbs for dinner, and listen to the birds singing in the trees you planted.
Remember, you don’t need a massive acreage to start. You can build a “guild” in a corner of a suburban yard or even adapt these principles to large containers. The most important step is simply to begin.
Ready to get your hands dirty? Start observing your site today. Look at the sun, feel the soil, and dream about what could be. Your future forest awaits.
Visit the Garden Resources page for supplies and inspiration. Don’t forget to subscribe to the Calendula’s Garden Newsletter for more gardening tips.
Calendula’s Garden is reader supported. When you buy through links on our site, we may earn an affiliate commission. As an Amazon Associate, I earn from qualifying purchases. For more information, view our Disclaimer page. Thank you!