7 Tips For Growing Delicious Malabar Spinach in Your Garden
Calendula's Garden is reader suported This post may contain affiliate links, more on our Disclaimer page. Thank you!
The garden is a great place to grow your own vegetables. Not only does it save you money, but it’s also a lot of fun to see the plants grow and harvest the fruits (or vegetables) of your labor. One vegetable that’s especially easy to grow is Malabar spinach. Malabar spinach is a delicious and nutritious leafy green that’s easy to grow in your own garden.
Botanically known as Basella alba, which includes other leafy greens such as Swiss chard and Asian spinach. Malabar spinach is a tropical leafy green that originated in India and Malaysia.
The fast-growing vine can reach up to 10 feet in length, and its shiny, heart-shaped leaves are a beautiful addition to any garden. Malabar spinach is not actually related to true spinach (Spinacia oleracea), but it shares many of the same characteristics, including high nutrient content and a mild flavor.
The leaves can be used cooked or raw in a variety of dishes, and the vine is also edible. In warm climates, Malabar spinach is a perennial plant, but it is frost-sensitive and will die back if the temperature drops below 50 degrees Fahrenheit.

Malabar Spinach Characteristics Table
| Characteristic | Description |
| Common Name | Malabar Spinach, Ceylon Spinach, Vine Spinach |
| Botanical Name | Basella alba (green varieties) or Basella rubra (red stem varieties) |
| Plant Type | Tender perennial vine (typically grown as a warm-season annual) |
| USDA Hardiness Zones | Zones 10–11 (extremely frost-sensitive; thrives in heat where traditional spinach fails) |
| Mature Height | 10 to 30 feet (vigorous climber that requires a sturdy trellis or fence) |
| Mature Spread | 1 to 2 feet at the base (vertical spread is significant) |
| Light Requirements | Full sun to partial shade (needs at least 4–6 hours of sun daily; tolerates high heat and humidity well) |
| Moisture Requirements | High; requires consistent, regular watering to keep the succulent leaves tender and prevent bitterness. Does not tolerate drought. |
| Soil Preference | Fertile, moisture-retentive, well-drained soil rich in organic matter; prefers a slightly acidic to neutral pH (6.5–6.8). |
| Bloom Time | Late summer to fall; produces small, inconspicuous white or pink flowers followed by dark purple berries (seeds). |
| Harvest Time | Harvest leaves and tender vine tips continuously throughout the summer roughly 60–70 days after planting. |
| Culinary Note | Leaves have a mild flavor similar to spinach but with a mucilaginous (slippery) texture similar to okra, especially when cooked. |
With proper care, Malabar spinach can thrive in nearly any garden and provide an abundance of fresh, nutritious greens.
Here are seven tips for growing this tasty vegetable:
1. Choose a spot in your garden that gets plenty of sunlight
Choose a spot in your garden that gets plenty of sunlight. Malabar spinach thrives in sunny locations. Malabar spinach is a popular vegetable in many parts of the world, but it is especially beloved in India, where it is often used in curries and other dishes.
While it can be grown in many different locations, the best spot for Malabar spinach is in a sunny spot with well-drained soil. This vegetable does not need much support, so it can be planted directly in the ground or in a pot.
However, if you live in an area with heavy rains, you may want to provide some support for your plants to prevent them from being uprooted by the wind.
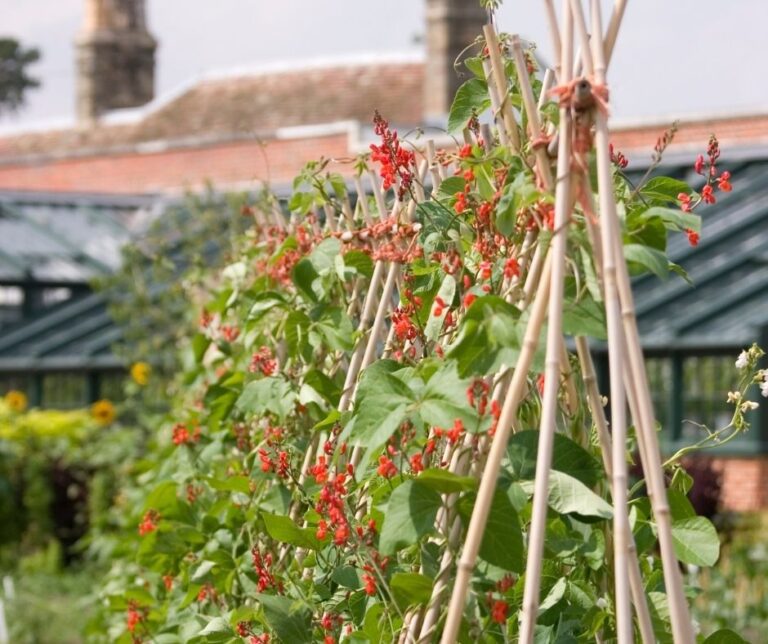
When it comes to supports, Malabar spinach will happily climb up a trellis or other support. However, it is just as happy to trail along the ground if left unsupported. Whether you choose to grow it as a climbing plant or let it spill over the edge of a container, Malabar spinach is sure to add a touch of tropical flair to your garden.
2. Amend the soil with compost or manure to improve its quality
There are a few things to keep in mind when amending the soil for malabar spinach. The first is that the plant prefers rich, loamy soil with a pH level of 6.0-6.5. If your soil is sandy or clay-based, you’ll need to add some organic matter to help it retain moisture. Amend the soil with compost or manure to improve its quality. This will help the plant to grow more vigorously.
The second is that Malabar spinach is a heavy feeder, so you’ll need to fertilize regularly throughout the growing season. A high-nitrogen fertilizer will help promote strong leaf growth, while a balanced fertilizer will encourage overall plant health.
Lastly, make sure to provide plenty of water during the hot summer months. Regular watering will help prevent the leaves from wilting and will keep the soil moist and friable.
3. Sow Your seeds
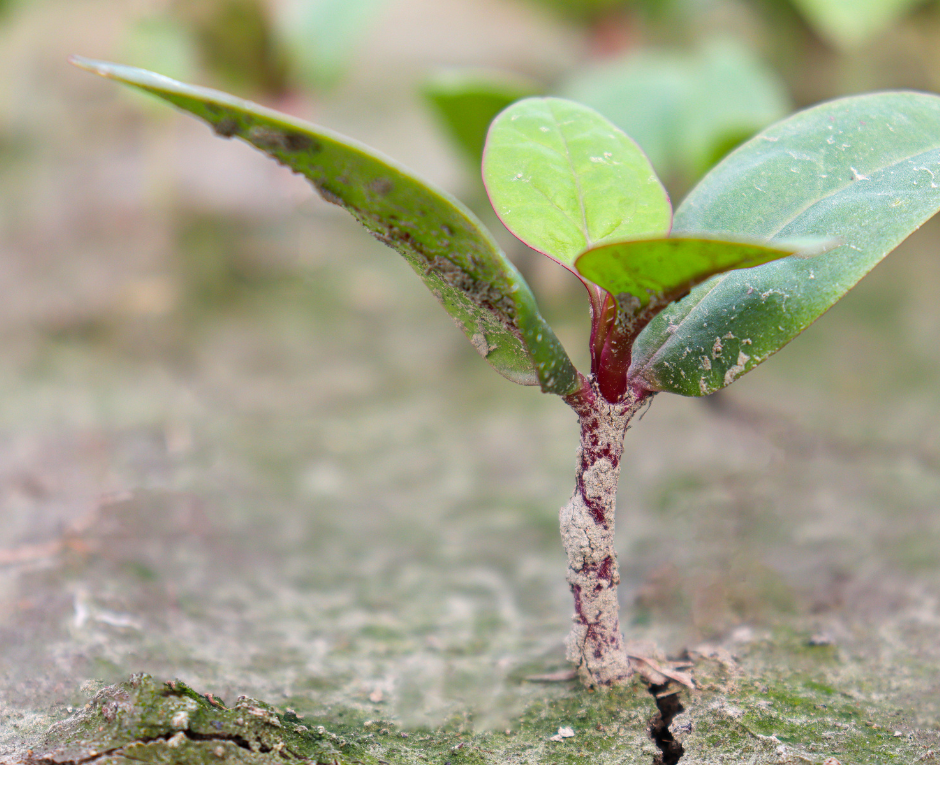
To grow malabar spinach, start by soaking the seeds overnight. This will help them to germinate more quickly. They can be sown directly in the ground once the evening lows are above 60 degrees.
However, if you want to get a head start on the warm growing season you will want to start your plants indoors. First, fill a seed tray with a well-draining potting mix and sow the seeds ½ inch deep.
Keep the soil moist but not wet, and provide plenty of sunlight. The seedlings will emerge in 7-10 days. When they are big enough to handle, thin them out so that they are spaced 6 inches apart.
4. Water regularly and fertilize every few weeks
Malabar spinach is a heavy feeder, so you’ll need to fertilize regularly throughout the growing season. A high-nitrogen fertilizer will help promote strong leaf growth, while a balanced fertilizer will encourage overall plant health.
Drenching the soil periodically with liquid seaweed or fish emulsion is a good addition to your fertilizer schedule. Lastly, make sure to provide plenty of water during the hot summer months.
Regular watering will help prevent the leaves from wilting and will keep the soil moist and friable. Setting up a drip irrigation system is the easiest solution. This equitment has worked the best for us:
Orbit B-hyve XD 4-Port Smart Hose Watering Timer
Rain Bird Drip Irrigation Landscape/Garden Watering Kit with Drippers, Micro-Bubblers, Micro-Sprays
Rain Bird Drip Irrigation Pressure Compensating 1/4″ Emitter Tubing, 6″ Emitter Spacing, 50 Roll
5. How to harvest and store Malabar spinach leaves

The plant will produce leaves for several weeks before it begins to flower. Once the flowers appear, the leaves will become tough and unsuitable for eating. The plant can be harvested multiple times during its growing season, provided that the flowers are removed as soon as they appear.
Malabar spinach can be harvested when the leaves are young and tender. Cut them off at the base of the plant, being careful not to damage the stem.
When storing Malabar spinach, it’s important to keep it in the fridge. Fresh leaves will last for up to two weeks, while frozen or canned spinach can be stored for up to six months.
6. The nutritional benefits of Malabar spinach
Malabar spinach is an excellent source of vitamins A and C, as well as iron and calcium. It also contains a variety of phytonutrients that can help to protect against disease.
In addition, Malabar spinach is low in calories and fat. While rich in fiber, making it a healthy option for those watching their weight.
7. How to enjoy your Malabar spinach harvest

Malabar spinach is a tropical leafy green that is usually found in Asian markets. It is a delicious and nutritious leafy green that can be enjoyed cooked or raw. When cooking Malabar spinach, be sure to wash it thoroughly to remove any dirt or sand.
It has a slightly bitter flavor and is often used in Thai and Vietnamese dishes. If you can’t find it fresh, you can also buy it frozen or canned. When cooked, the leaves of Malabar spinach shrink significantly, so a little goes a long way. It’s also a good idea to cook it for a shorter time than other greens, as it can become mushy if overcooked.
This versatile vegetable can be enjoyed in soups, curries, stir-fries, or simply sauteed with garlic and ginger. No matter how you choose to prepare it, Malabar spinach is a nutrient-packed addition to any meal.
Visit the Garden Resources page for supplies and inspiration. Don’t forget to subscribe to the Calendula’s Garden Newsletter for more gardening tips.
Calendula’s Garden is reader-supported. When you buy through links on our site, we may earn an affiliate commission. As an Amazon Associate, I earn from qualifying purchases. For more information, view our Disclaimer page.