7 Cold Hardy Veggies You Can Still Plant This Fall
Calendula's Garden is reader suported This post may contain affiliate links, more on our Disclaimer page. Thank you!
Think the growing season is over? Not so fast! The cooler months are one of the best-kept secrets in gardening. While everyone else is packing up their trowels, you can keep your garden humming along with veggies that actually love a little chill.
Cold weather sweetens their flavor, slows down pests, and gives you fresh, homegrown food long after summer fades.
Whether you have a big backyard bed or a couple of pots on a balcony, there’s still time to plant. Grab your gloves, and let’s dig into seven cold-hardy champions that will keep your table full and your garden thriving.
The Budget-Friendly Benefits of Seed Starting
Seed starting is one of the most cost-effective ways to grow your garden, offering both savings and satisfaction. A single packet of seeds can yield dozens, or even hundreds, of plants at a fraction of the cost of buying seedlings from a nursery.
This means more variety for less money, allowing you to experiment with unique heirloom or specialty varieties that might not be readily available as transplants.
Beyond saving on upfront costs, starting seeds gives you control over how your plants are raised, ensuring they grow chemical-free and sustainably from day one.
You can also reuse seed trays, small pots, or even repurpose items like egg cartons and yogurt cups, minimizing waste and stretching your gardening budget.
With a small investment in seeds and basic supplies, you’ll be setting yourself up for a bountiful harvest that’s both affordable and rewarding.
Supply List for Starting Seeds
To start your seeds successfully, you’ll need a few basic supplies. Here’s a beginner-friendly list to help you get started:
- Seeds: Choose organic, non-GMO seeds for a chemical-free garden. Look for varieties suited to your growing zone.
- Seed-Starting Mix: Use a lightweight, nutrient-rich mix designed specifically for starting seeds. Avoid garden soil, which may be too compact.
- Containers: Repurpose items like egg cartons, yogurt cups, or purchase seed trays and small pots. Ensure they have drainage holes.
- Labels or Markers: Keep track of your plant varieties with reusable labels or craft sticks.
- Watering Can or Spray Bottle: Opt for a gentle spray or watering method to avoid disturbing young seedlings.
- Light Source: A sunny windowsill works well, but grow lights are ideal for ensuring your seedlings get enough light.
- Heating Mat (Optional): Useful for providing consistent warmth, especially for seeds that require warmer soil to germinate.
- Plastic Cover or Humidity Dome: Helps retain moisture and creates a greenhouse effect for quicker germination.
By gathering these supplies, you’ll be well on your way to growing strong, healthy plants while keeping costs low and sustainability high.
Where to find seeds, plants, and supplies:
Now that you have your supplies ready, it’s time to decide which vegetables you’d like to grow.
Choosing the right veggies for your garden not only ensures a bountiful harvest but also helps you cultivate plants that thrive in your local climate and suit your family’s needs. Here’s a list to get you started with beginner-friendly choices.
1. Kale
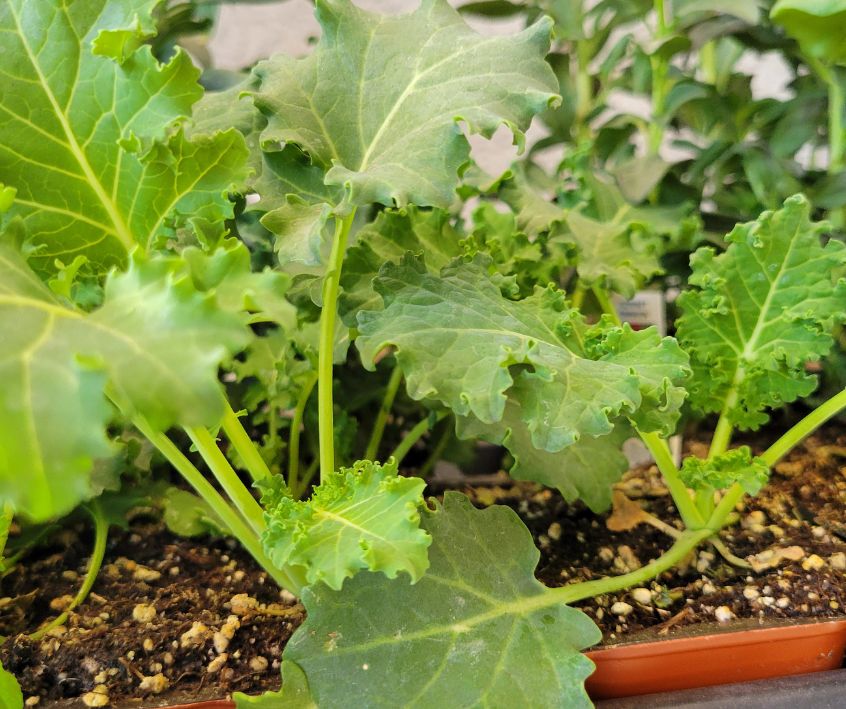
Kale is the ultimate fall superstar, and honestly, it just gets better as the weather cools. A light frost turns its slightly bitter leaves wonderfully sweet, so you’re rewarded for planting late.
How hardy is it? Very. Kale can shrug off temperatures well below freezing, and many varieties keep producing under a blanket of snow.
Beginner tip: Harvest the outer leaves first and let the center keep growing. That way, one plant feeds you for weeks. It’s the gift that keeps on giving!
2. Collards
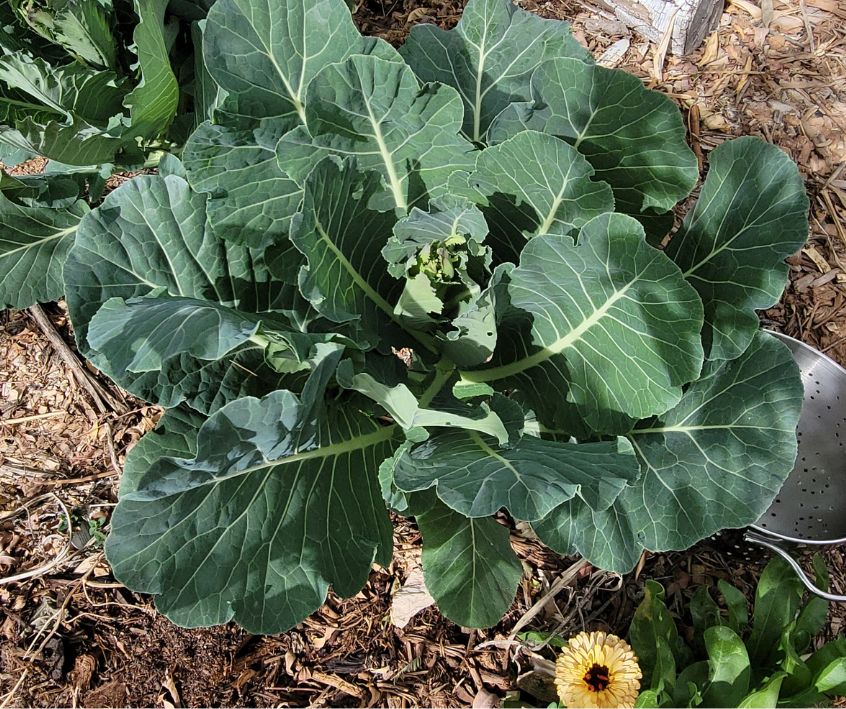
If you love leafy greens, collards deserve a spot in your fall garden. These big, sturdy leaves are packed with nutrients and taste amazing after a cold snap, which mellows any bitterness into something rich and buttery.
How hardy is it? Extremely tough. Collards happily handle hard frosts and often sail right through winter in milder climates.
Beginner tip: Give them a little room to spread, about 18 inches between plants. They grow large and generous, so a handful of plants will keep your kitchen stocked.
3. Garlic
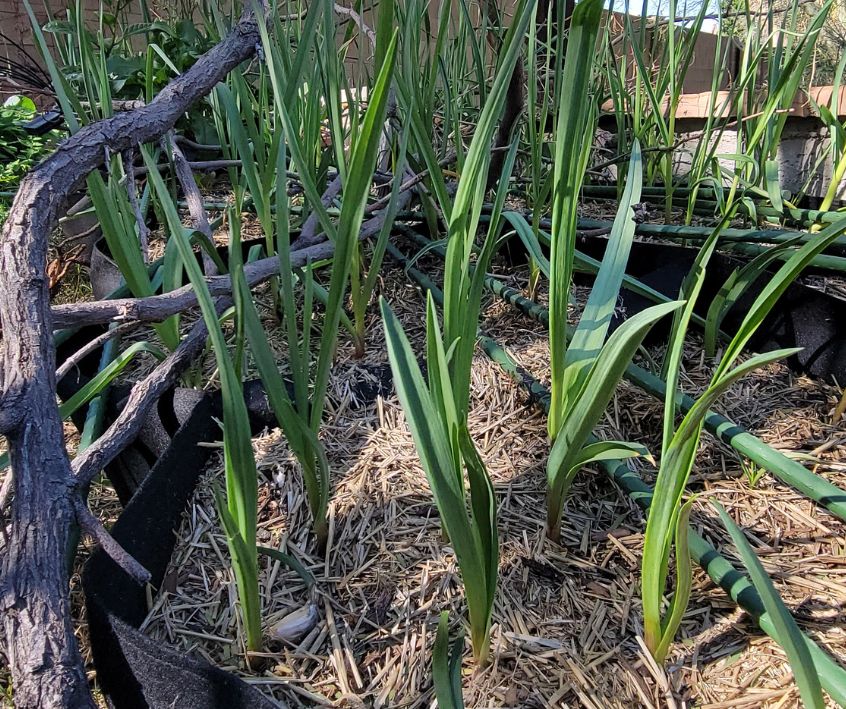
Here’s a fun one: fall is actually the ideal time to plant garlic. You tuck the cloves into the soil now, they settle in over winter, and next summer you’ll dig up fat, flavorful bulbs. Talk about a rewarding waiting game!
How hardy is it? Rock solid. Garlic wants that cold period to develop properly, so winter is its friend.
Beginner tip: Plant individual cloves pointy-side up, about 2 inches deep, then add a cozy layer of mulch on top. Come spring, watch those green shoots pop up and cheer you on.
Space-saving solution: If you’re working with a small garden or limited storage, growing green garlic is a fantastic alternative.
Green garlic is essentially young garlic, harvested before the bulb fully forms. It has a mild, fresh flavor perfect for adding to salads, soups, or sautés.
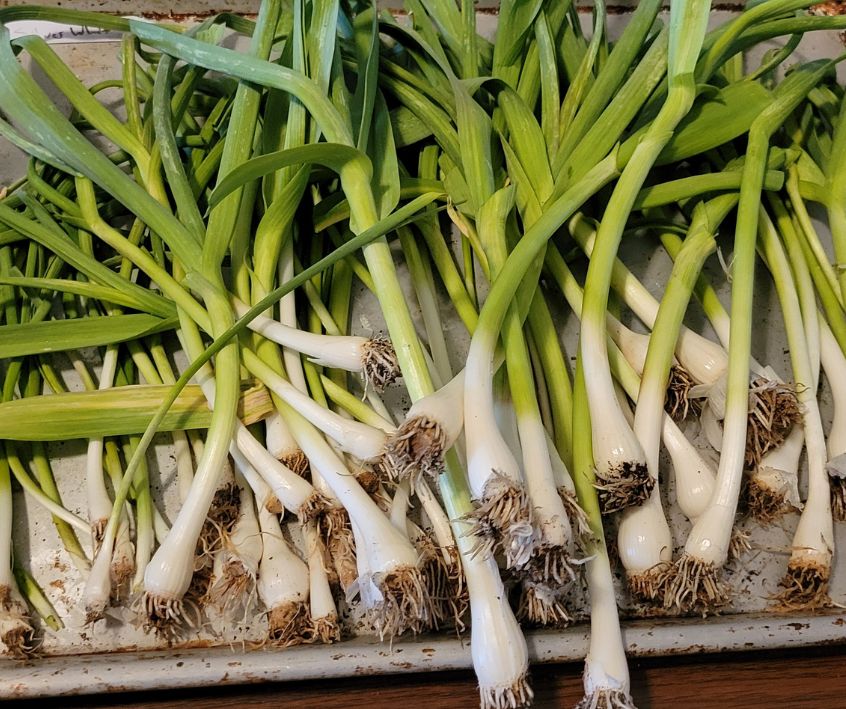
The best part? You don’t need much space. Green garlic thrives in small containers, raised beds, or even tucked into available corners of your garden. Simply plant cloves about 2 inches apart, in shallow soil, and keep them well-watered.
Once the shoots are around 6-8 inches tall, you can begin harvesting. Use it fresh for the best flavor, or freeze chopped green garlic in an airtight container to enjoy throughout the year!
4. Spinach
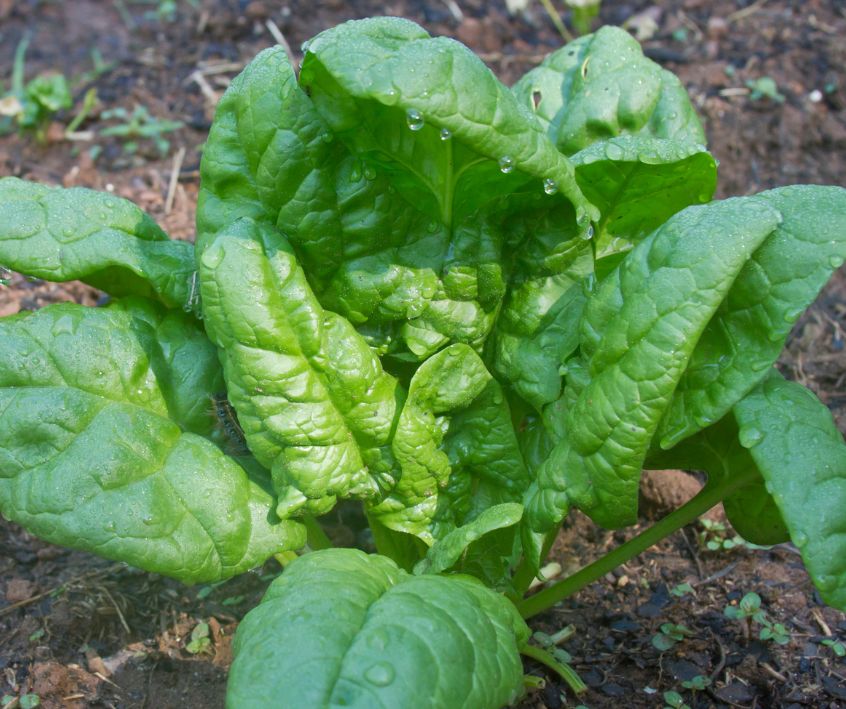
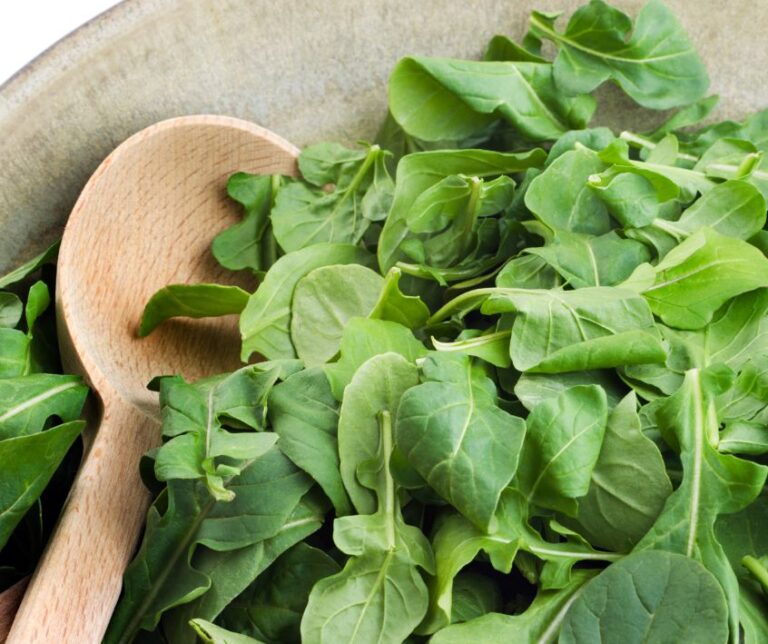
Sweet, tender spinach thrives when temperatures drop. It grows quickly, fits neatly into small spaces, and gives you fresh salad greens when almost nothing else is growing.
How hardy is it? Impressively so. Spinach tolerates frost beautifully, and a simple cover can carry it through the coldest stretches.
Beginner tip: Sow seeds directly into the soil and keep them lightly watered until they sprout. For a steady supply, plant a small batch every couple of weeks.
5. Swiss Chard
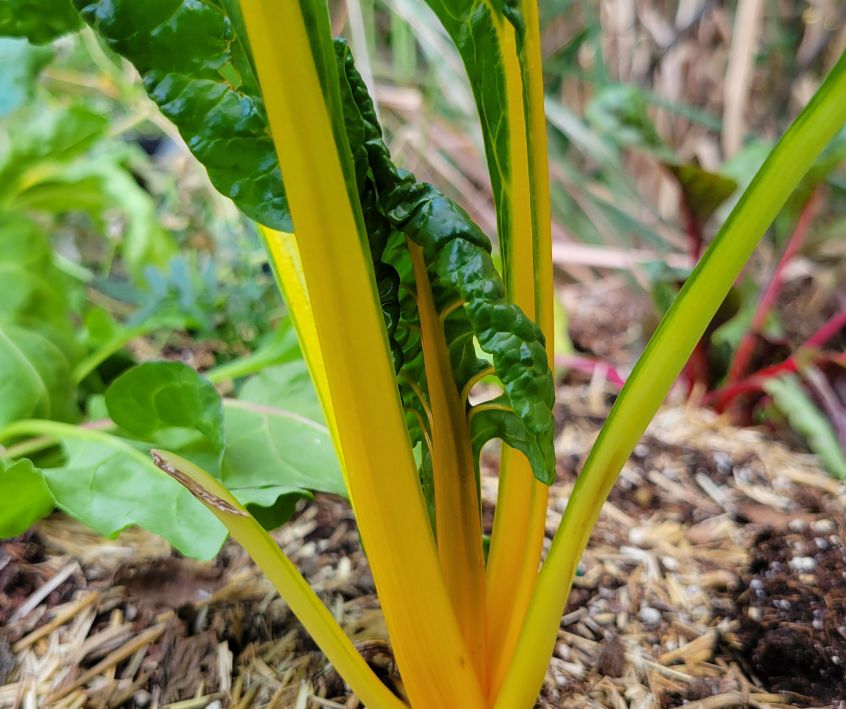
Want a veggie that’s as pretty as it is productive? Swiss chard brings vibrant stems in pink, yellow, and red, making it a gorgeous addition to garden beds and containers alike. Bonus: it tastes fantastic sautéed or tossed into soups.
How hardy is it? Quite tough. Chard handles light frosts with ease and often keeps producing well into the cold season.
Beginner tip: Snip outer stalks as you need them and the plant will keep pushing out new growth. It’s a cut-and-come-again favorite that pulls double duty as edible and ornamental.
6. Carrots
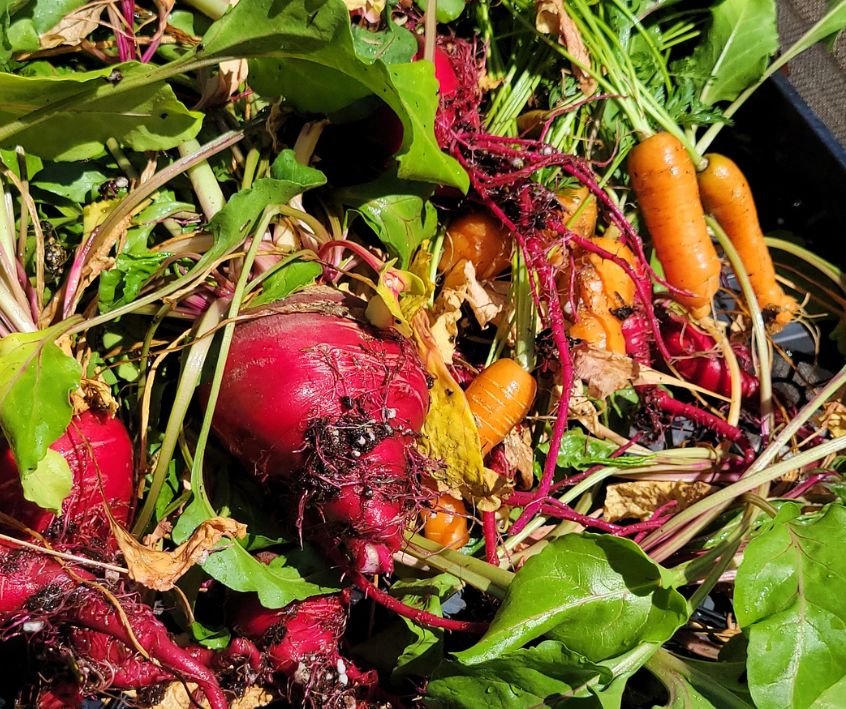
Carrots and cold weather are a perfect match. As the soil chills, carrots convert their starches into sugars, giving you the sweetest, crunchiest roots you’ve ever tasted. Once you try a frost-kissed carrot, there’s no going back.
How hardy is it? Very hardy underground. A thick layer of mulch acts like a blanket, letting you harvest fresh carrots straight from cold soil.
Beginner tip: Carrots like loose, rock-free soil so their roots can grow straight and long. Thin out crowded seedlings early to give each one room to flourish.
7. Radishes
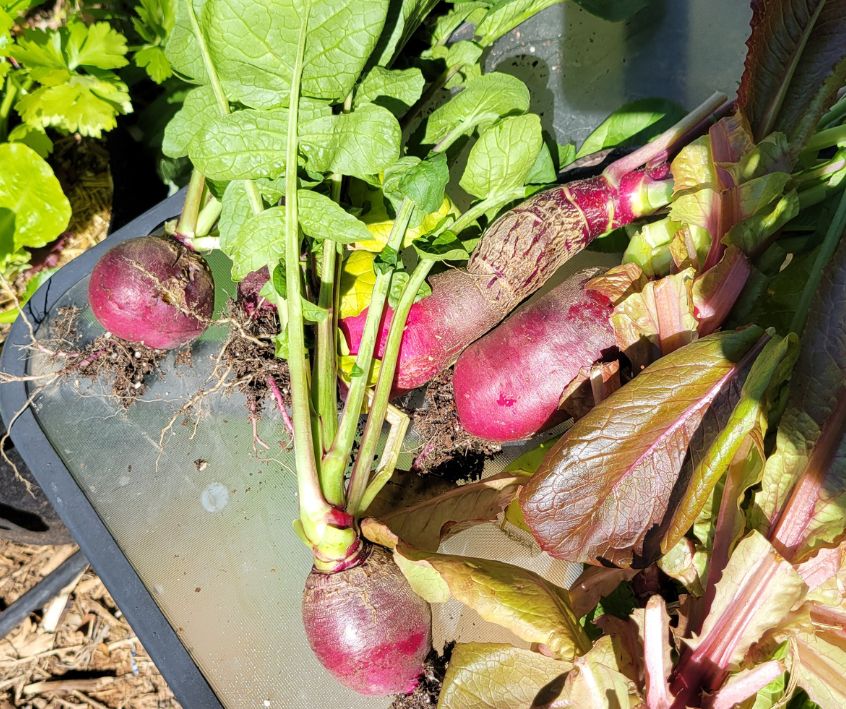
If you’re impatient for a harvest (no judgment, we’ve all been there), radishes are your new best friend. Many varieties go from seed to snack in just three to four weeks, making them perfect for a quick fall win.
How hardy is it? Nicely frost-tolerant, and cool weather keeps them crisp and mild instead of spicy-hot.
Beginner tip: Sow seeds thinly so each radish has space to plump up. They’re a wonderful confidence booster, especially if you’re planting alongside kids.
Bonus! Grow Microgreens and Sprouts Indoors for Quick, Easy Salad Greens
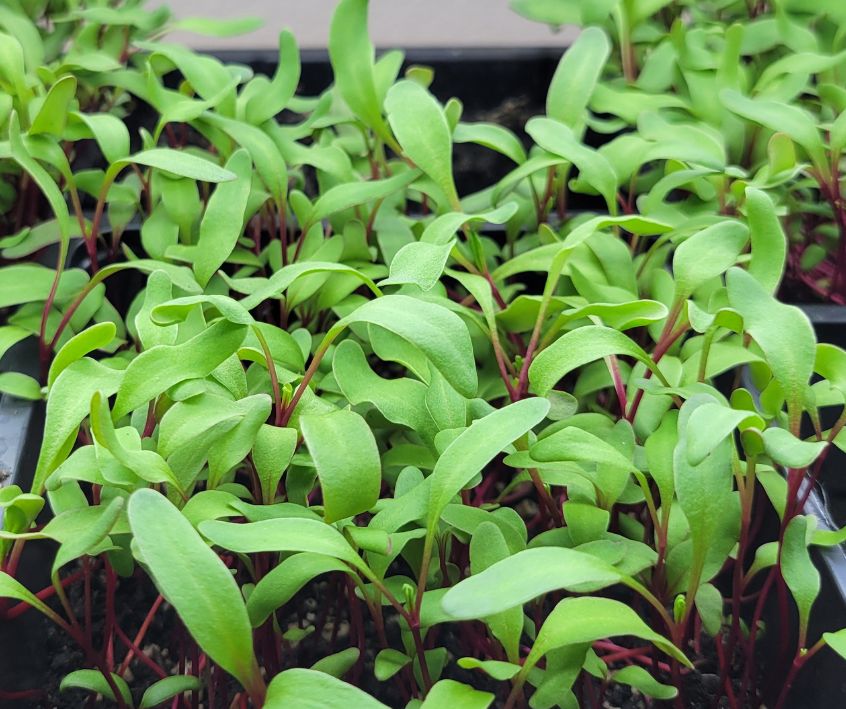
If you’re looking for the fastest and easiest way to add fresh greens to your meals, growing microgreens or sprouts indoors is the perfect solution. Both options take up minimal space, require no prior experience, and yield nutrient-packed salad toppers in just a few days.
Getting Started with Microgreens
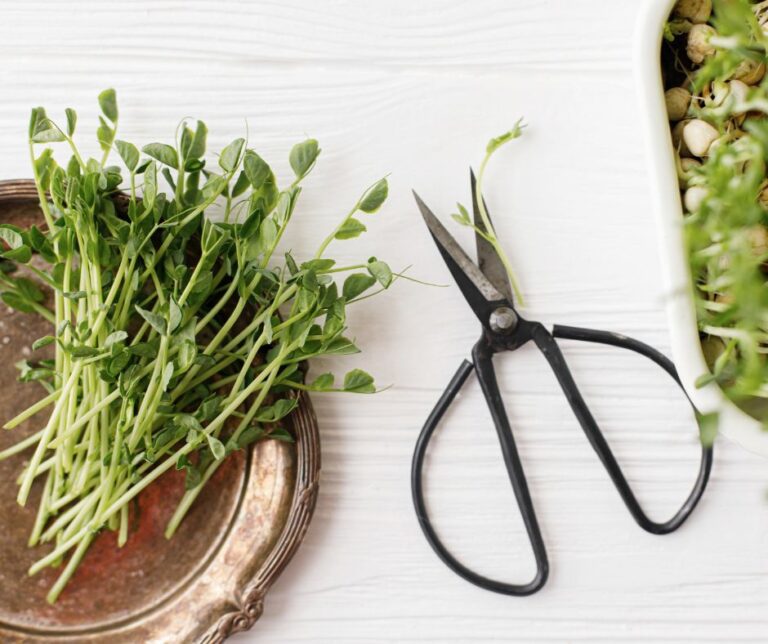
Microgreens are essentially young plants harvested just after their first true leaves appear. To grow them, spread organic seeds like sunflower, broccoli, or radish evenly on a shallow tray filled with a light potting mix or coconut coir.
Mist with water and place the tray near a sunny window or under a grow light. Keep the soil consistently damp, and within 7–10 days, you’ll have tender, vibrant greens ready to snip and enjoy.
How to Grow Sprouts
Sprouts are seeds germinated without soil, often using only water. They’re grown in jars with a breathable lid or mesh screen to allow airflow.
Popular seeds for sprouting include alfalfa, mung beans, and lentils. Rinse and drain your seeds twice per day, and in as little as 3–5 days, your fresh, crisp sprouts will be ready to harvest.
Beginner’s Tip: Choose organic, untreated seeds specifically labeled for microgreens or sprouting to ensure safe and healthy greens.
Why Try It? Growing microgreens and sprouts indoors is incredibly efficient and sustainable. They’re perfect for any season, which means you can enjoy garden-fresh flavor and nutrition even in the middle of winter!
Ready, Set, Grow
See? The gardening season isn’t winding down, it’s just getting cozy. These cold-hardy veggies prove that fresh, homegrown food doesn’t have to stop when summer does.
Better still, growing your own greens and roots means fewer trips to the store, less packaging, and healthier, chemical-free meals for your family.
So pick one or two from this list, get those seeds and cloves in the ground, and enjoy the quiet magic of a garden that keeps on giving. Your future self, snacking on sweet frost-kissed carrots, will thank you.
Visit the Garden Resources page for supplies and inspiration. Don’t forget to subscribe to the Calendula’s Garden Newsletter for more gardening tips.
Calendula’s Garden is reader supported. When you buy through links on our site, we may earn an affiliate commission. As an Amazon Associate, I earn from qualifying purchases. For more information, view our Disclaimer page. Thank you!